The article will help you master the basic functionality of the administrative panel, which will significantly increase the effectiveness of testing the platform.
Content:
Uploading content to the "TRAINING" section
Creating a user organization structure in the SETTINGS section
Adding employees to the USERS section
Viewing training results in the STATISTICS section
Administrator support.
TRAINING
Uploading content to the "Training Programs" section
TRAINING PROGRAMS is a section for creating an employee development path from training materials with a given progression logic. The Training Program section is closely related to the Materials section.
MATERIALS is a bank in which documents, videos, longreads, links, tests and electronic courses in SCORM and HTML5 format are stored, from which training programs are compiled.
Before you can create a training program, you must first download the materials for it.
Uploading materials
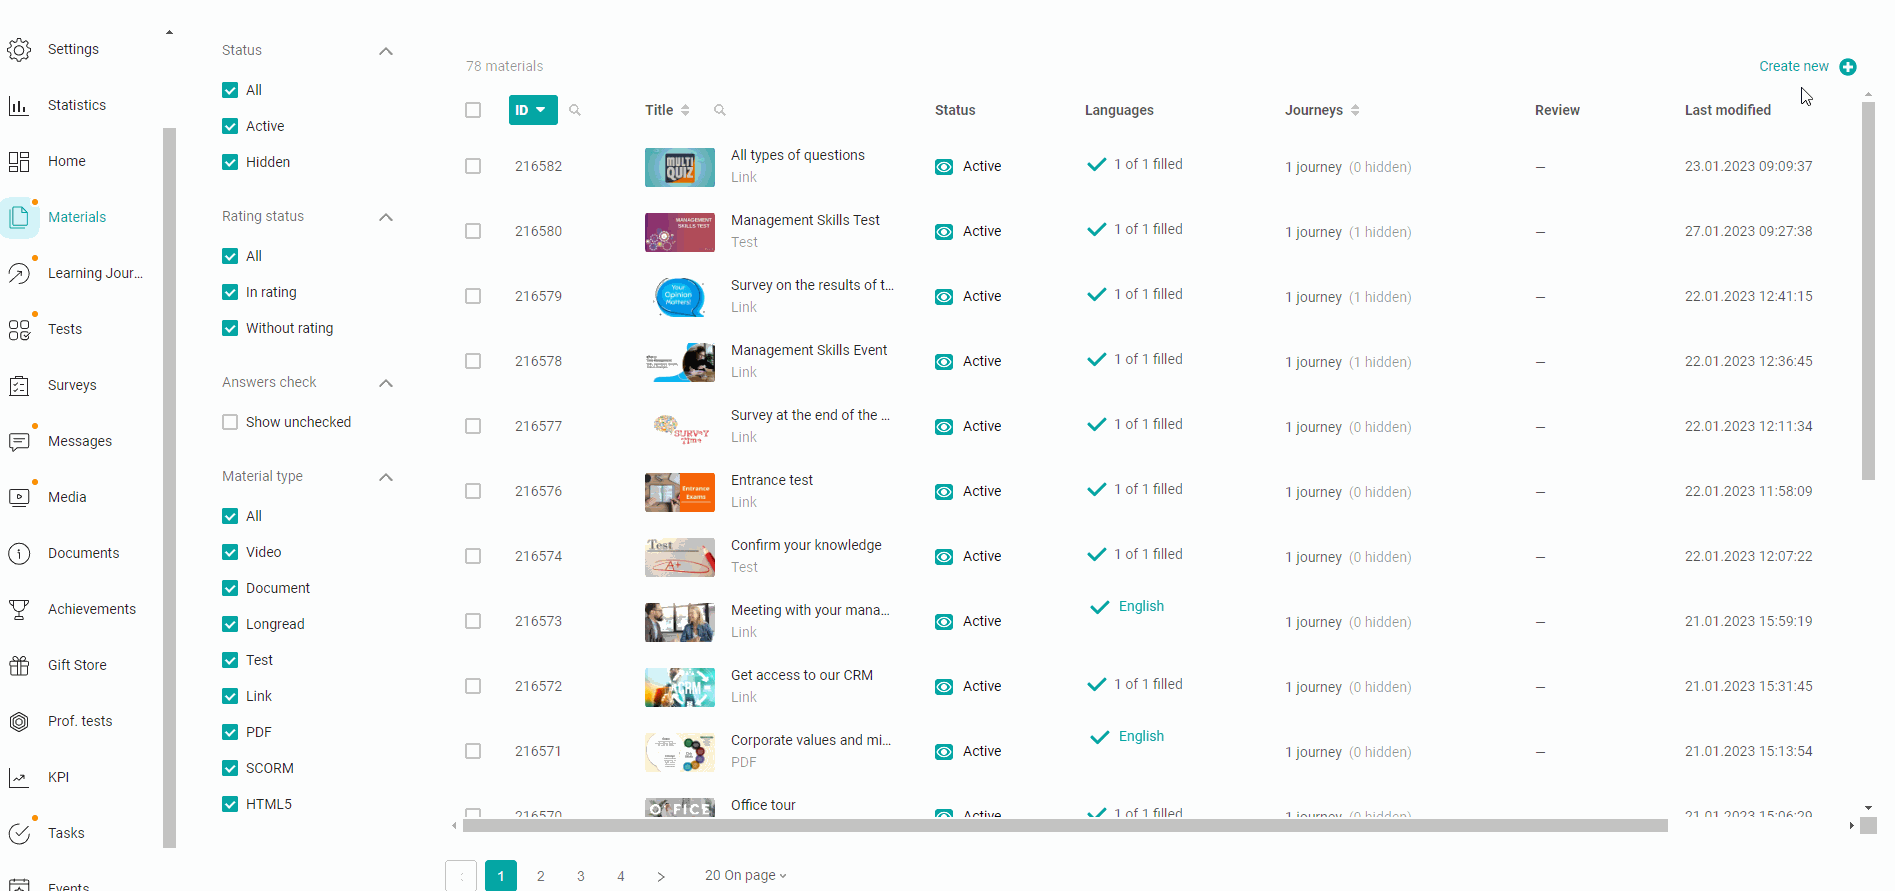
To upload a new material, go to the Materials section, click "Create new" in the upper right corner and select the required type of material.
Creating Materials
Types:
Video - materials in mp4 SD/HD quality format with the ability to add interactive inserts - questions that test the user's attentiveness while watching.
Detailed instructions for creating videos and interactive inserts can be found in this article.
Document - materials in pdf, txt, doc, docx, xls, xlsx, ppt, pps, pptx, ppsx, jpg, jpeg, png formats.
Detailed instructions for creating a document can be found in this article.
Longread - an article with the ability to format text and combine it with images, videos and tables. Allows you to track the time spent by the user on reading.
Detailed instructions for creating a longread can be found in this article.
Test is a material consisting of test questions with the ability to limit the number of attempts and completion time, as well as setting the random drop of questions from the total number and displaying recommendations if the answer is incorrect.
Detailed instructions for creating a test can be found in this article.
Important! Do not confuse the tests in the Materials section and in the separate Tests section, because they have different functionality and purposes. You can find out more about the difference between them in this article.
Link - material for going to external resources (corporate website, social networks,etc.) or internal sections (surveys, tasks, events, etc.).
Detailed instructions for creating a link can be found in this article.
SCORM is an electronic course in SCORM 1.2 format (for iSpring Suite) or SCORM 1.2 and SCORM 2004 (for Articulate and other designers), which is uploaded to the platform in a zip archive containing the file “imsmanifest.xml”.
The recommended SCORM size is 750 MB. The maximum size should not exceed 2 GB.
Detailed instructions for creating SCORM can be found in this article.
HTML5 - an electronic course in HTML5 format, which is uploaded to the platform in a zip archive containing the file "index.html".
The recommended HTML5 size is 750 MB. The maximum size should not exceed 2 GB.
Detailed instructions for creating HTML5 can be found in this article.
Creating a training program
Training programs on the platform are divided into categories that can correspond to the topic of training, the name of the department they are intended to teach, or any other criteria of your choice.
To create a new category, go to the Training programs section, expand the list of categories and click "Add category".
Adding Categories
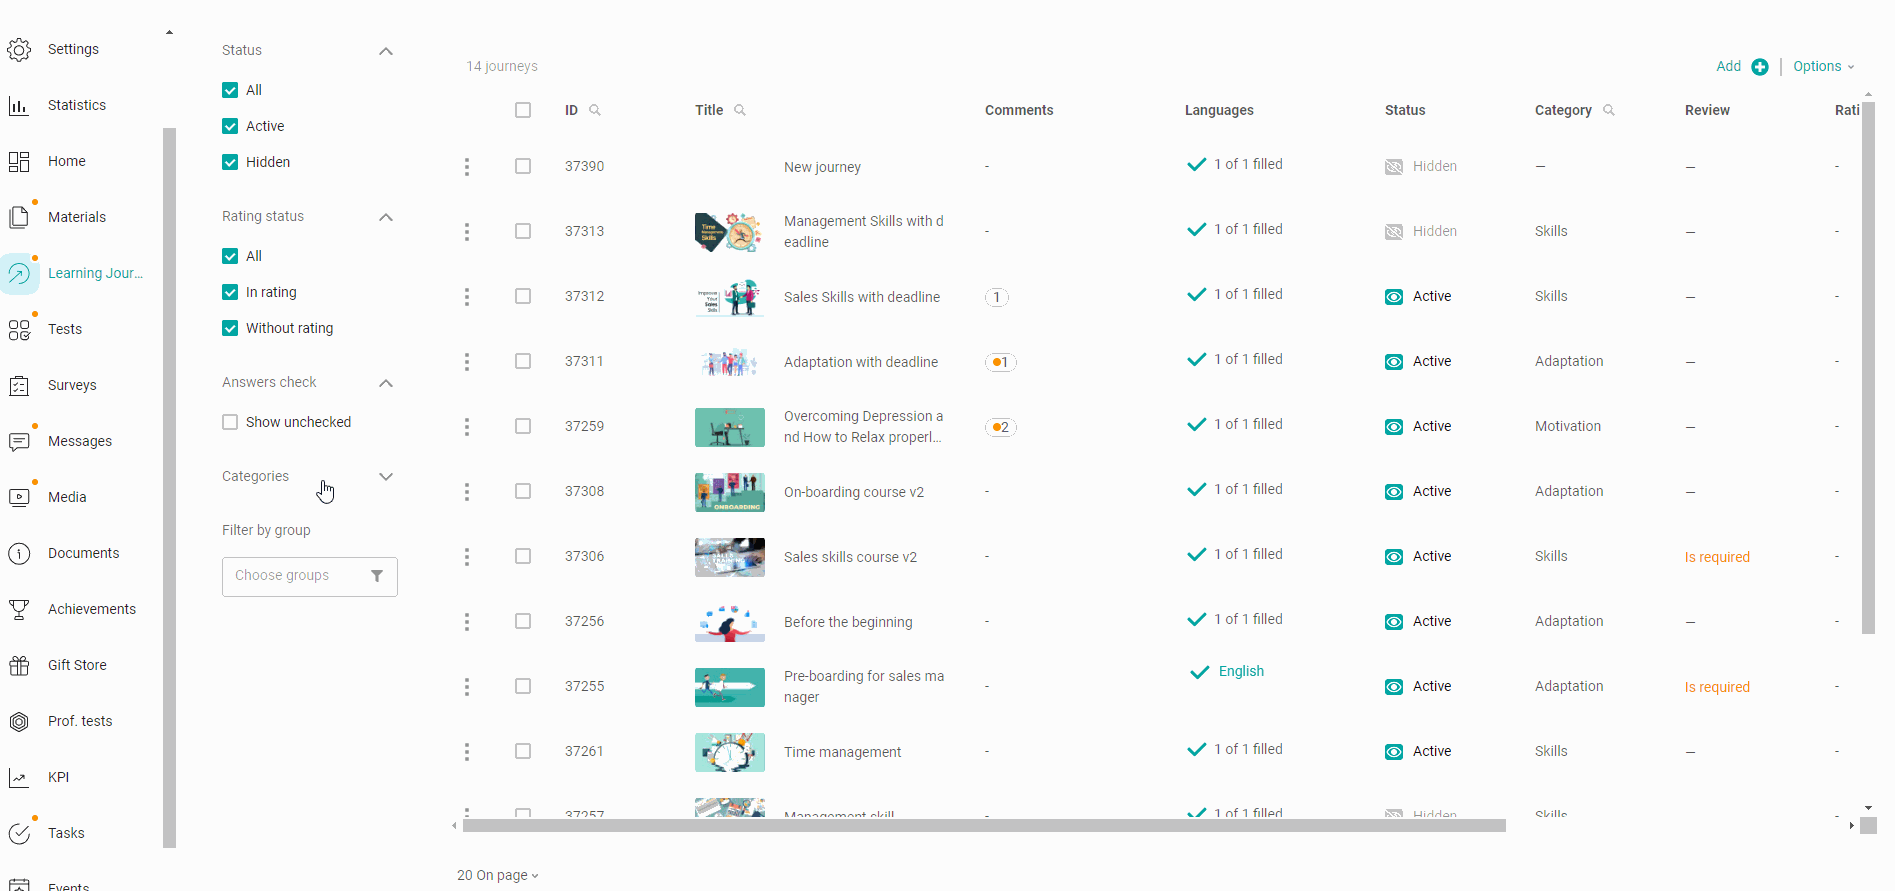
To create a new program, go to the Training Programs section and click "Add" in the upper right corner
Adding Training Programs In the program settings, fill in the title and description, select the appropriate category, decide whether it is mandatory or whether its study is left at the discretion of the users. If necessary, set the validity period for the certificate for successful completion of the program, determine the sequence of studying the materials (strict or in any order), allow users to share feedback by leaving ratings and reviews, and enable comments if you want users to be able to ask questions about the program to each other and administrator.
Detailed information on program settings can be found in this article.
Add the required number of sections to the program content, and previously created materials to each section. If necessary, you can swap them and select those whose study is mandatory.
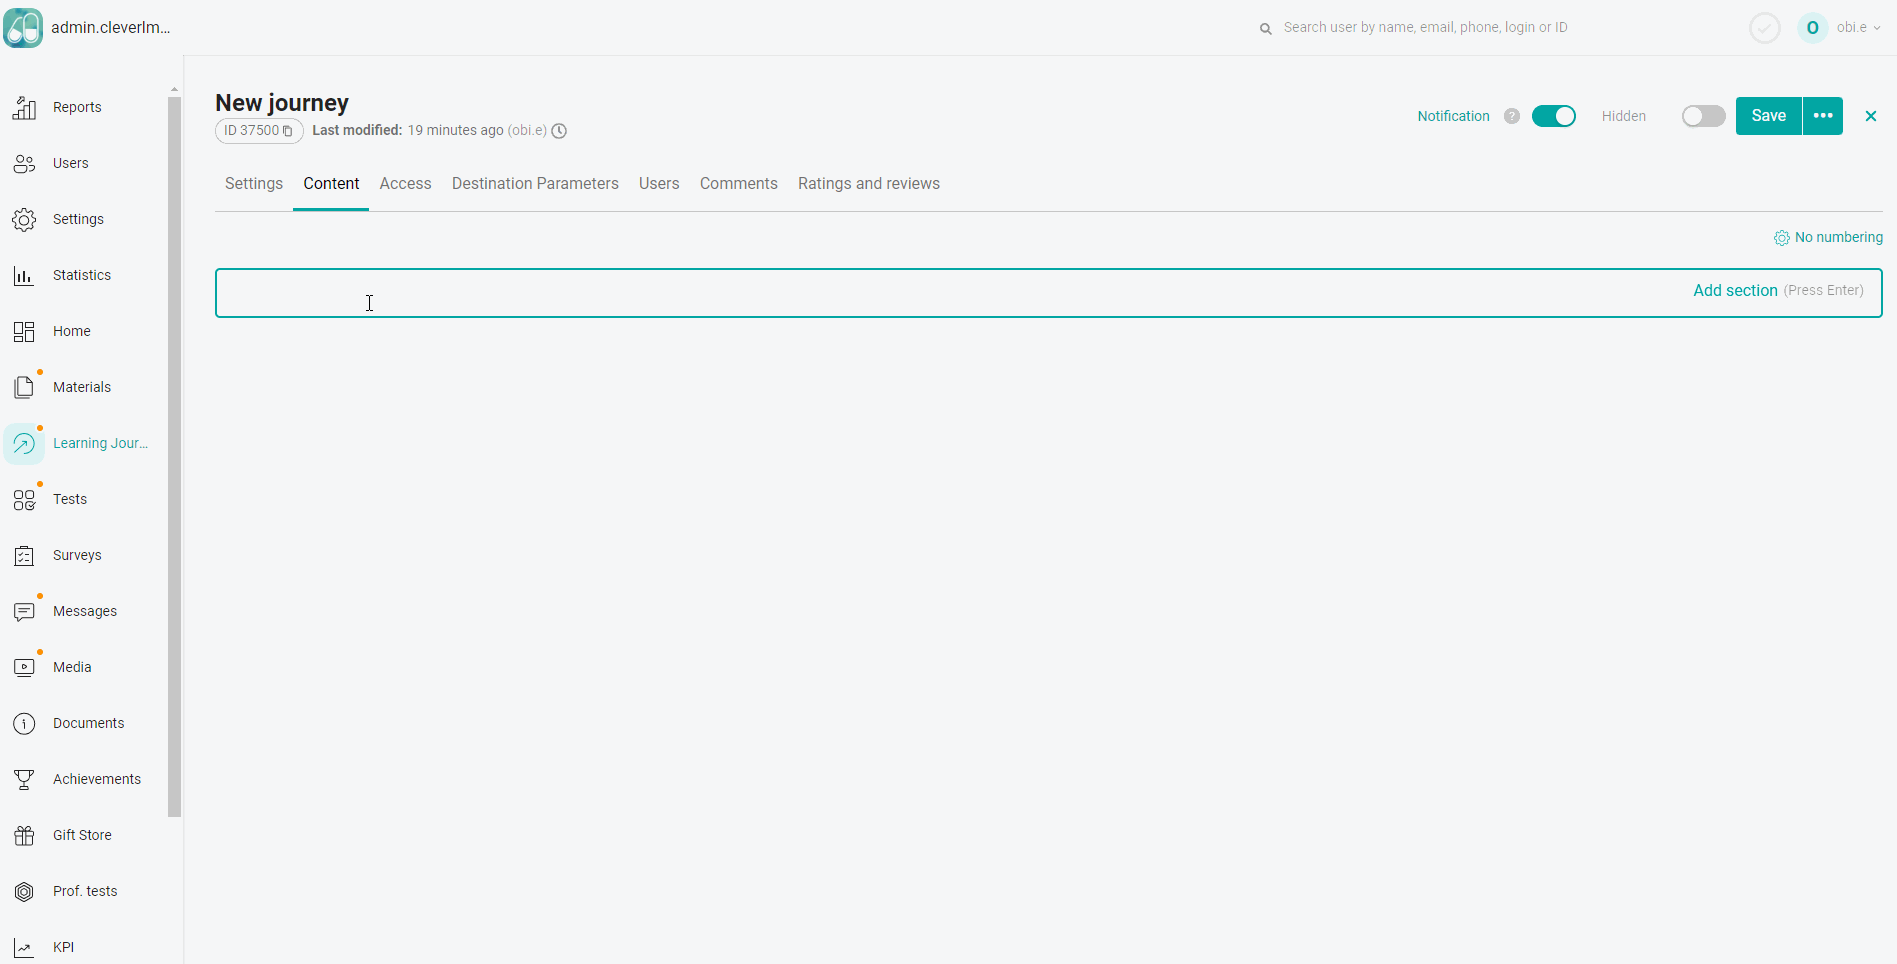
Training Program Content
Detailed information on adding materials to the content can be found in this article.
Set up access for users: in groups or individually by selecting individual employees.
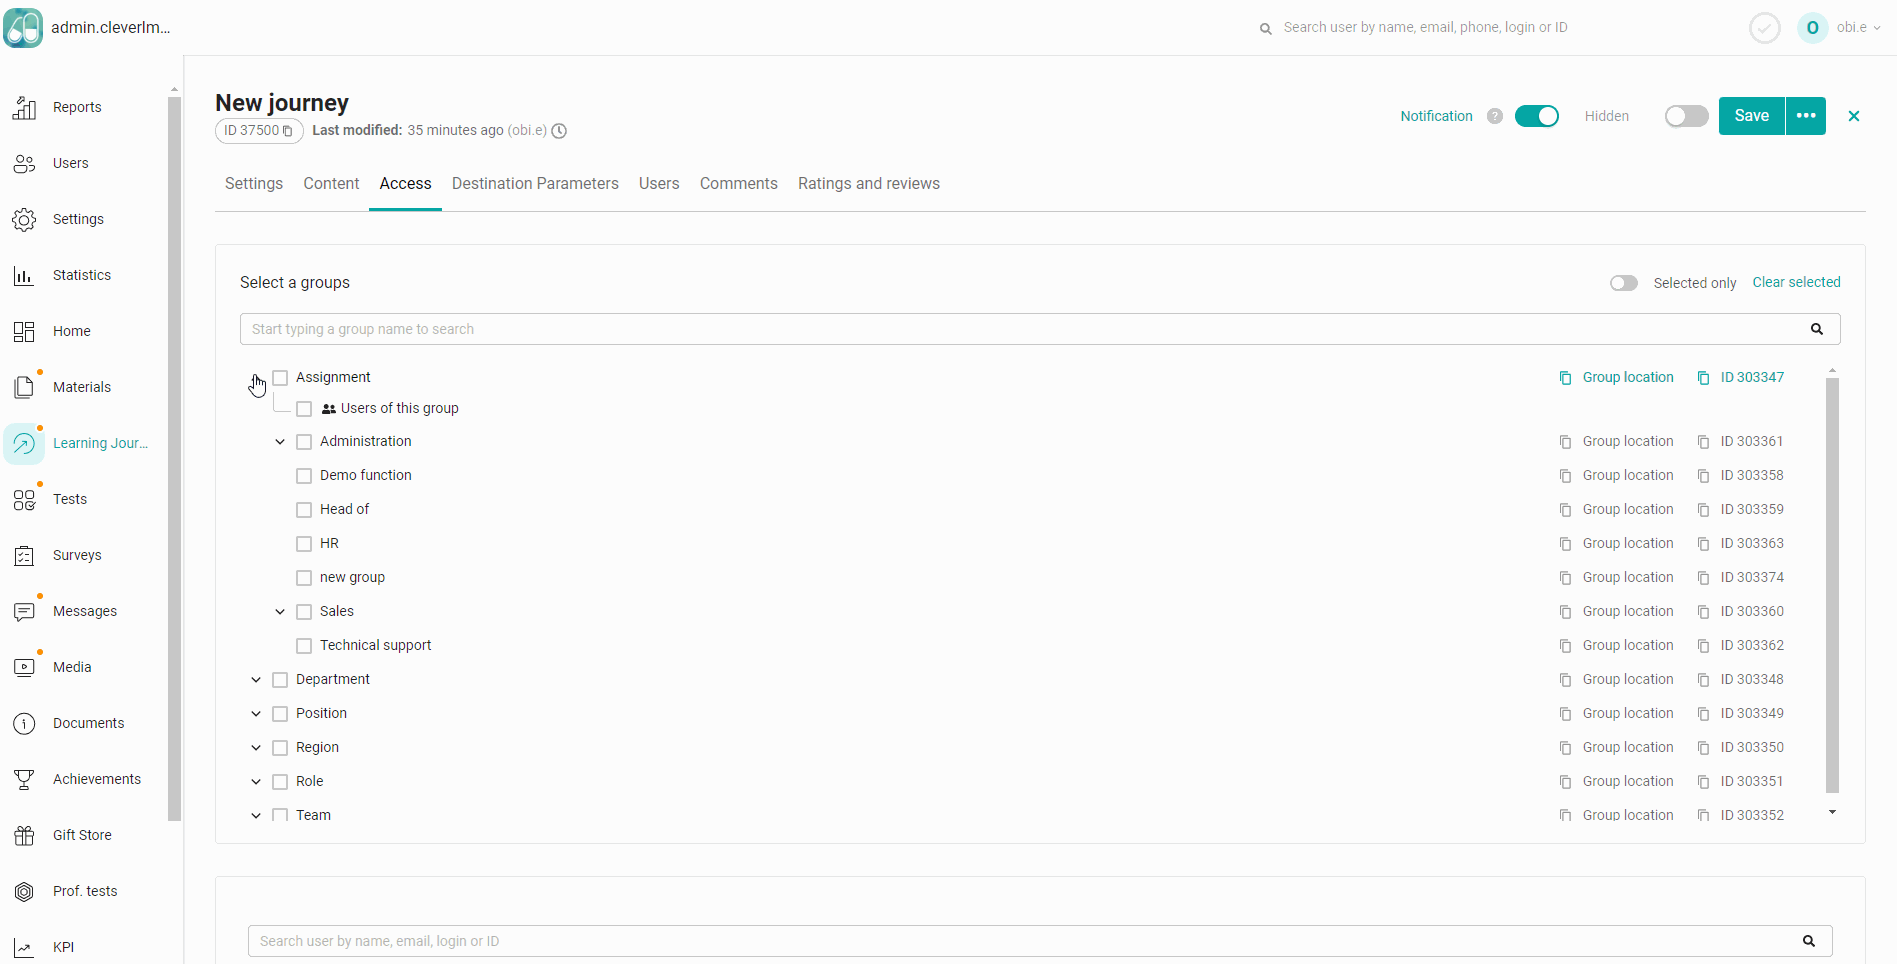
Providing Access Detailed information on granting access can be found in this article.
In the publication settings, you can set a delayed time for opening and closing access to the training program for users, set a recommended completion date, and also warn employees about its approach.
For detailed information about publishing options, see this article.
Create and customize a training program with your content and try to complete it from a user account, after which you can familiarize yourself with the “Statistics” section.
SETTINGS
Creating a user organization structure in the SETTINGS section
SETTINGS is a section for creating an organizational structure that reflects the relationship between your company's departments, services, and employees based on their position, geographical location, functions performed, or other criteria by which content on the platform will be assigned and reports uploaded.
Below is an example of a user organization structure consisting of company departments and employee positions. This structure will allow, for example, to assign training only to sales department managers. At the same time, new employees with the specified position will receive access to this training automatically, without additional actions on the part of the administrator.
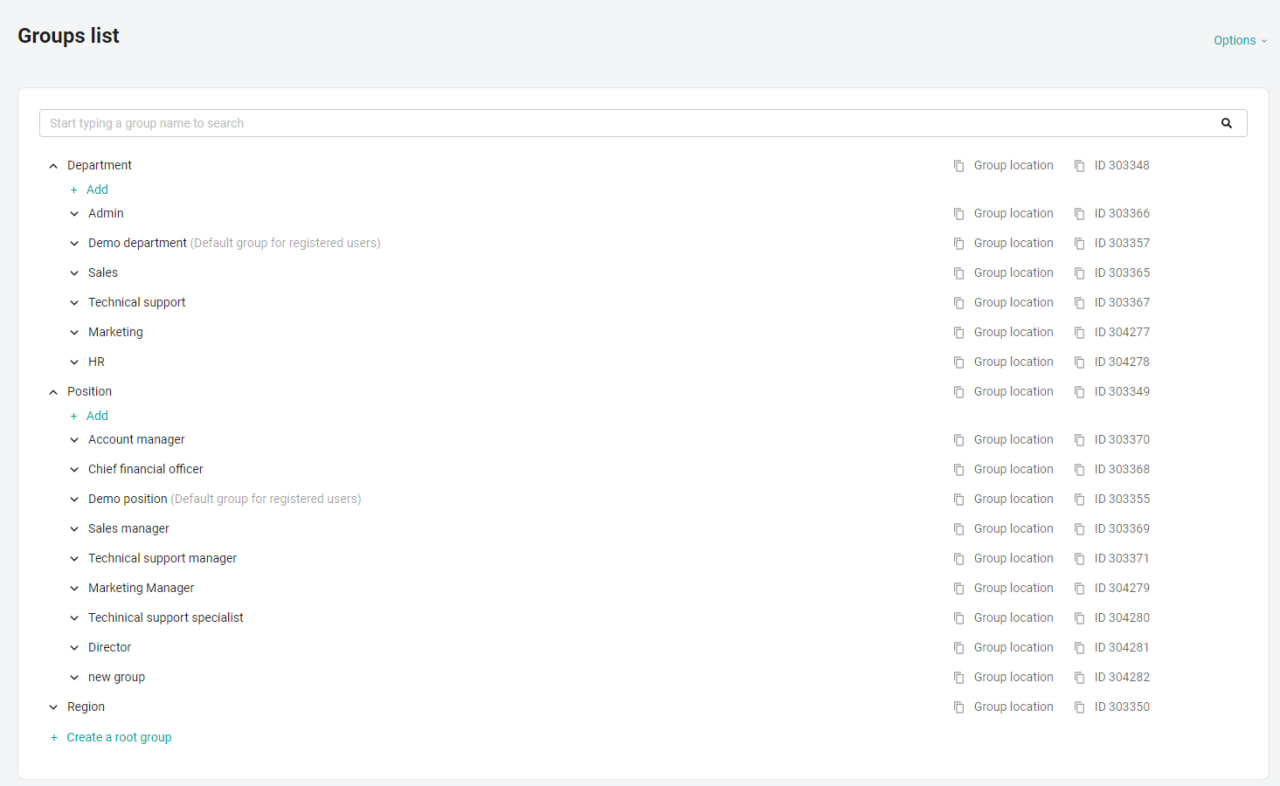
Example of user structure
You can find various cases on creating an organizational structure on this link.
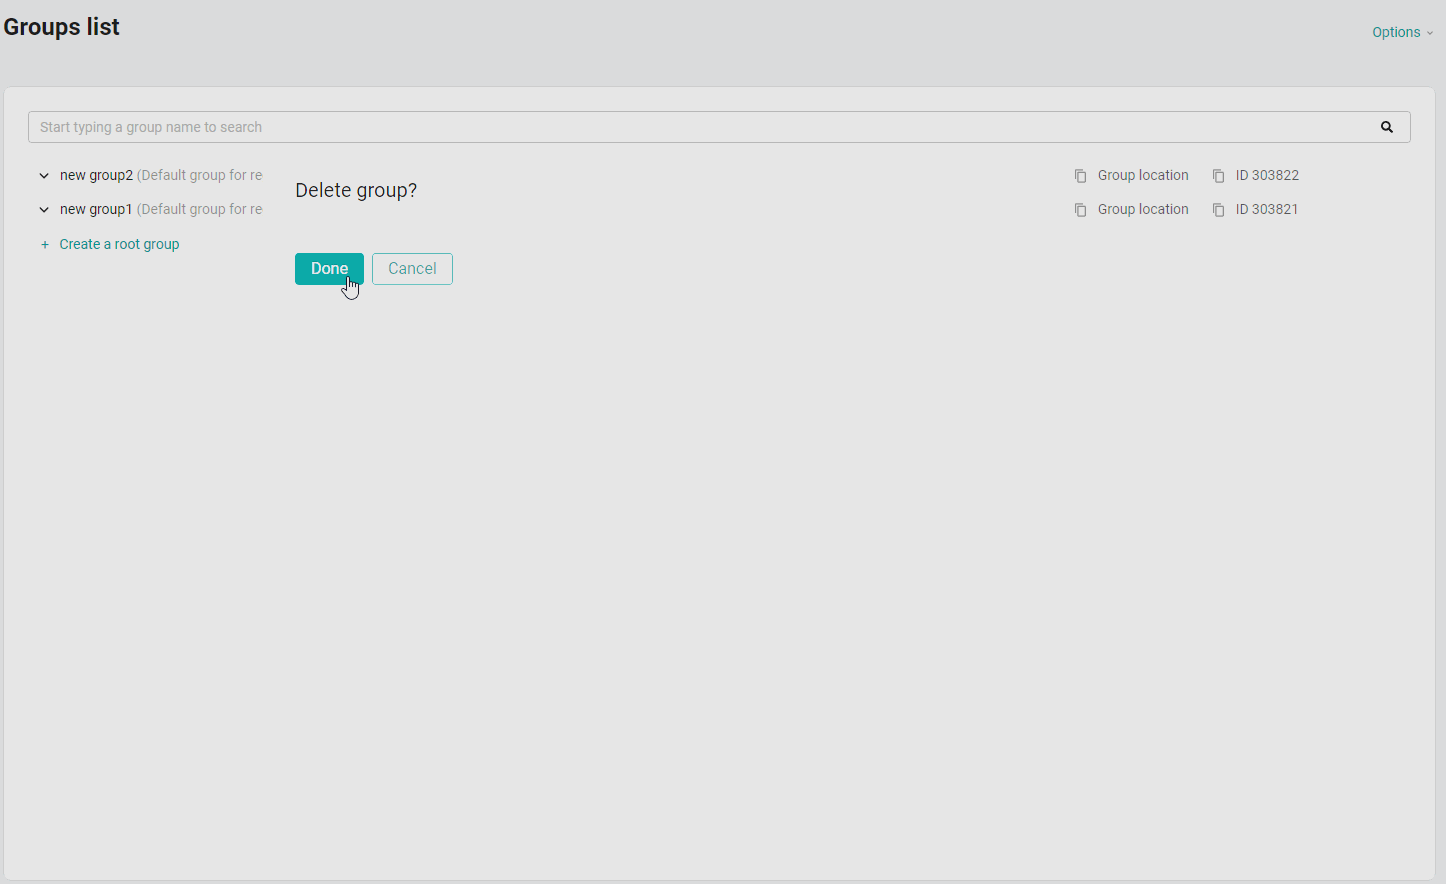
The existing structure can be adjusted:
To delete a group, hover over it and click on the trash can icon that appears at the end of the line;
To edit the title, use the pencil icon;
To add a group, click the "Add" button under the group within which you want to create a subgroup.
Adding, Editing, Deleting Groups
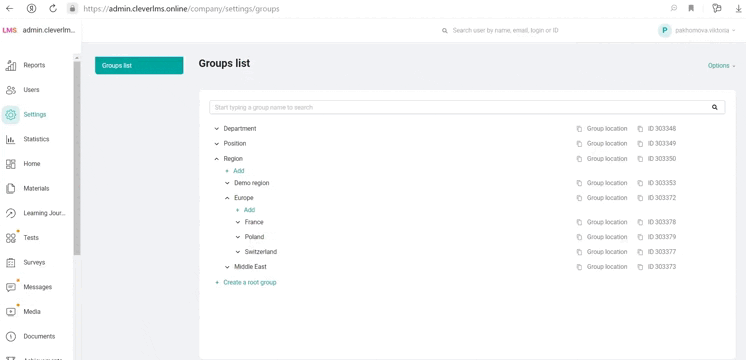
To add a large number of groups, use import: click Options - Import, download the template and fill it out, reading the tips inside.
Below is an example of importing subgroups into the "Region" group
Group Import
More detailed instructions for importing groups can be found here.
Add your employee organization chart in the Settings section to proceed to creating users.
USERS
Adding employees in the "USERS" section
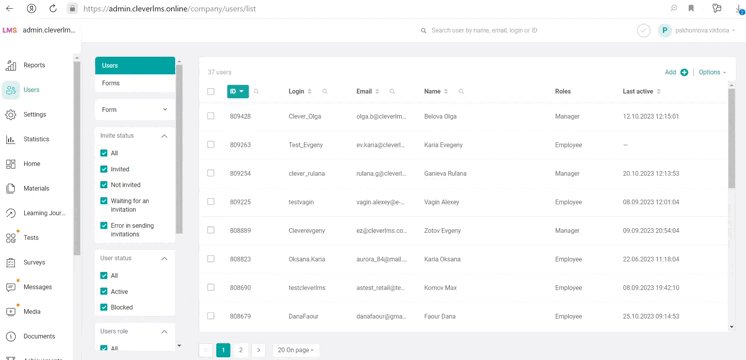
USERS is a section for creating, editing, temporarily blocking and deleting employees with the ability to track their latest activity in the system, send invitations with login data and form a team of subordinates for managers.
There are several ways to create and edit users on the platform:
1. Adding one user at a time by the administrator with a small number of employees.
To create a user, click "Add", fill out information about the employee and select a group for him in the organizational chart, and if necessary, send an invitation with login information.
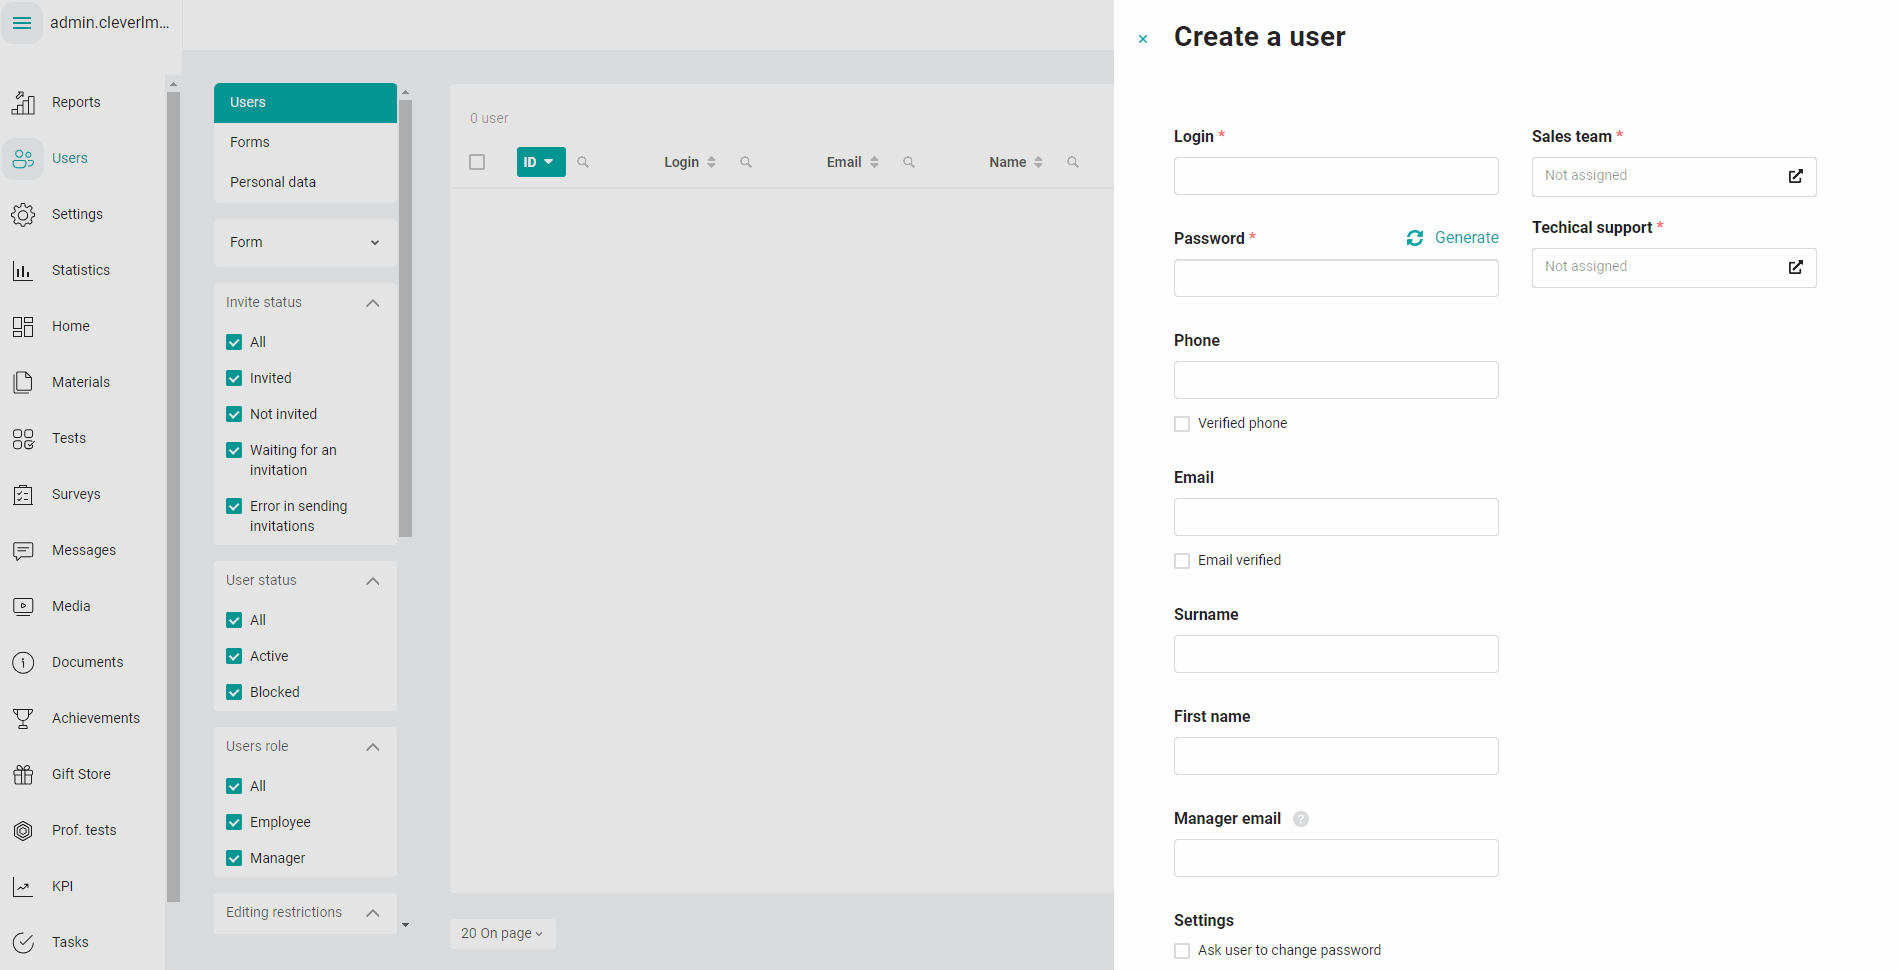
Adding Users
- Fill in the User Login.
- Set a Password or generate one.
- Enter the user's Phone and Email. Checking the “Phone confirmed / Email confirmed” checkboxes allows the user to skip the phone/email number verification step when logging into the application.
- Fill in the Last Name and First Name fields.
- Specify the manager’s Email so that he can see his team members inside the application.
If Phone, Email, Last Name and First Name are not filled in, the user will be able to enter them in the application himself when logging in for the first time. The manager must confirm the Email so that he can see his team.
More detailed instructions for adding a user can be found here.
2. Import of users by the administrator using a template for adding employees in bulk.
To add a large number of users, use import: click Options - Import, download the template and fill it out, reading the tips inside. Check the "Send invitations to new users after import" checkbox to ensure employees receive login information.
Importing Users
More detailed instructions for importing users can be found here.
3. Generation of accounts by the administrator according to specified rules.
To create anonymized accounts for employees for whom you do not have contact information and full names (for example, partners, freelancers or candidates), use the generation, which allows you to create the required number of accounts according to specified rules. The system will generate logins and passwords for them, and employees will enter the rest of the data themselves the first time they log into the system.
More detailed instructions for generating users can be found here.
4. Self-registration of users in the system.
To connect the "Registration" module, contact your support manager. By clicking “Register”, employees will be able to independently set their login and password, indicate their full name and contacts, and also select the group in the organizational structure to which they belong. If necessary, you can set up rules according to which the account will be automatically assigned to the desired group in the organizational structure and gain access to the necessary content.
More detailed information on self-registration options can be found here.
5. Automatic integration of users from the internal corporate system.
To automate routine work and set up data exchange between the platform and external services (HR system, CRM, ATS), contact your support manager.
You can learn more about integration with client services in this article.
Create a user for yourself and other people participating in the test so you can start uploading content and test how it will display from those accounts.
SETTINGS
Viewing learning results in the "Statistics" section
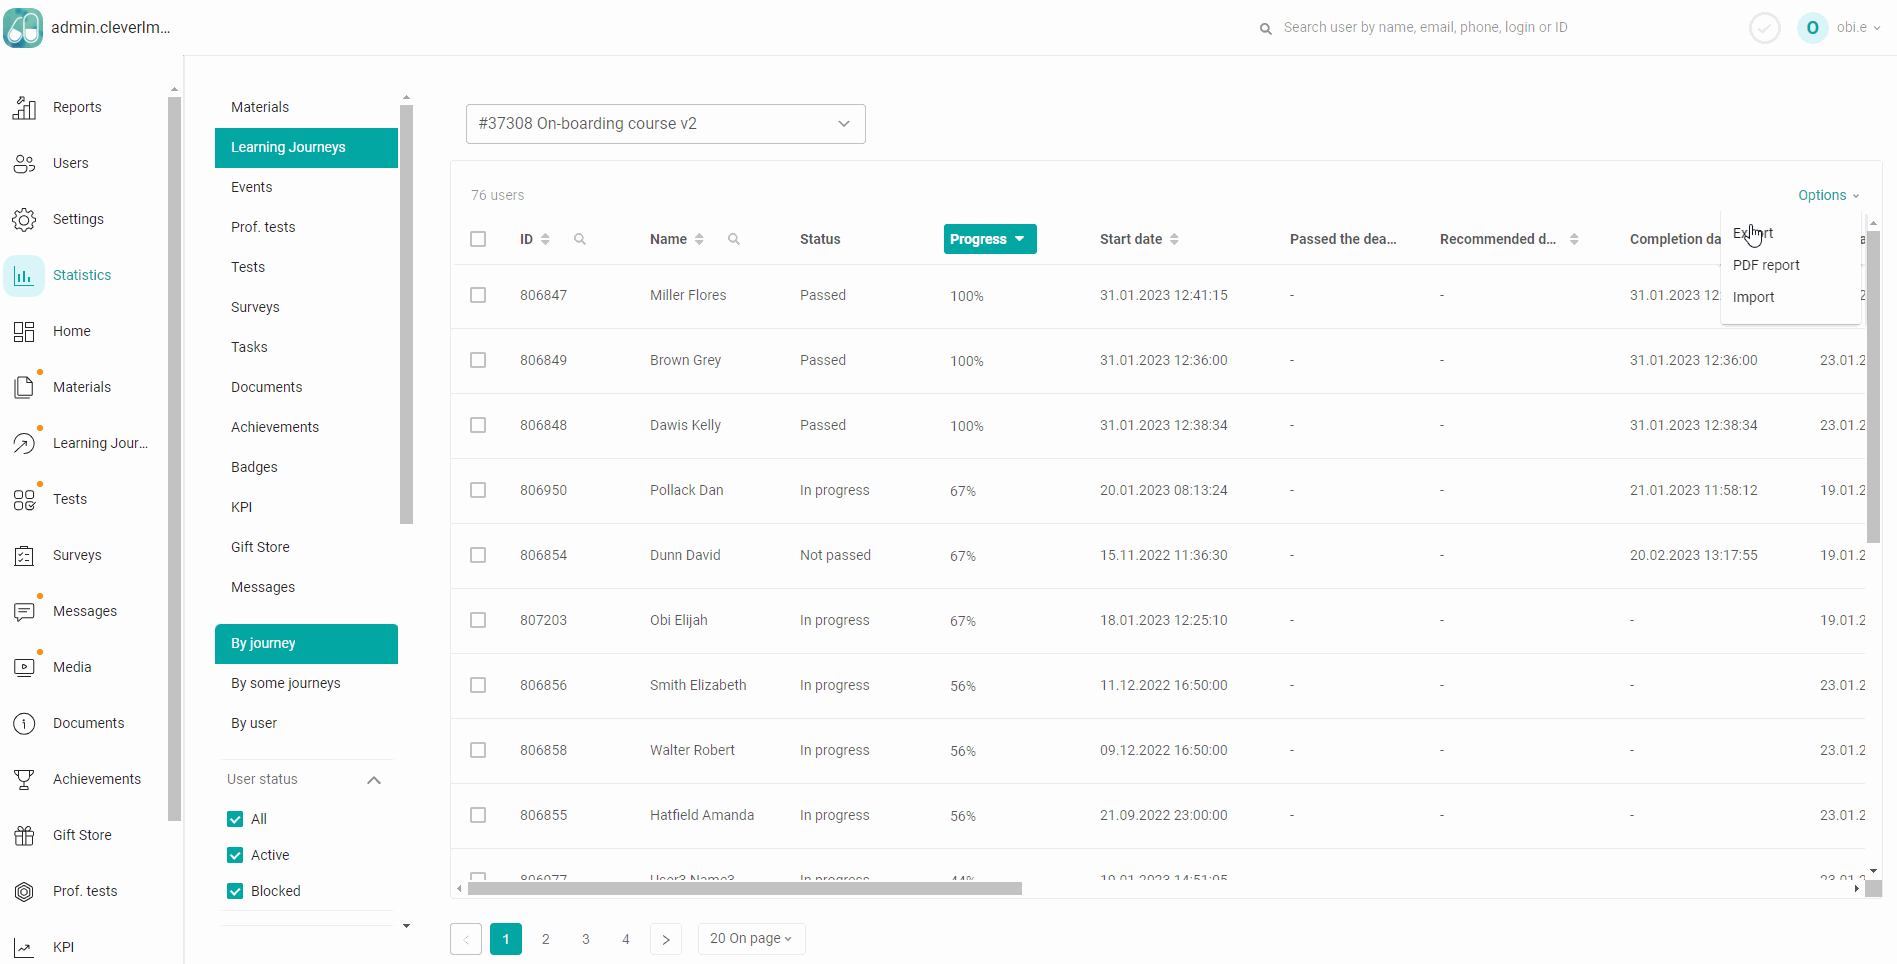
STATISTICS is a section in which data on user training results is accumulated with the ability to export them to Excel, import previously obtained results from other sources into the system and reset irrelevant data.
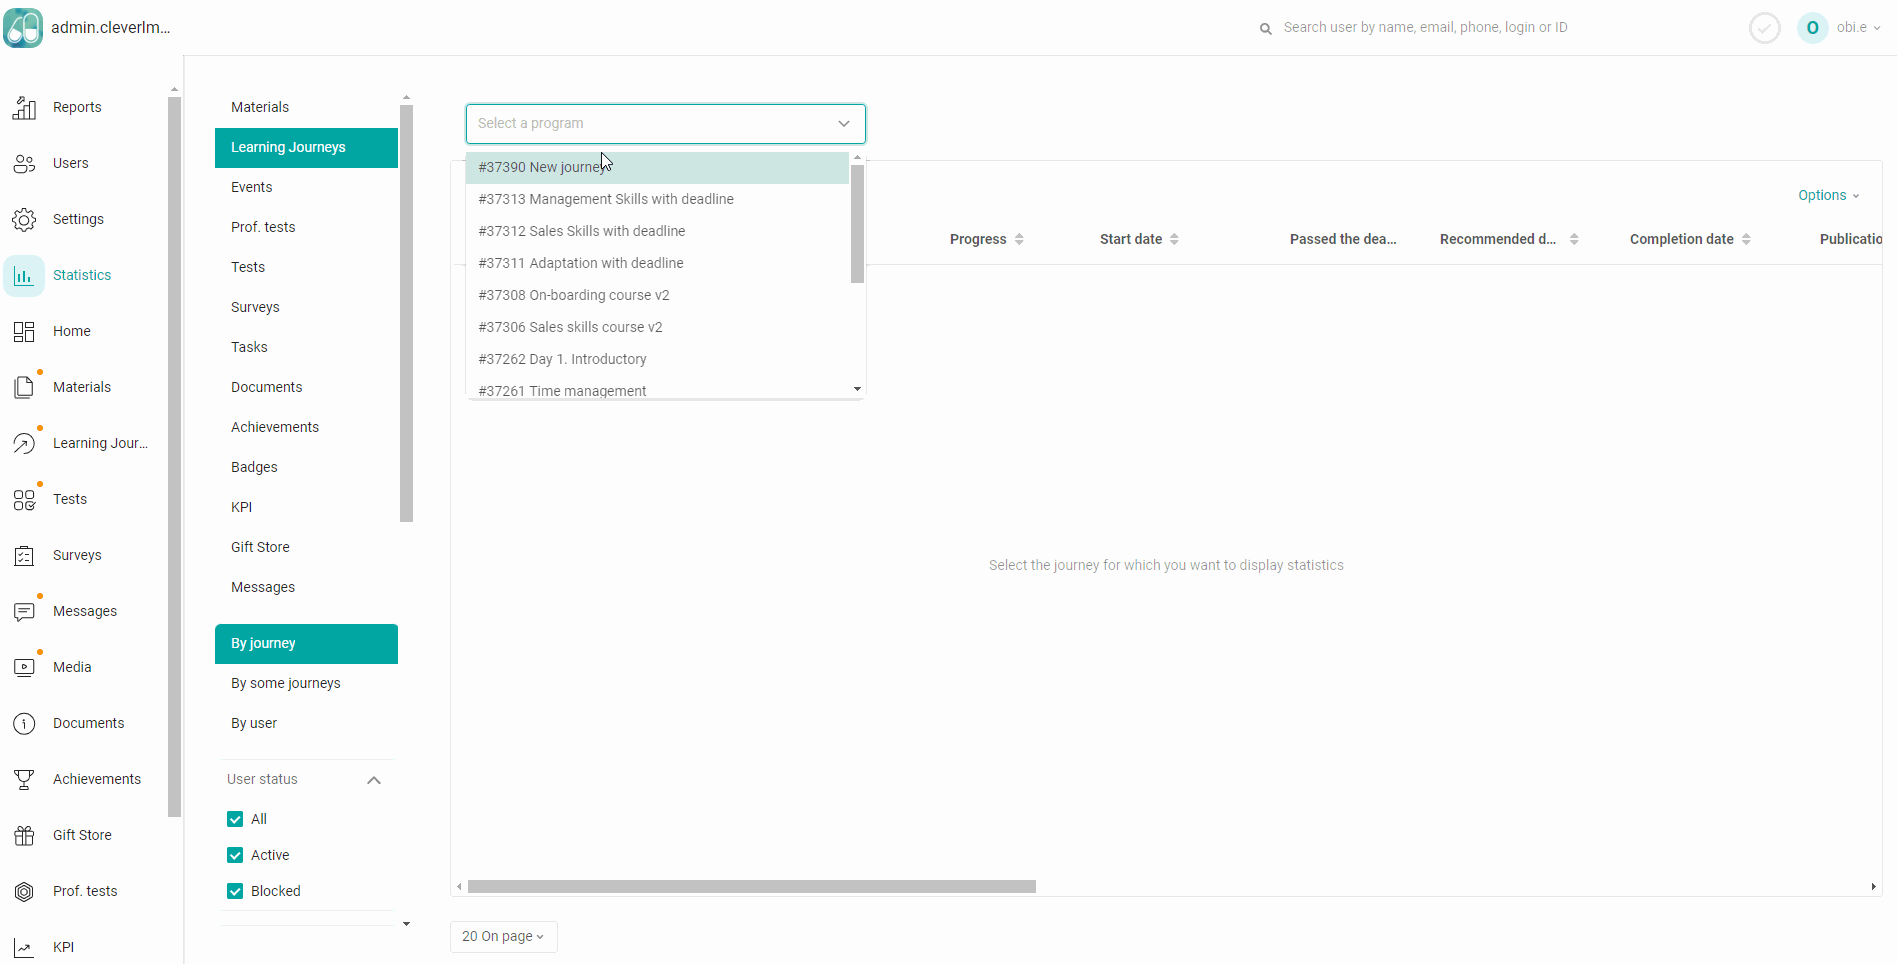
To view training results, go to the Statistics section, select the module you are interested in (training programs/events/messages, etc.) and details (by program/by user, etc.), find the required material or user. If necessary, use filters (by user groups/passage status, etc.) and sorting (by progress/date, etc.).
Viewing Statistics If necessary, this information can be downloaded and worked with in Excel, building pivot tables, graphs and diagrams. To do this, click Options - Export in the upper right corner and select the fields that you will need in the upload.
Exporting StatisticsIf you need to add user results obtained earlier to the platform (for example, from another LMS or during offline training), use import. To do this, open the Statistics section, select the section and material for which you need to add data, click Options - Import in the upper right corner, fill out the template and upload it to the platform.

Importing Statistics
If it is necessary to reset the statistics (for example, if the user wants to retake the test, but the attempts have ended), go to the Statistics section, select the section and material for which you want to reset the result, mark the user for whom you want to reset and click Actions - Reset statistics.
Resetting Statistics
Detailed information about statistics can be found in this article.
Check how the training statistics of the user you created have changed since you started completing the training program.
TECHNICAL SUPPORT
Technical support for administrators
If you have questions about working in the administrative panel, you can either find the answer yourself in our knowledge base, or ask a question in a chat with technical support if the answer was not found.
To do this, click on the message icon in the lower right corner of the admin panel. A window will open with the opportunity to write to the technical support chat or open the knowledge base, which contains detailed instructions with screenshots for working with each section of the platform.

Knowledge base
You can also ask questions to technical support by email [email protected]