The import file can be used to upload a large number of groups of your structure to our platform.
This function is often used when launching a new company on our platform.
To load groups with an import file, you must:
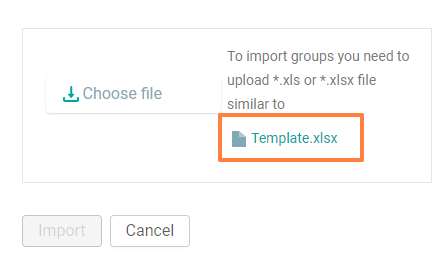
1. In the "Settings" section, download the import file.
2. Prepare the platform.
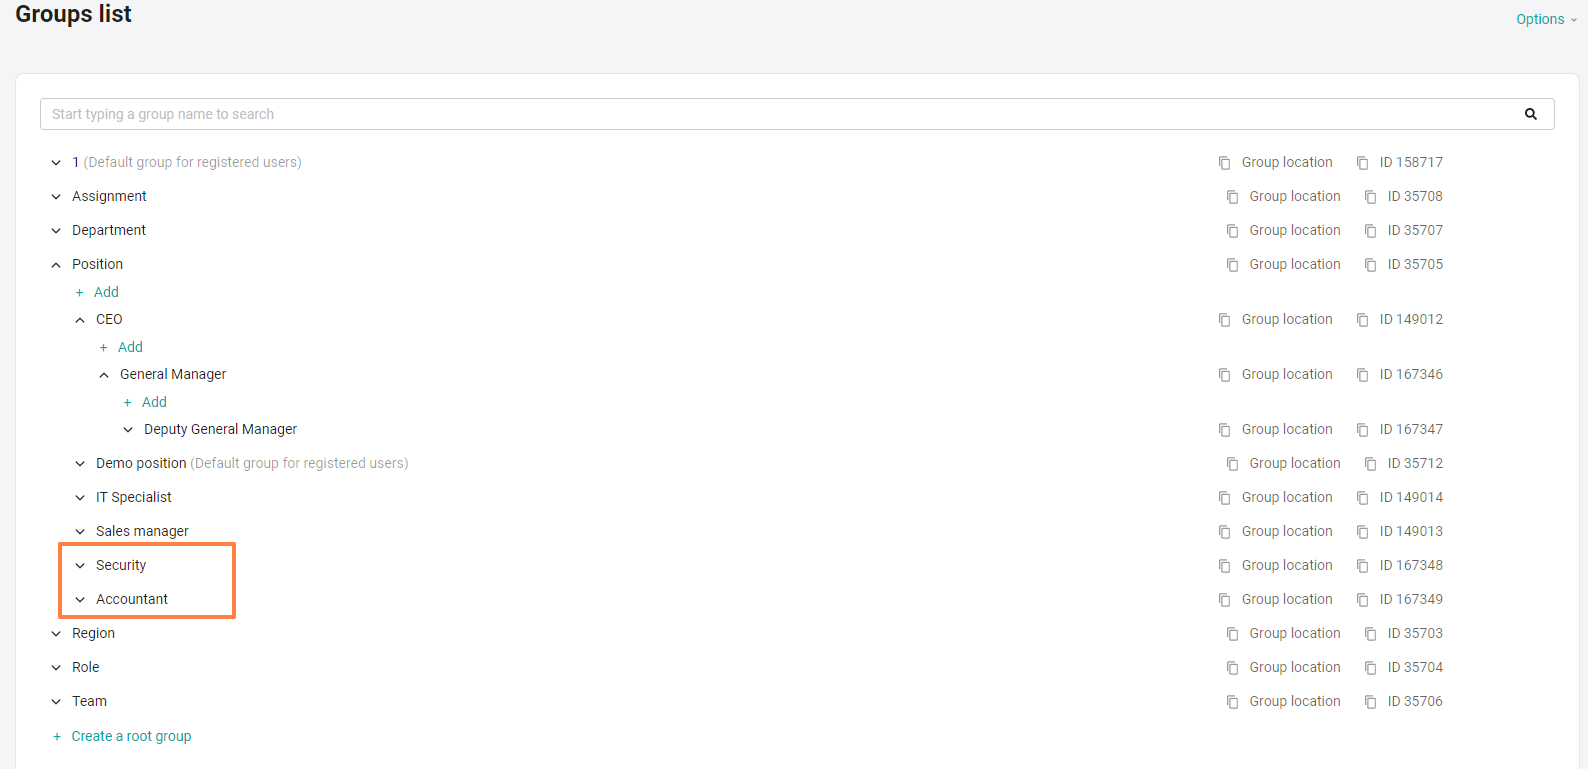
There are already root groups on the platform.
And subgroups (nested subgroups in the root)
These groups on the platform are set up for example when launching a new company. And if they are not needed in your structure, then you can delete the extra groups (or rename them).
3. The import file can add root and child groups, rename them.
It is necessary to delete groups manually.
The import file contains the fields:
Group ID-values
This value can be copied by clicking on the id next to the group.
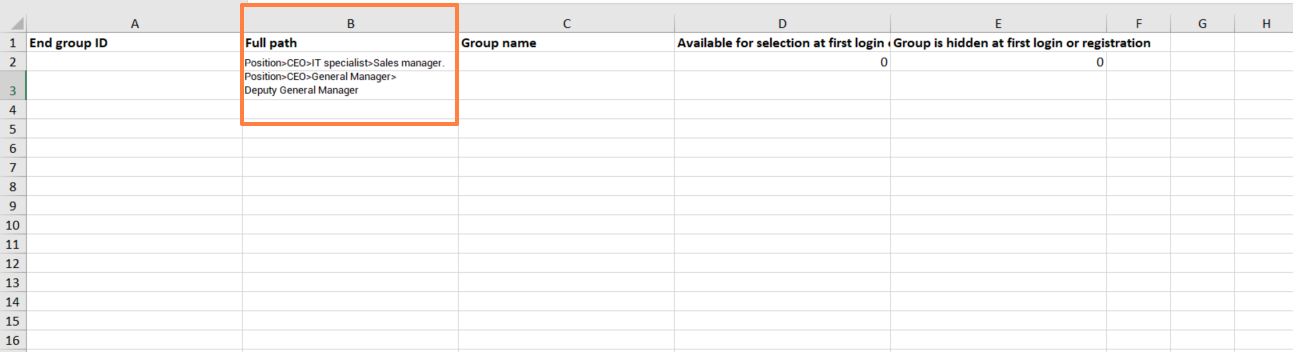
Full path.
The path to the groups is spelled out as follows: Company>Eastern Branch>Central Division.
In the example, we have prescribed a structure where "Company" is the root group. It has a subsidiary "Eastern Branch". And the branch has a subgroup "Central Division"
When specifying the full path, it is necessary to write the entire chain of parent groups separated by the symbol ">"
If you write only one group name in the full path, without the symbol ">", then this line will be understood as an existing or new root group
If these groups are set up in the system, then you can copy the path by clicking on the "Path to group" button.
Group name
The name is specified for the group that we are creating or changing.
Available for selection at the first login or registration
If flag = 1, the group will be available for selection, if flag = 0, it will be unavailable for selection.
This setting is used if self-registration is enabled in the company.
Hidden at the first login or registration
1. If flag = 1, then the group will be hidden, but its descendants (if any) will be raised to the level of this group if flag = 0, then the group will be displayed.
This setting is used if self-registration is enabled in the company.
It is not necessary to fill in all 3 values (Group ID-values, Full path, Name). You can fill in one or more required fields.
If more than one column has been filled in, then the group is identified by the value of the higher priority column:
ID takes precedence over the full path, the full path takes precedence over the group name.
4. Open the downloaded import template:
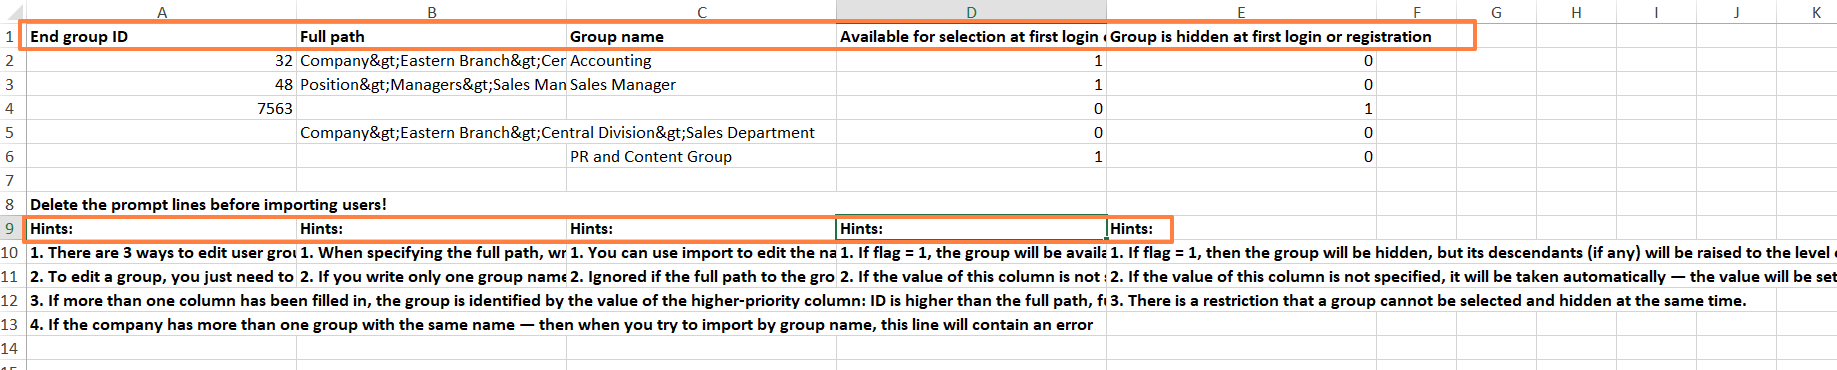
The file already has examples and hints.
After getting acquainted, they must be deleted.
5. Let's analyze the cases of loading groups.
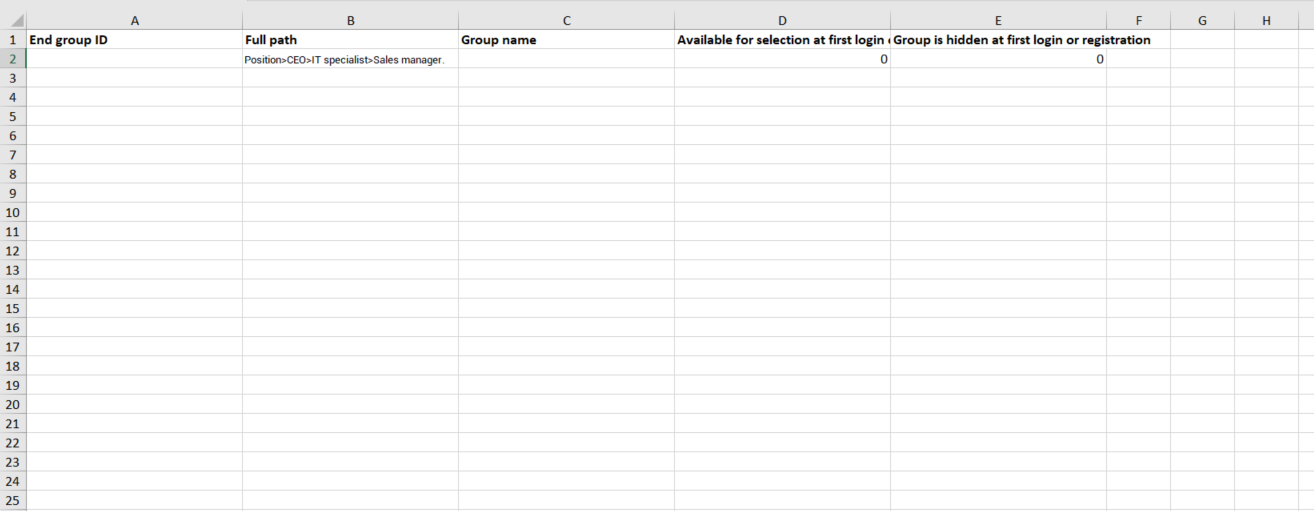
If you need to add a new root group with subgroups nested in it to the system.
For example: Position>CEO>IT specialist>Sales manager.
Prescribe the full path. We save the changes in a file and upload them to the platform.
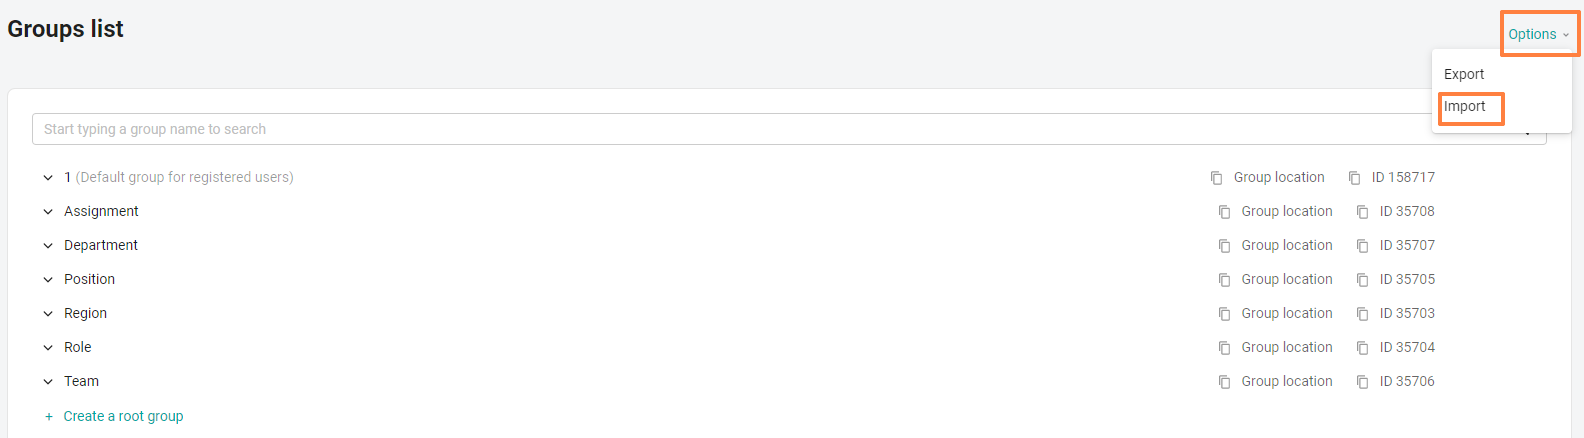
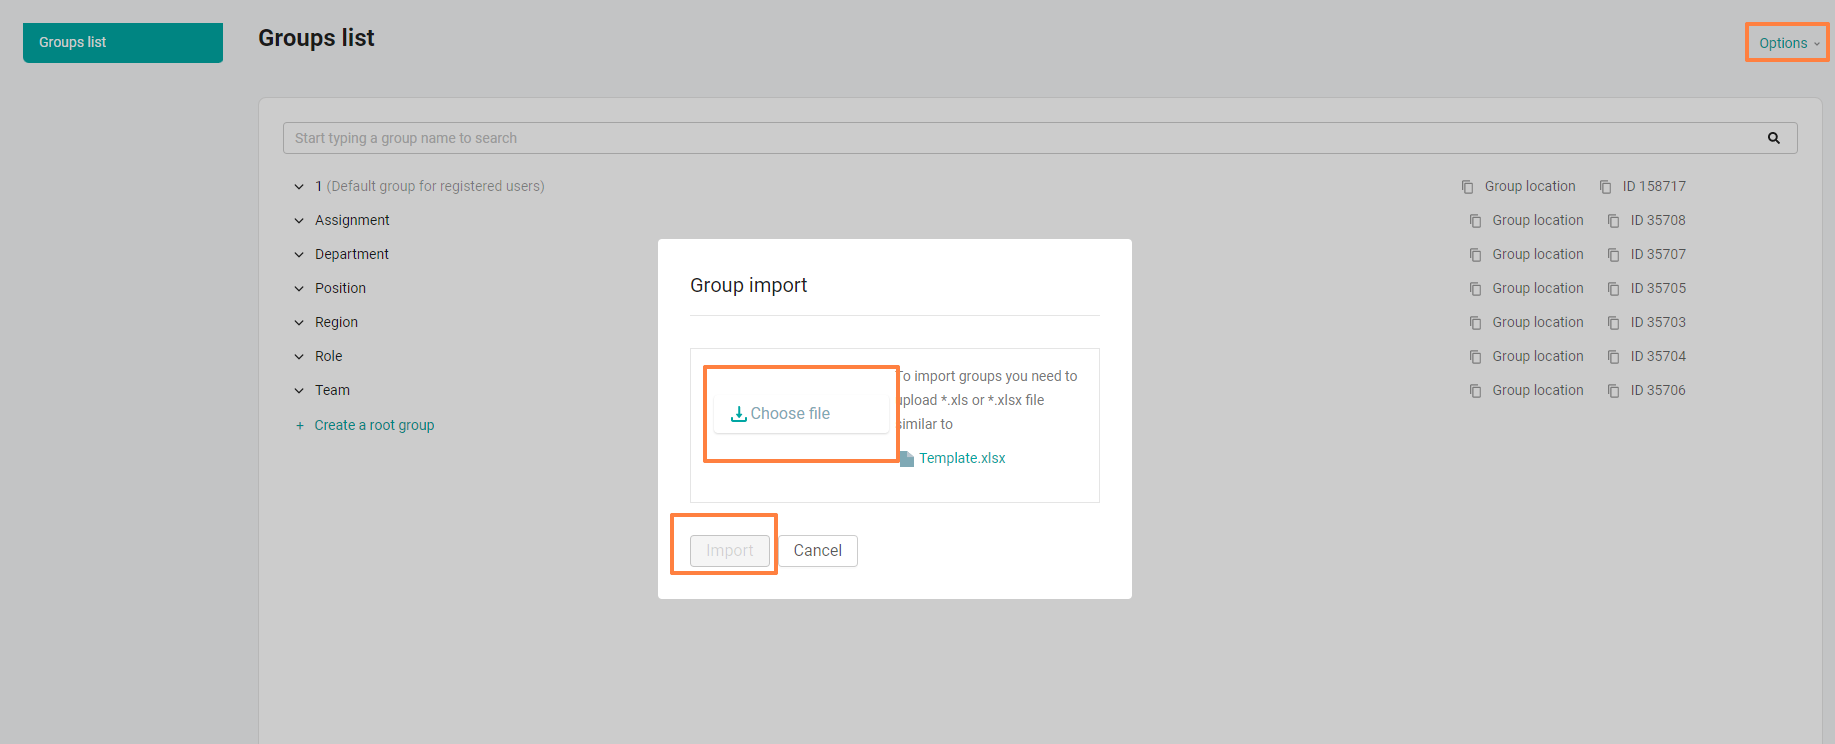
To download, go to Settings > Options > Import > Select the prepared file > Click the import button.
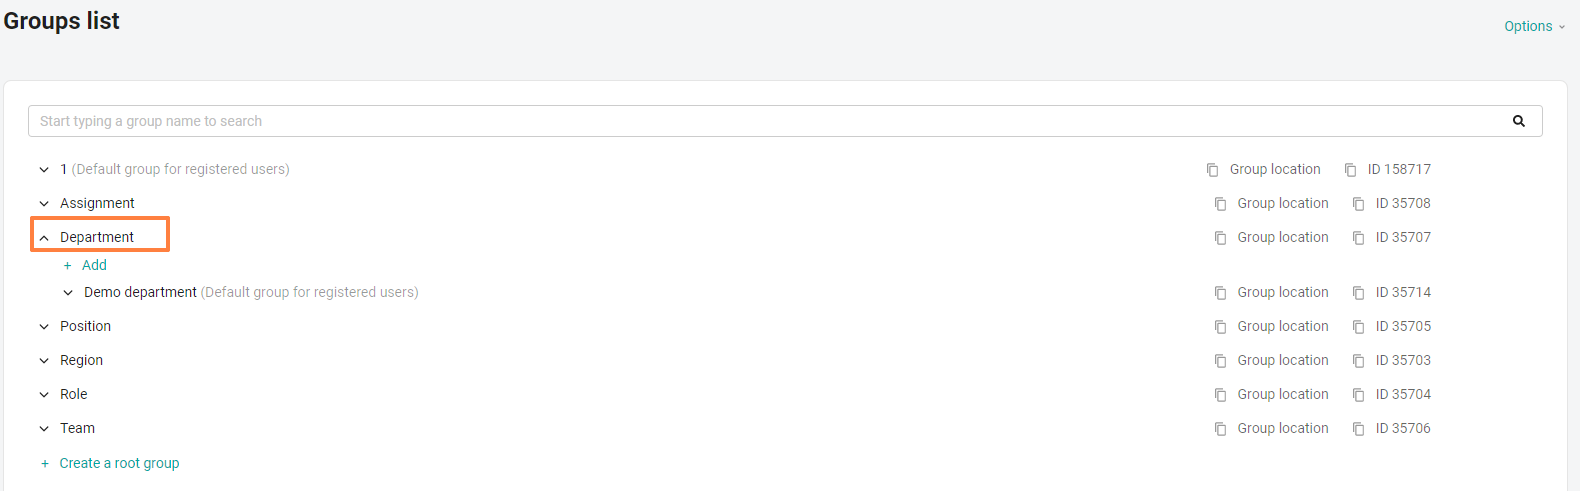
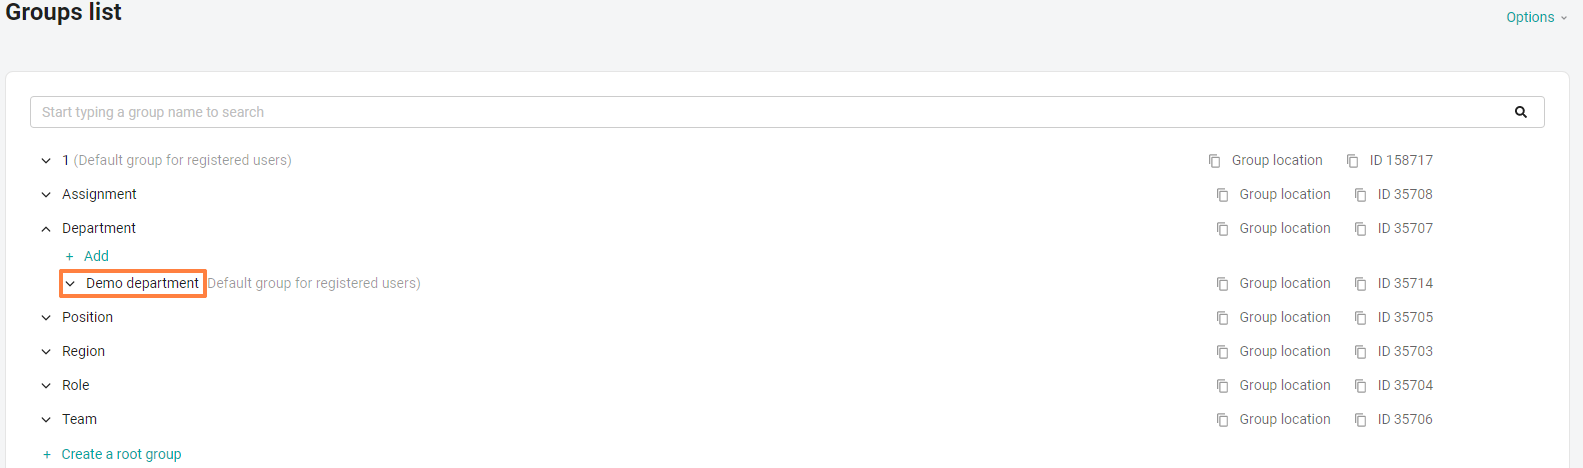
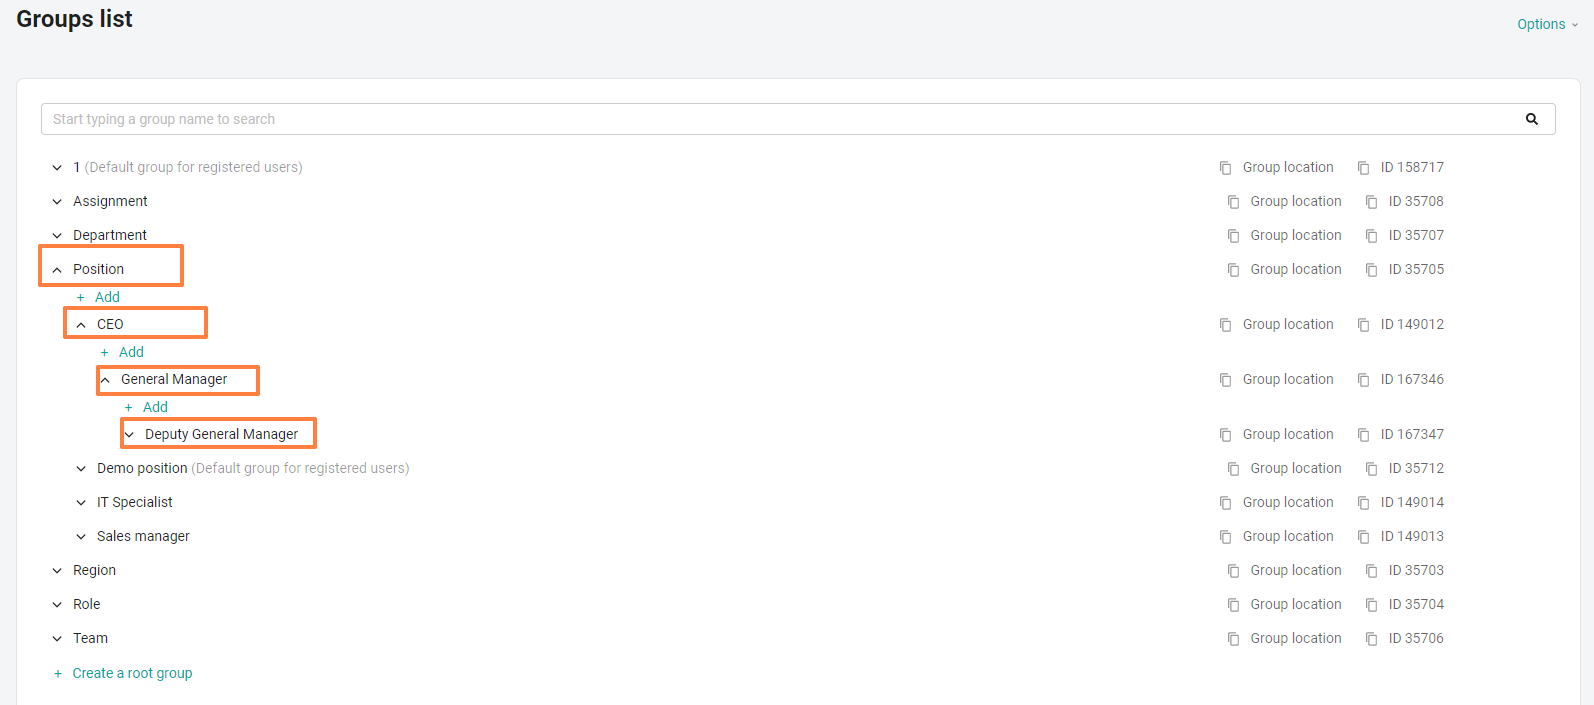
We update the settings page and see that new groups have appeared in the list.
If it is necessary to add 2 more groups to the central division from the examples above, in addition to accounting. For example, "Legal Department" and "Sales".
Also in the full path we write:
Upload the file to the admin panel. And we see that new groups have appeared in the list.
If the group needs to be renamed:
It is necessary to specify its id (copy it to the admin panel) and in the "Group name" field - a new name.
In this way, you can add a large number of groups.