Users can independently register in the application if the "Registration" module is enabled.
To enable additional functionality, contact your personal support manager.
You can set up different options for distributing users into groups on the platform after self-registration.
This is important because the content on the platform is opened to users by the groups in which they are located.
And in order to prevent someone else from registering in your application and seeing the content, there are several registration methods.
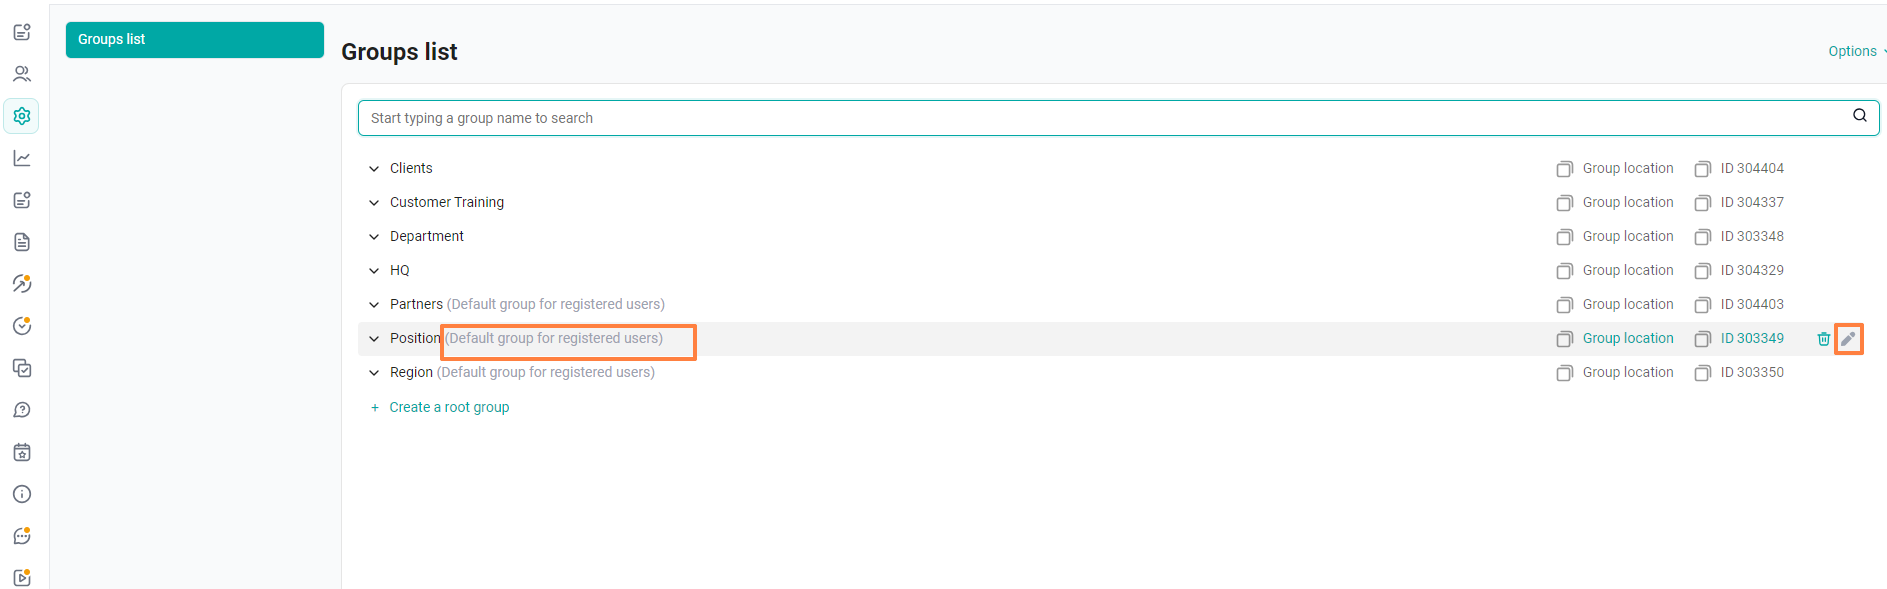
1. During registration, users are always assigned to the same group previously set by the administrator. After that, the administrator will independently distribute these employees already in the company structure. So people who have registered by mistake will not see the content. To do this, you do not need to assign content to these groups.
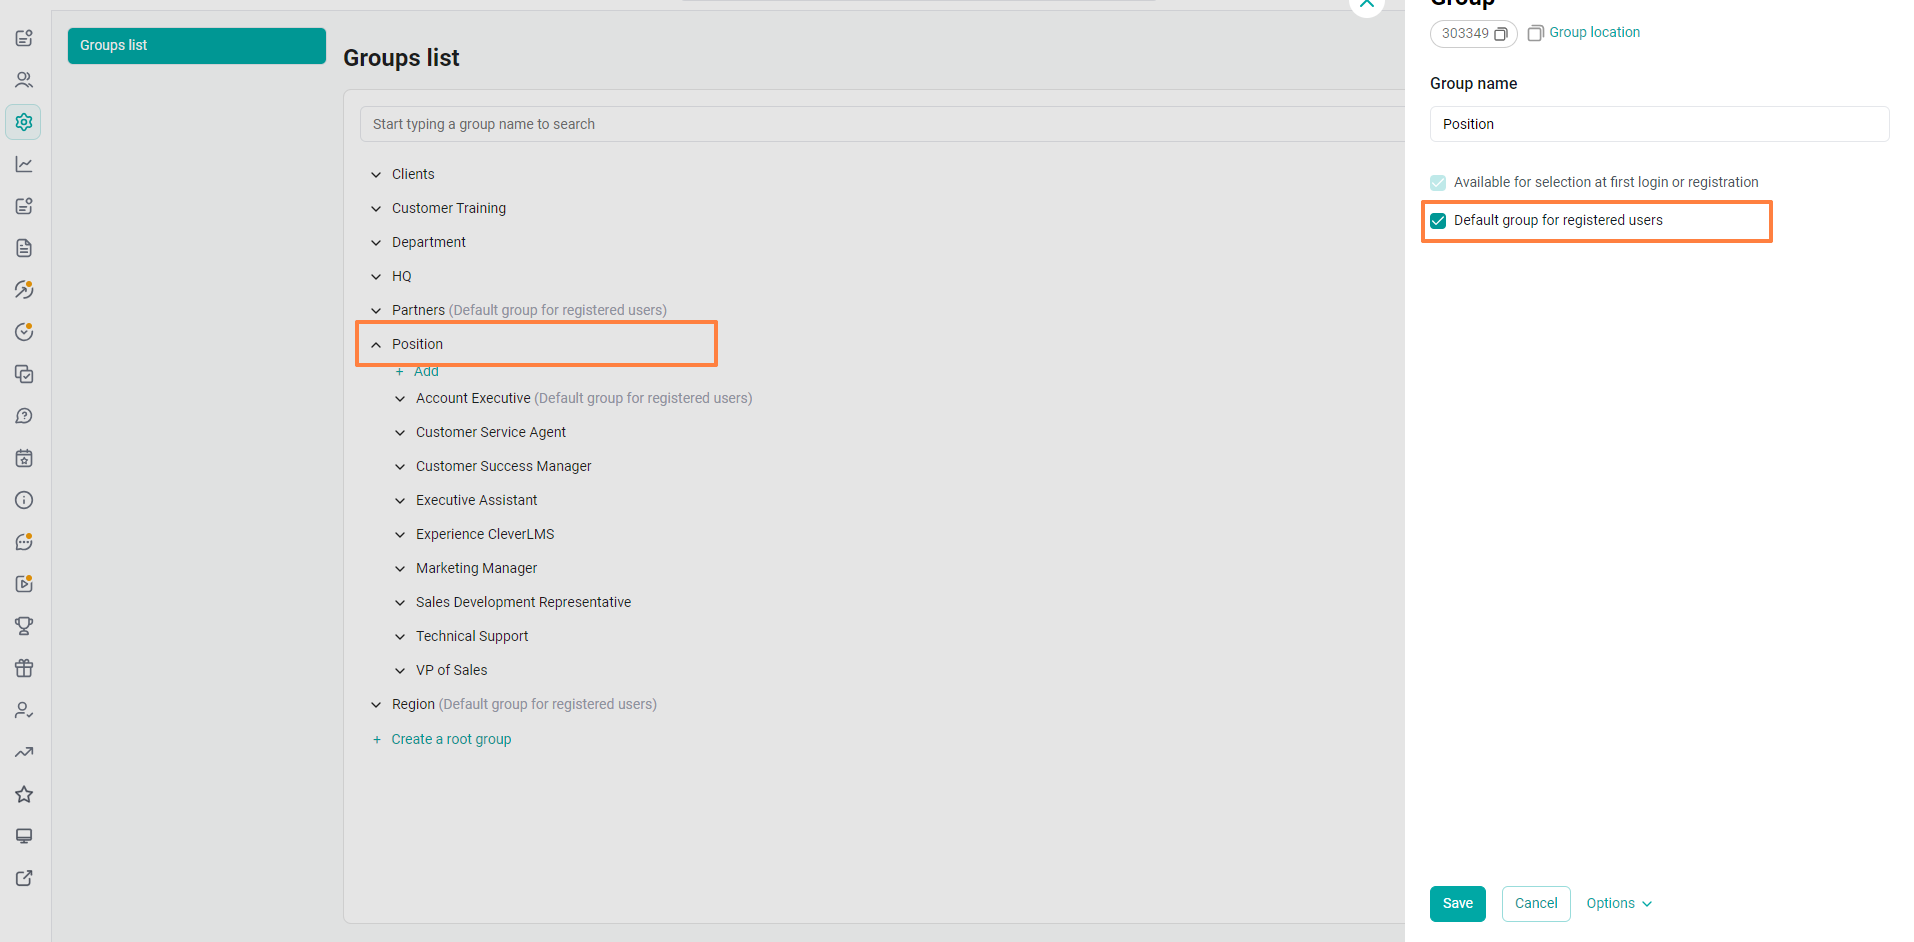
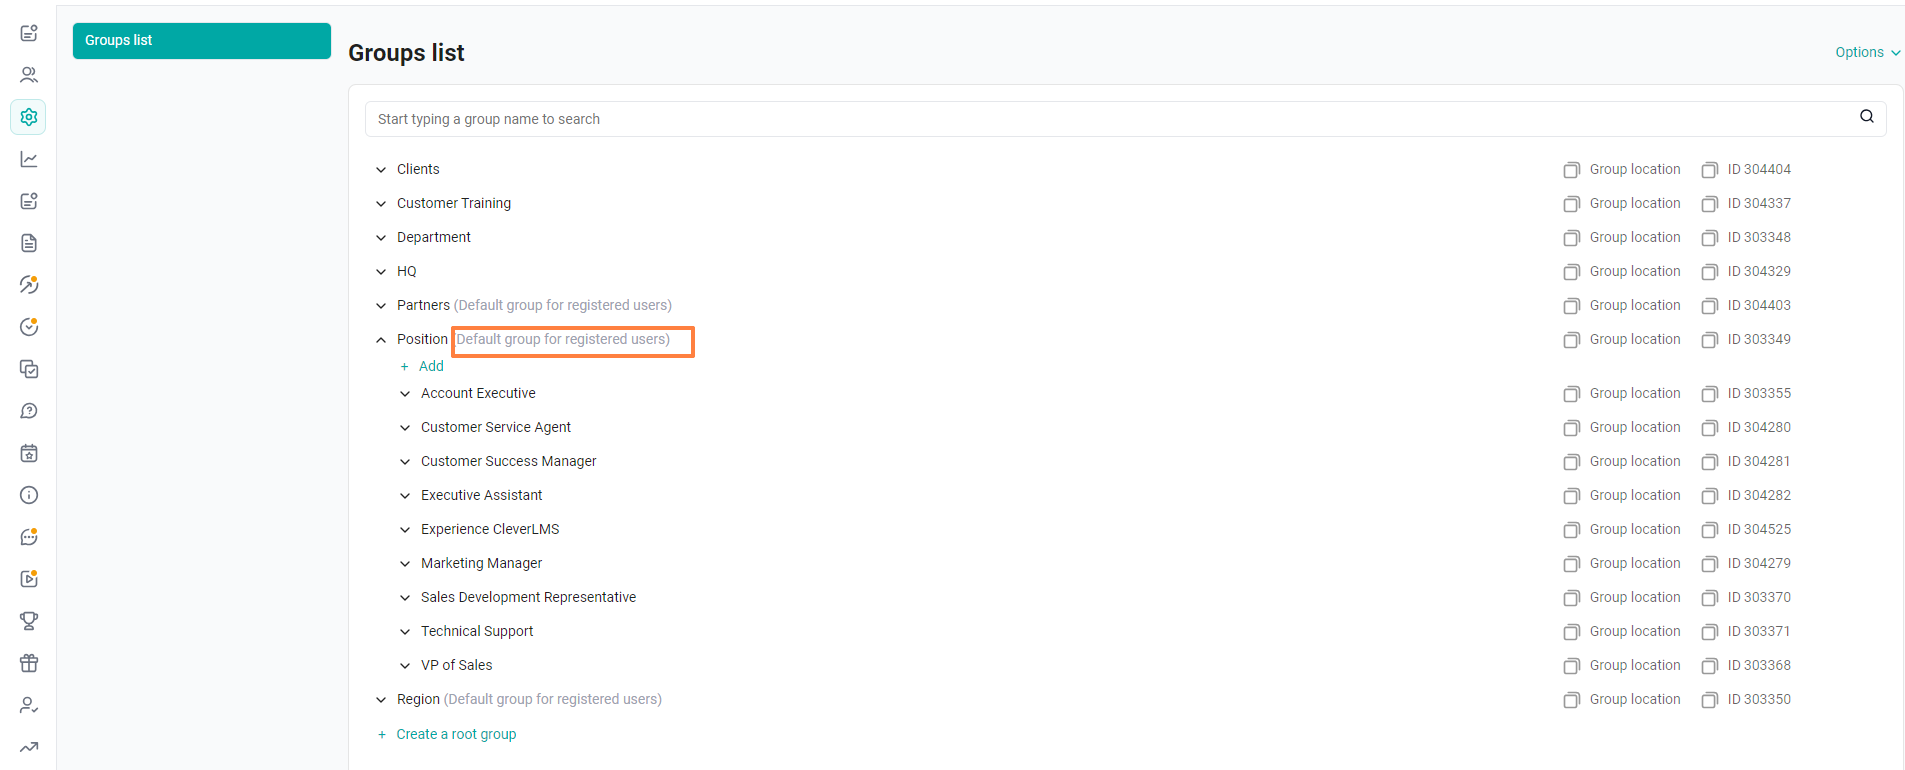
In the "Settings" section, you need to tick the group. It can be like a root group (as in the example) so is the nested one, for example an intern. To mark a group, you need to click on the pencil. But in one branch (this is the root group, for example, the assignment and the subgroups nested in it), this tick can be specified only 1 time.
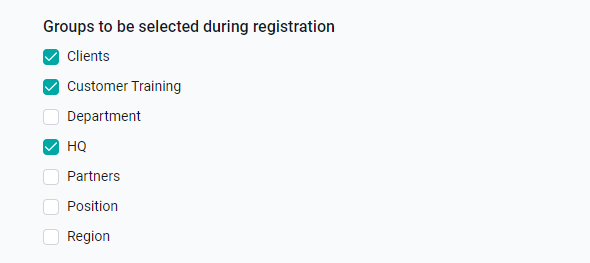
2. When registering, users can independently select groups from the drop-down list that the administrator has configured.
In this case, users caught by mistake can log into the application.
The list of root groups for registration, in which there will be a drop-down list for selection, is agreed upon and configured in advance.
As a rule, it is configured by the technical service staff. In this case, you need to decide which groups the user will choose.
After that, you can configure the nested groups yourself, which will drop down in a list from the marked root groups.
In the settings section:
Select the group that should drop down in the list, click on the pencil and mark it as "Available for selection at the first login or registration"
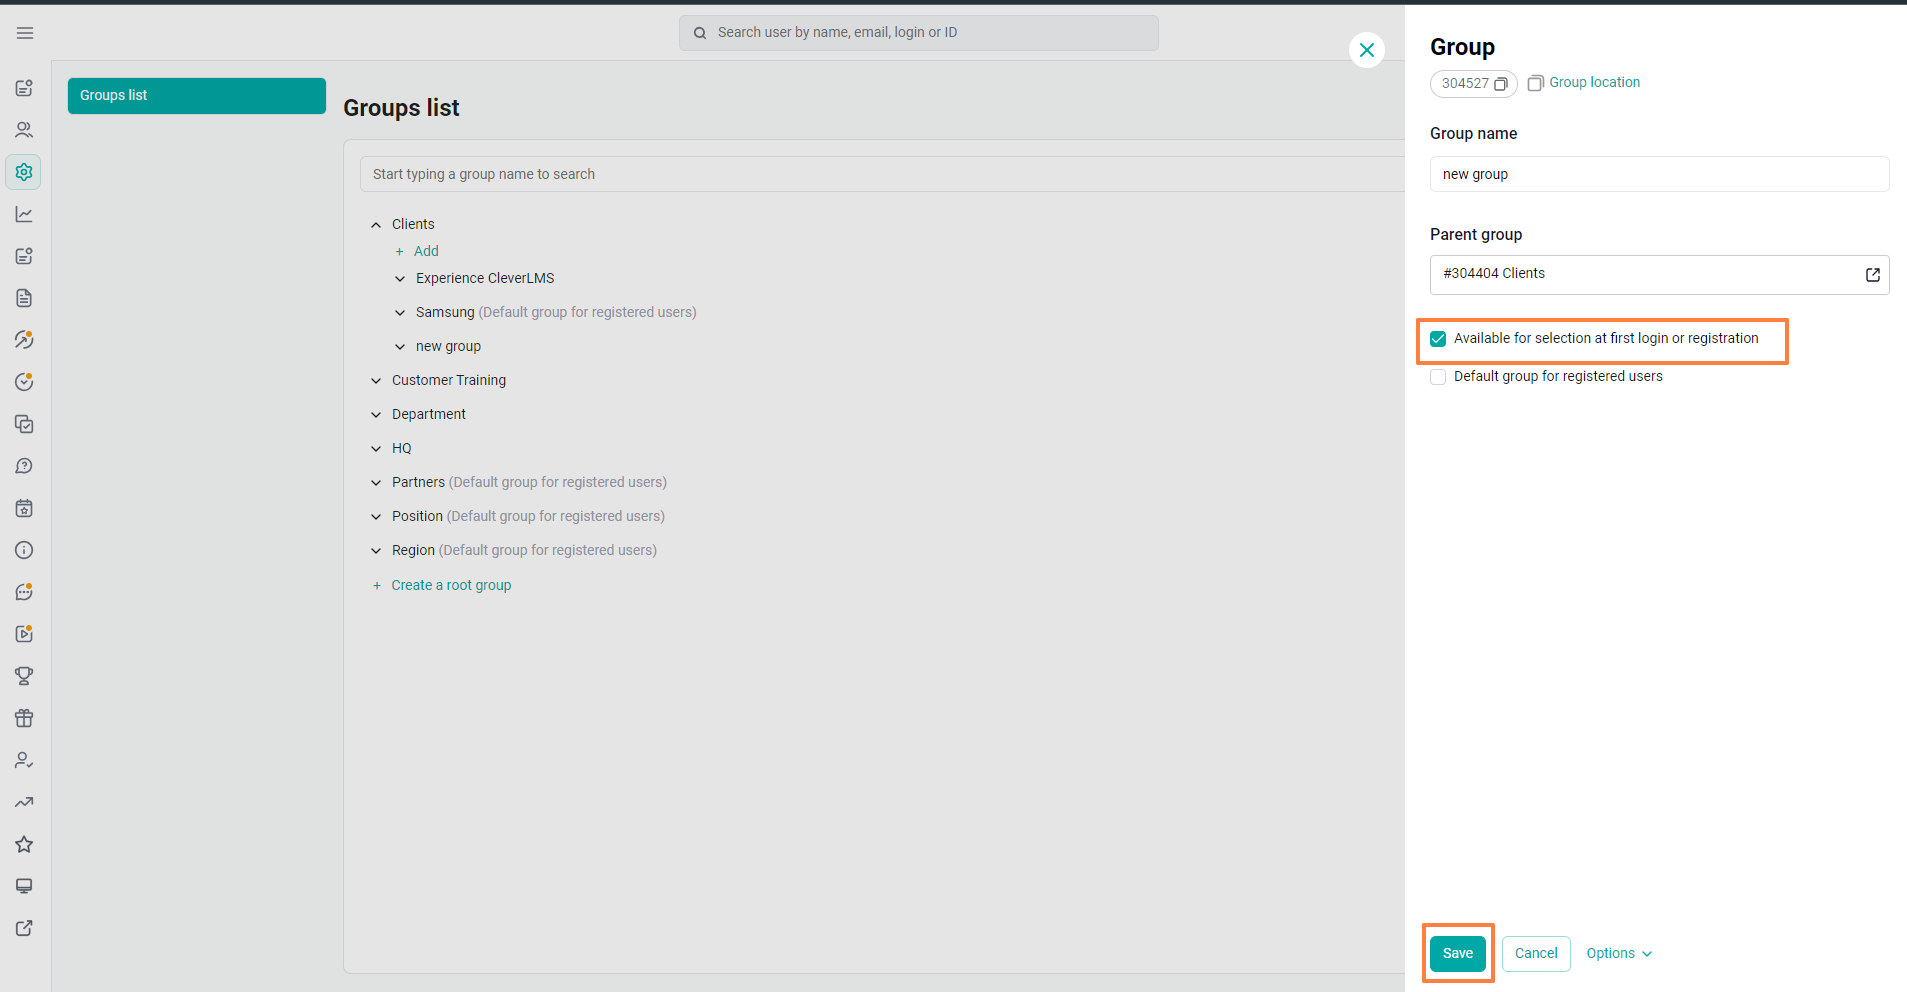
Groups that are not marked with this check mark will also be visible during registration, and they cannot be selected.
Hidden at the first login or registration - helps us not to show the group at all. So that users do not see the entire structure of the groups.
3. When registering, the employee enters a code word and gets into the groups that are defined for this code word.
In this case, users who got into the application by mistake will not see the content of the platform.
The platform administrator uploads a table where the designations of code words are written and opposite to each are listed the groups into which the user will fall if he enters this word.
When registering, the user enters a "code word".This may be the code of the point of sale in which it operates, or other values.
And after the user enters it, if the administrator uploaded such a codeword, the user will be in those groups that are intended for this codeword.
If there is no such code word, it means that our user will be in groups that the administrator has marked in advance in the settings as "the default group for registration".
Learn more about this method: How to set up auto-assignment of groups.