This section allows you to configure the structure of groups. This is necessary at the very first stages of the company's launch.
At the launch stage, you are provided with a company. A structure has already been created in it (for example).
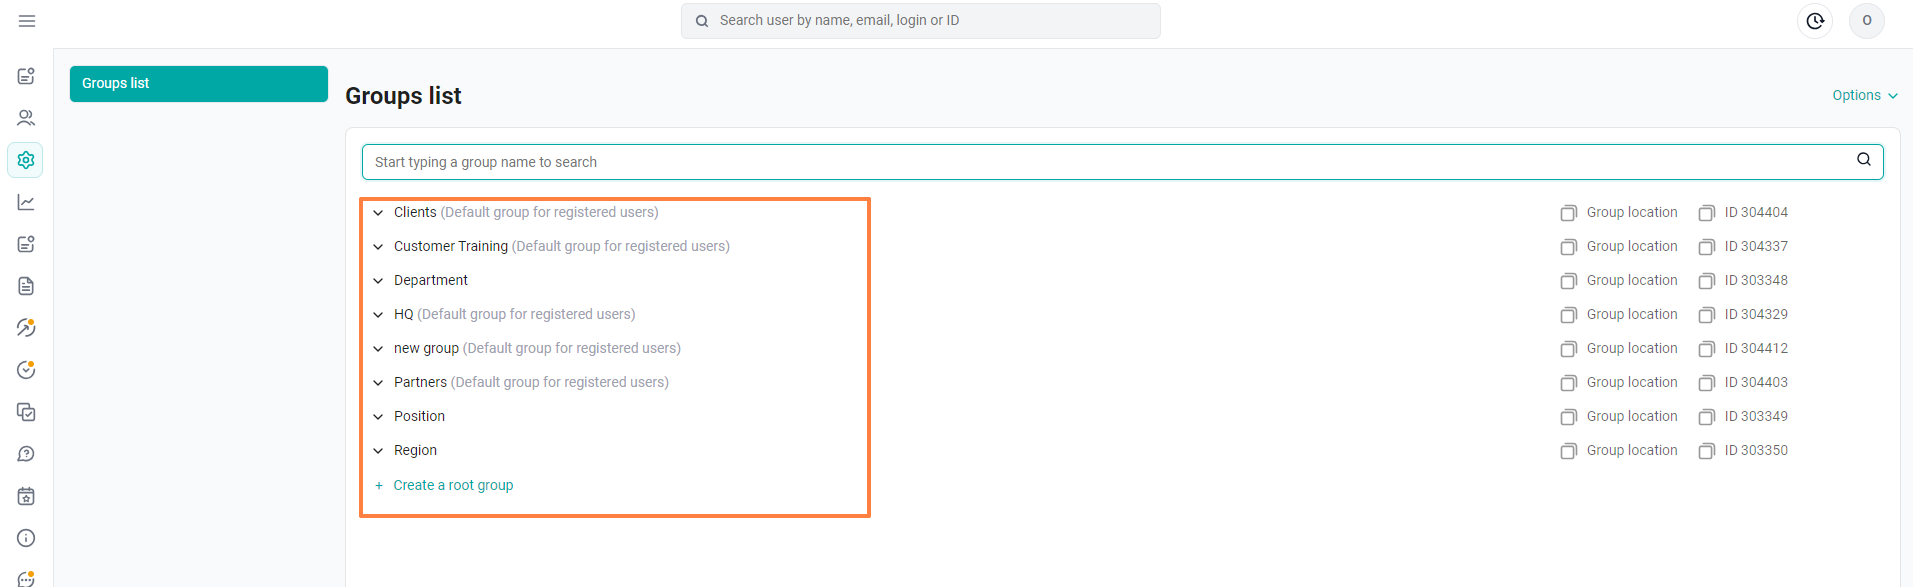
You can edit groups in it, rename them according to your structure, and delete unnecessary ones.
Opposite each one there is a pencil for editing and a trash can sign for deletion.
There is also a button to add a new root group.
Root groups can only be added by an administrator with the "Main Admin" role.
The root group is the name of the main group, which will contain many groups inside.
For example, a region is a root group, a city is a nesting. In the city, we create a list of cities (Volgograd, Moscow, etc.) - these are already nested groups in the "city". But they are all in the same branch of the root group "Region".
The number of root groups can be increased to 20 or reduced to 3
You can create nested groups in each root group. In 3 root group there can be up to 100 nested groups with further branching.
Also note that in our sample structure, there is a nested group "Administrator" in the root group "Assignment" - this is just an example. And the users you put in this group will not be administrators. You can delete or rename this group (like any other).
The main point of creating groups on the platform is the further convenience of assigning content. Thoughtlessly created groups complicate further administration of the platform, and the correct structure will greatly facilitate the work of administrators.
Note: Administrators on the platform are registered by the support service upon request. An article on this topic in the link.
Thus, you can independently set up a flexible and convenient structure for your company in the "Settings" section.
You can also read articles on this topic:
Adding and editing groups
How to fill in the group import template in the "Settings" section
Export Groups
After we have added the groups:
1. We register employees in them.
2. Add content and set access to it according to these groups. And users who are in groups to whom the content is open will see it and will be trained.
3. You, as an administrator, will upload statistics on users or groups of users to monitor the dynamics of training.