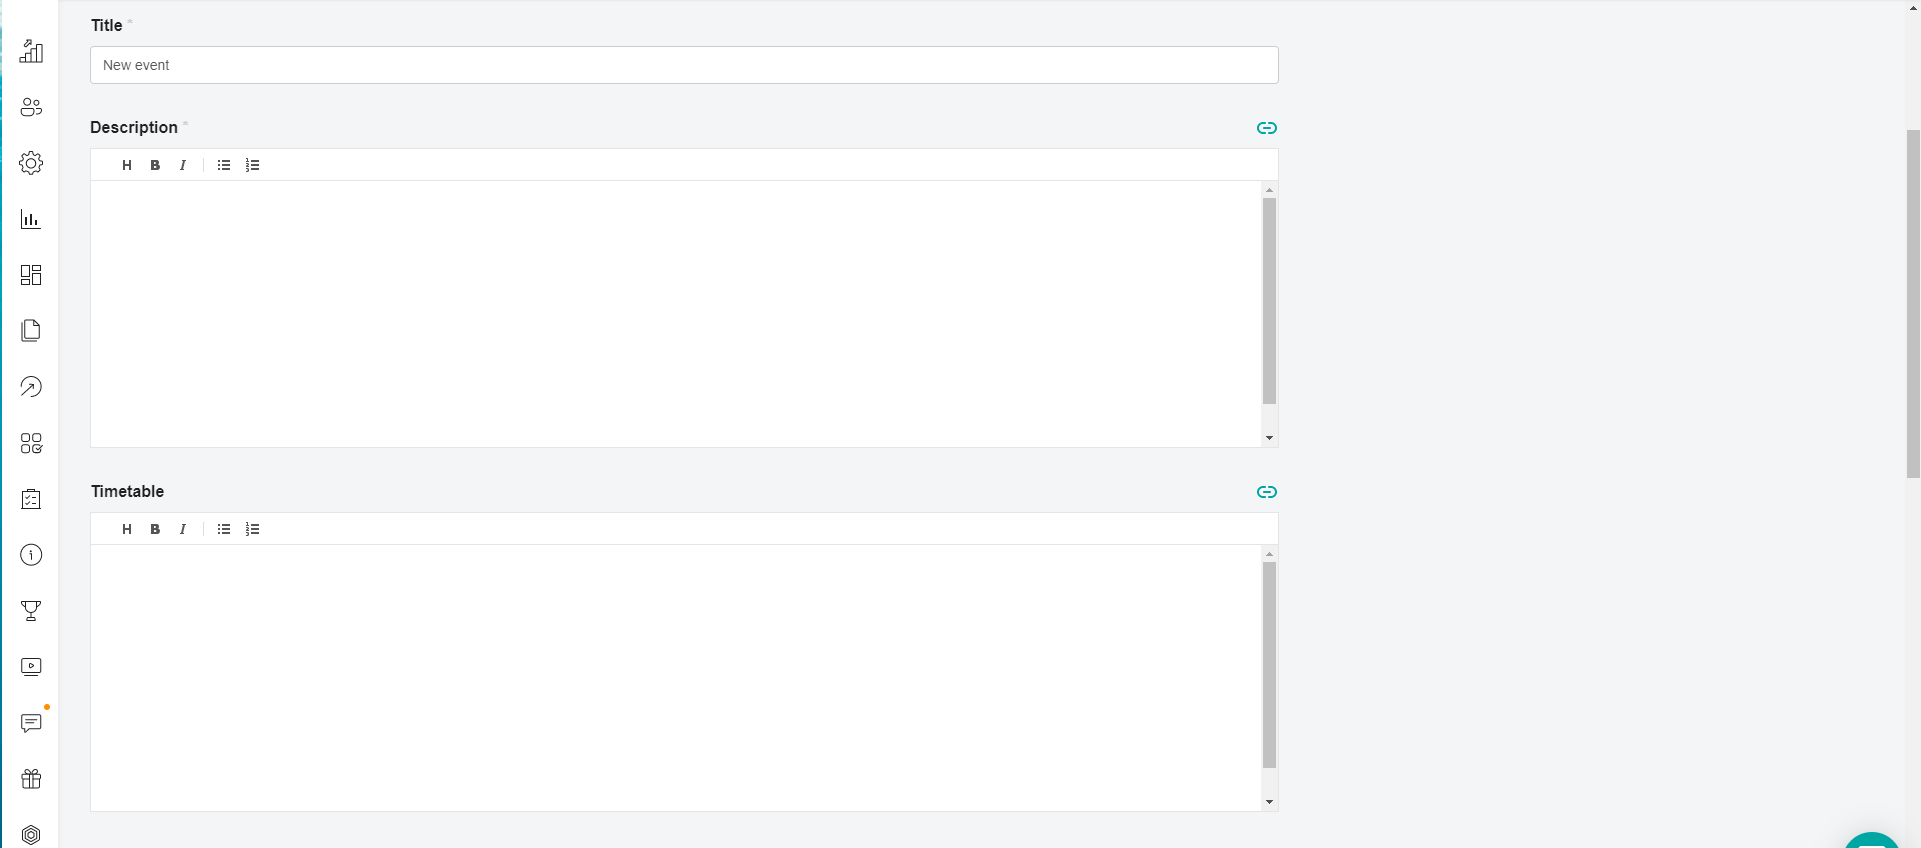
In the SETTINGS tab, fill in the Name, Description, Event Schedule, Speaker's full name and Speaker's Organization in the text fields. The ability to insert links is supported in these fields.
Links are added by clicking on the paper clip in the right corner of the text field.

By clicking on the button, a window opens:
Next, click on the arrow in the "Link type" field.
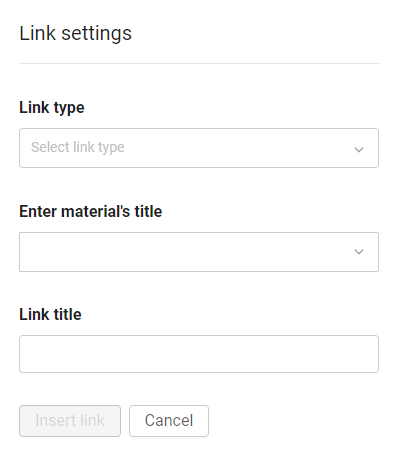
The links are divided into:
1. External - to any external source. For example, a link to a YouTube video.
In the link type, specify "External link".
"Insert an external link" - copy the link to the source in the address bar and paste it into our field.
Specify the "Link name". The text that will be clickable.
2.Internal - based on the material from the application. For example, for an introductory training program for beginners.
To do this, select the section in which the material for the link is located.
In the "Name of the material" field, we search and select it by name or id.
Specify the "Link name". The text that will be clickable.
Important: when you link to external or internal materials, you need to take into account that users have the same access in the material in which they posted the link and in the material to which the link leads.
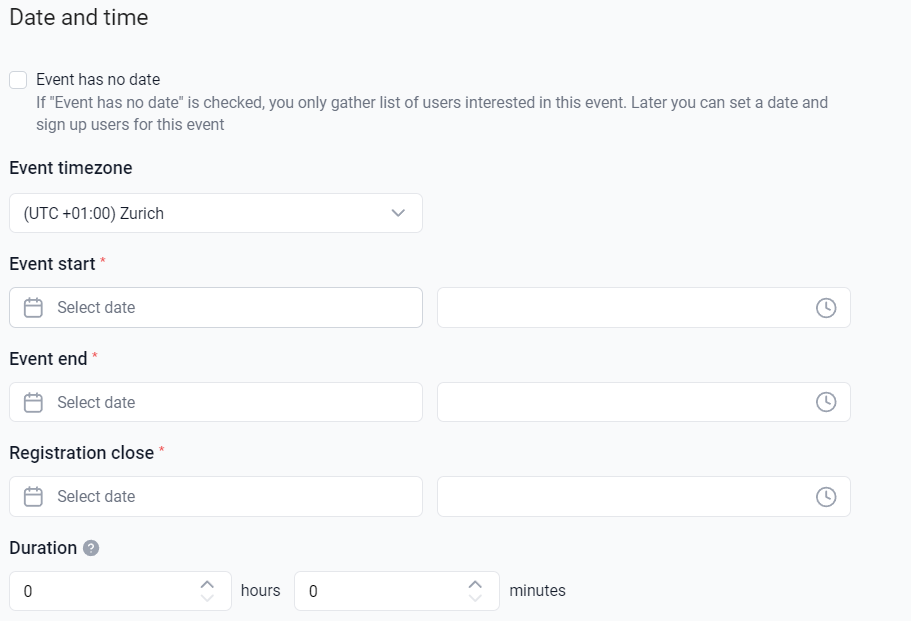
Specify the date and time of the event.
Setting up an event without a date is only available for "Online" and "Offline" events.
When you check the Event without a date, the date and time setting fields are not displayed.
You can set this setting to first collect a list of those who want to attend the event, and then set the date of the event and register participants.
The time zone of the event affects the specified time in all fields of the event. By default, the Moscow time zone is used.
Click on the Start of the event, End of the Event and End of Registration fields and, in the calendar pop-up window that appears, select the necessary dates.
In these fields, it is possible to specify a specific end time of the event / registration.
On the calendar, the specified date is highlighted in color. There is no way to select a date earlier than the current day. The end time of the event/registration cannot be earlier than the start time of the event.
When filling in the Event Start field, if the Registration End field is empty, then the time from the Event Start field minus one minute is inserted into it.
If the Event End field has already been filled in, the value in the field does not change.
Note: For events such as "Online Conference in Zoom", if there is already another rally on the selected zoom account during the specified time period (possibly not inside the platform), then a corresponding warning is displayed about this. At the same time, the rally can still be saved.

For an "Offline" event, specify the Address of the venue. This field also supports the ability to insert links.
If the "Online" event type is selected, the Link field is displayed instead of the venue address to enter the URL of the link to the event.
For an event of the "Online Conference in Zoom" type, the Zoom Conference Settings block is displayed.
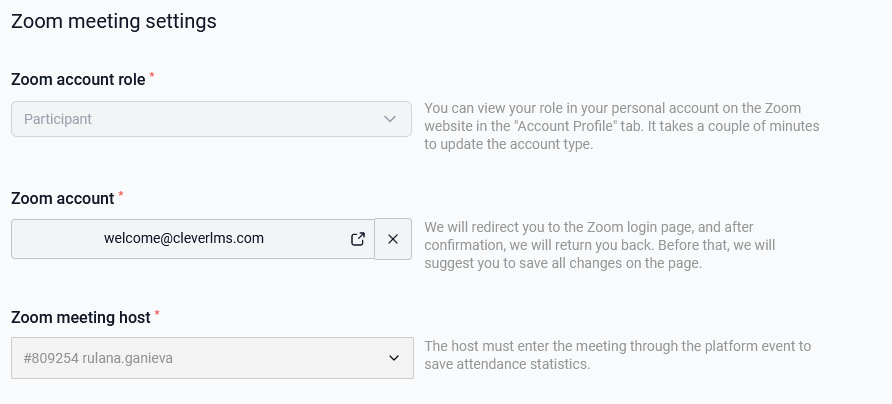
Select the Role of the account in Zoom: "Administrator" or "Participant".
How do I determine the role of an account?
There are three types of accounts:
Free Member role account - limited functionality is available. The limitation of the event in the form of 40 minutes, up to 100 participants of the event, statistics will get on the platform: those who attended the event are displayed, but it will not show how much time each user spent at the event.
An account in the paid Zoom package is a Member role that does not have administrative capabilities. Limited functionality is available. The limitation of the event in the form of 40 minutes, up to 100 participants of the event, statistics will get on the platform: those who attended the event are displayed, but it will not show how much time each user spent at the event.
An account in the paid Zoom package with administrative rights. The administrator role. With these rights, all features are included - without time limit, employees who were at the event and the time they were at it are transferred, a record of the event is saved on the platform.
If you are connecting a free account or an account within a paid package, but without administrative rights, you must select the "Participant" role.
If you are connecting a paid account with administrator rights, you must select the "Administrator" role .
In the Zoom Conference Organizer field, select the platform user who will moderate the event (turn off the microphones of participants, start and end the event).
Note: There is no need to assign access to the event in advance for the conference organizer. When you select a user in the Zoom Conference Organizer field, they will automatically have access to the event, if they did not have it before.
The organizer will have to launch the conference from the application (on a mobile device or in the web version) so that the information from the Zoom account moves to the platform, and thus, statistics on the event appear in the administrative panel.
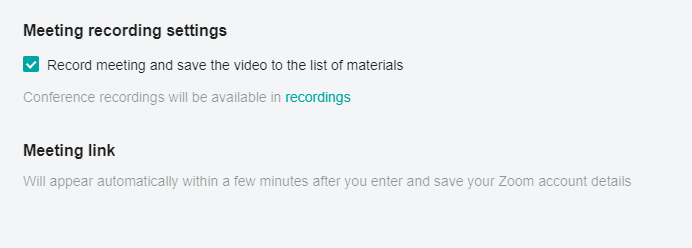
The "Record conference" checkbox allows you to record a conference. The conference recording will be available in our event in the "Conference Recordings" tab.
Next to it is the information: "Conference recordings will be available on the recordings tab", where "recordings" is clickable. Clicking on it takes you to the corresponding tab of the RECORDING event settings.
Note: The settings for automatic video recording are not displayed if the "Learning Journeys" module is turned off in the company. If the program module was enabled in the company, and then it was disabled , all the videos already created remain in the database, but new recordings are not uploaded. The video recording checkbox is not active if a free Zoom account is linked. At the same time, a warning is displayed about the inability to record a video.
In the Link to the conference block, the link will appear automatically within a few minutes.
After generating the meeting, a link to the conference with a password is inserted in the field, and a copy button appears. By clicking on the copy button, the link is copied to the clipboard.
The event has the "Active" status, it is possible to launch the event directly from the administrative panel by clicking on the Start right Now button, while the Zoom conference is launched.
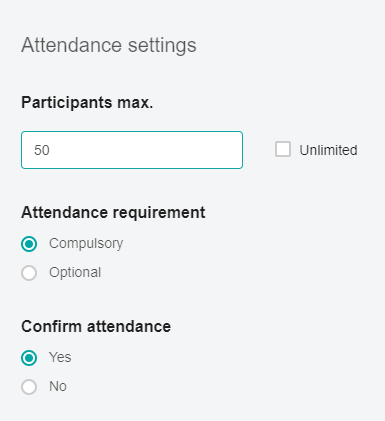
Specify the Maximum number of participants - the number of applications that can be transferred to the "Approved" status.
Note. The number of participants does not decrease during the approval of user applications.
Check the box Without restrictions if the event can have any number of participants.
Select whether the visit is required - "Mandatory" or "Optional".
The Confirm Participation setting ("Yes" or "No") affects the need for the administrator to approve user applications. If " No "is selected, users will immediately get the "Approved" status.
Required fields are indicated by the symbol *.

In the event header, the "Hidden" /"Active" toggle switch shows the availability of the event in the platform - the user's event is displayed or not.
Note: The status toggle is activated after the entire event is completed. If several languages are enabled in the company, then you need to fill in all localizations. Switching the available content languages is located at the top of the form.
After filling in the main settings, click Save Changes and proceed to the next stage of adding a file to the event.