In the QUESTIONS tab, add questions to the test.
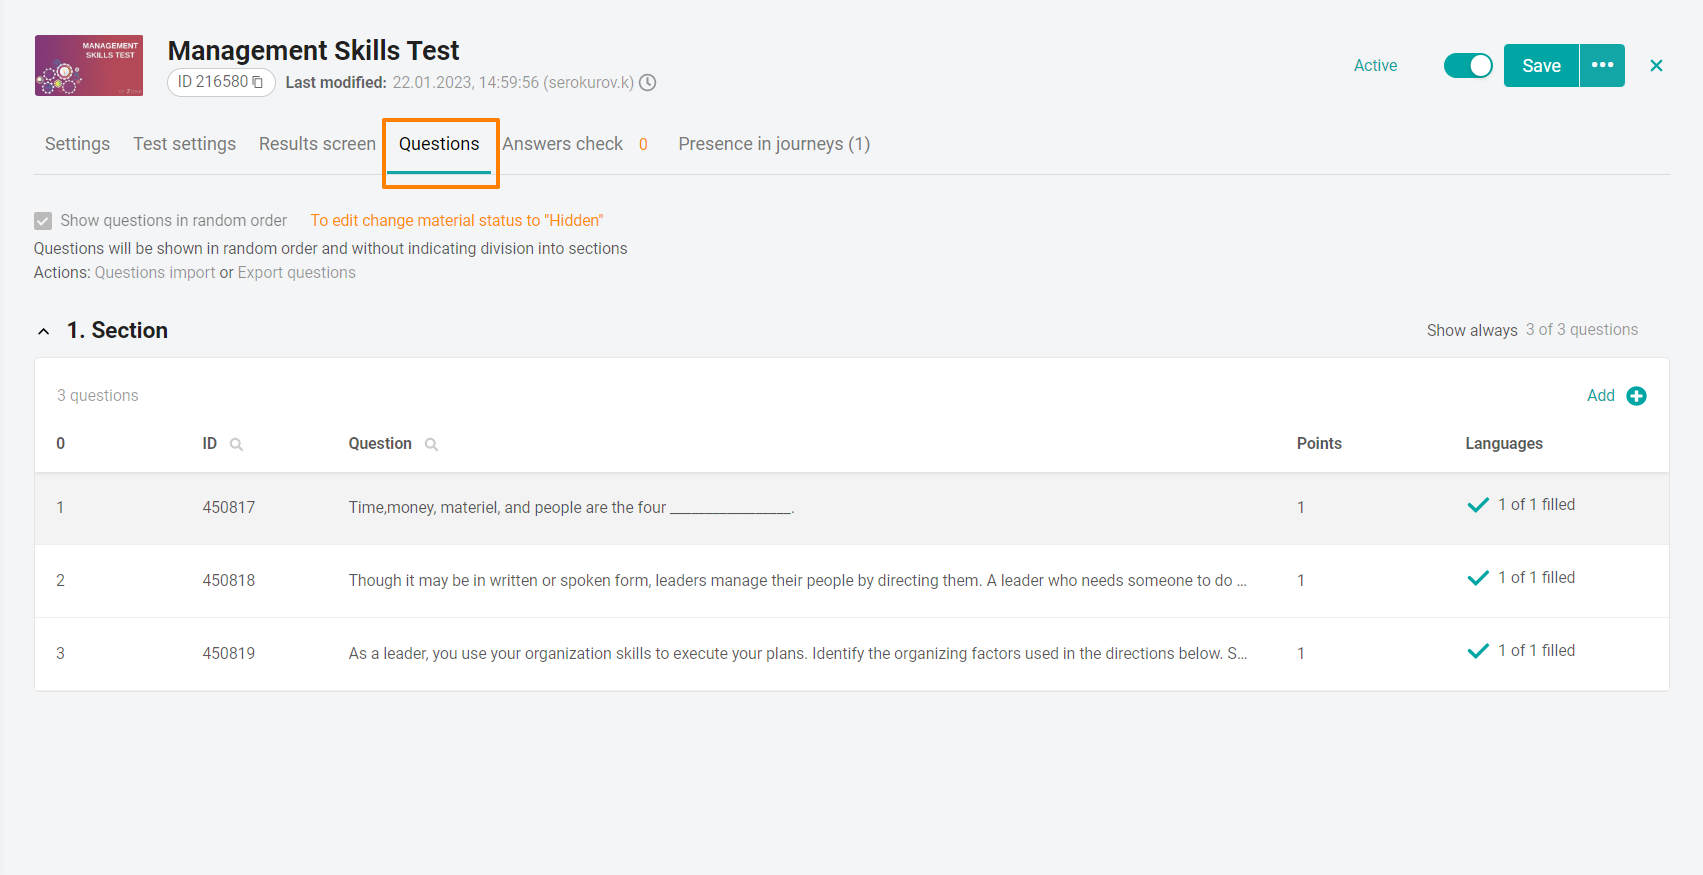
Adding sections
To be able to add questions, create at least one section.
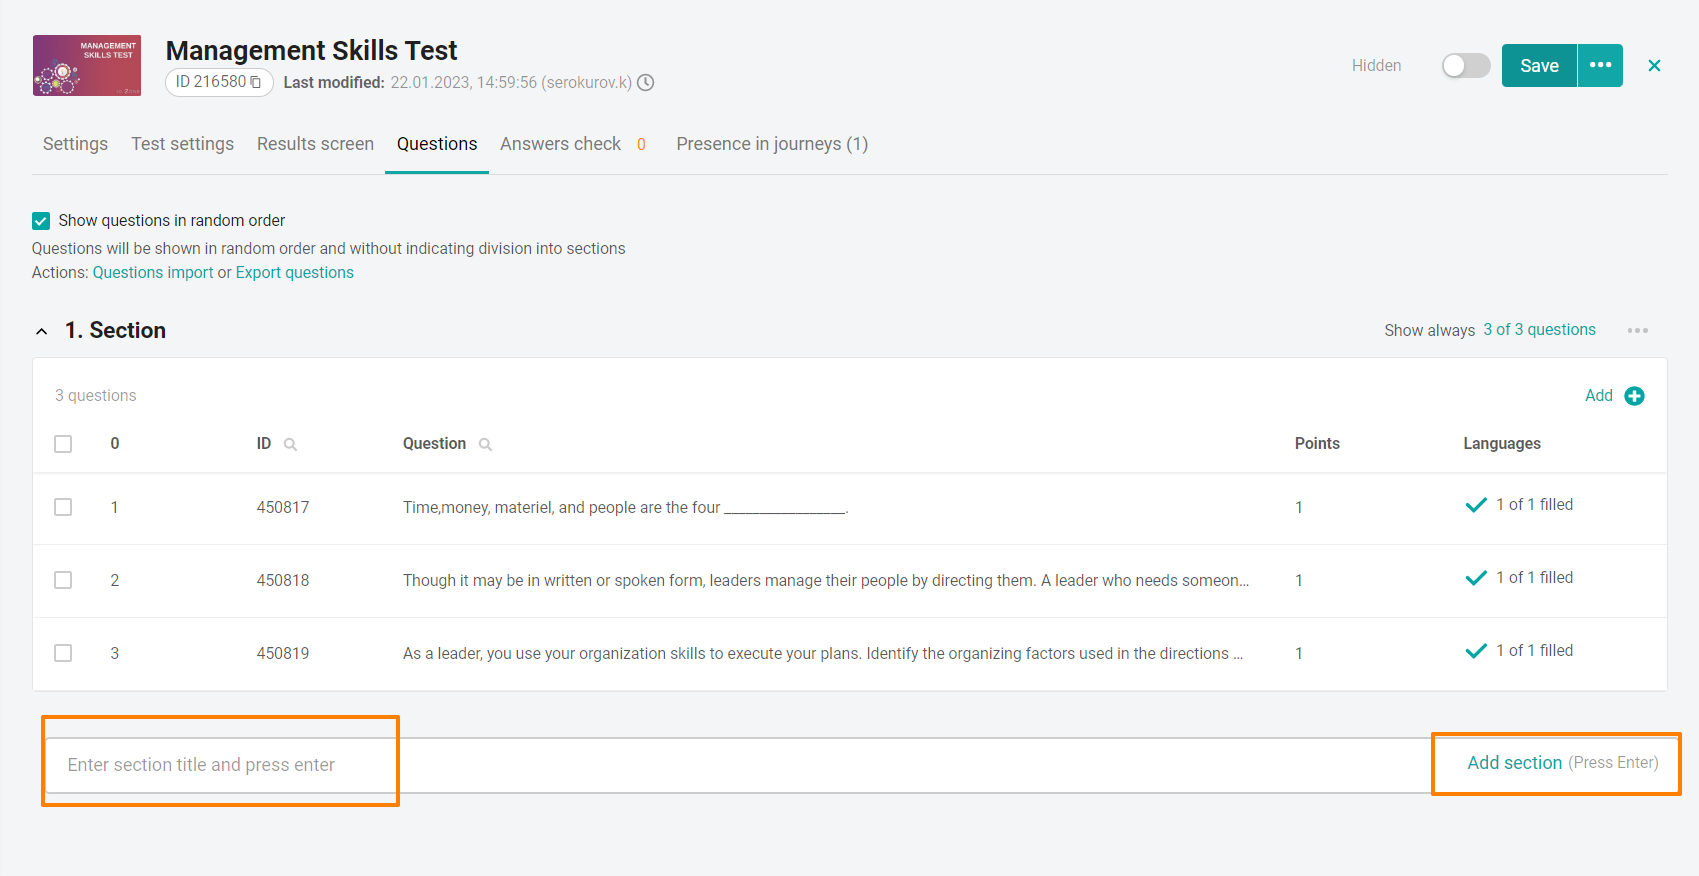
Enter the name of the new section in the field and press the Enter button on the keyboard. The created section will appear on the forum
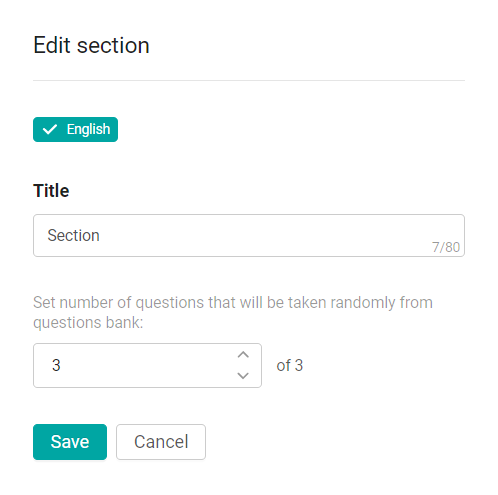
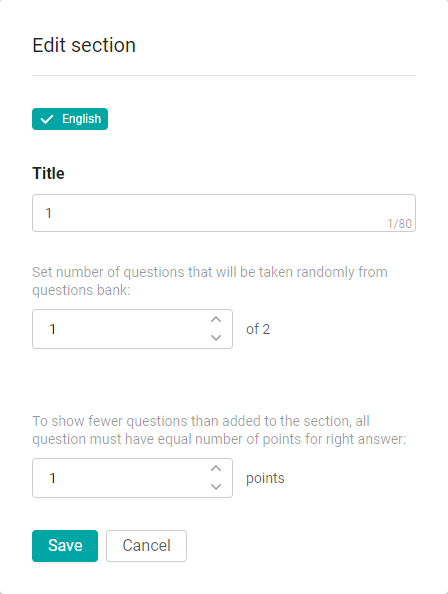
Change the section name for all possible localizations and click Save. The tabs of the available languages are located at the top of the section editing window.
You can also specify the number of questions for the test (by default, the total number of questions in the section is specified). You can change the values by clicking on the arrows, or enter a natural number no more than the total number of questions in the section. If you try to enter a larger number, an error will be displayed.
Moving sections with questions
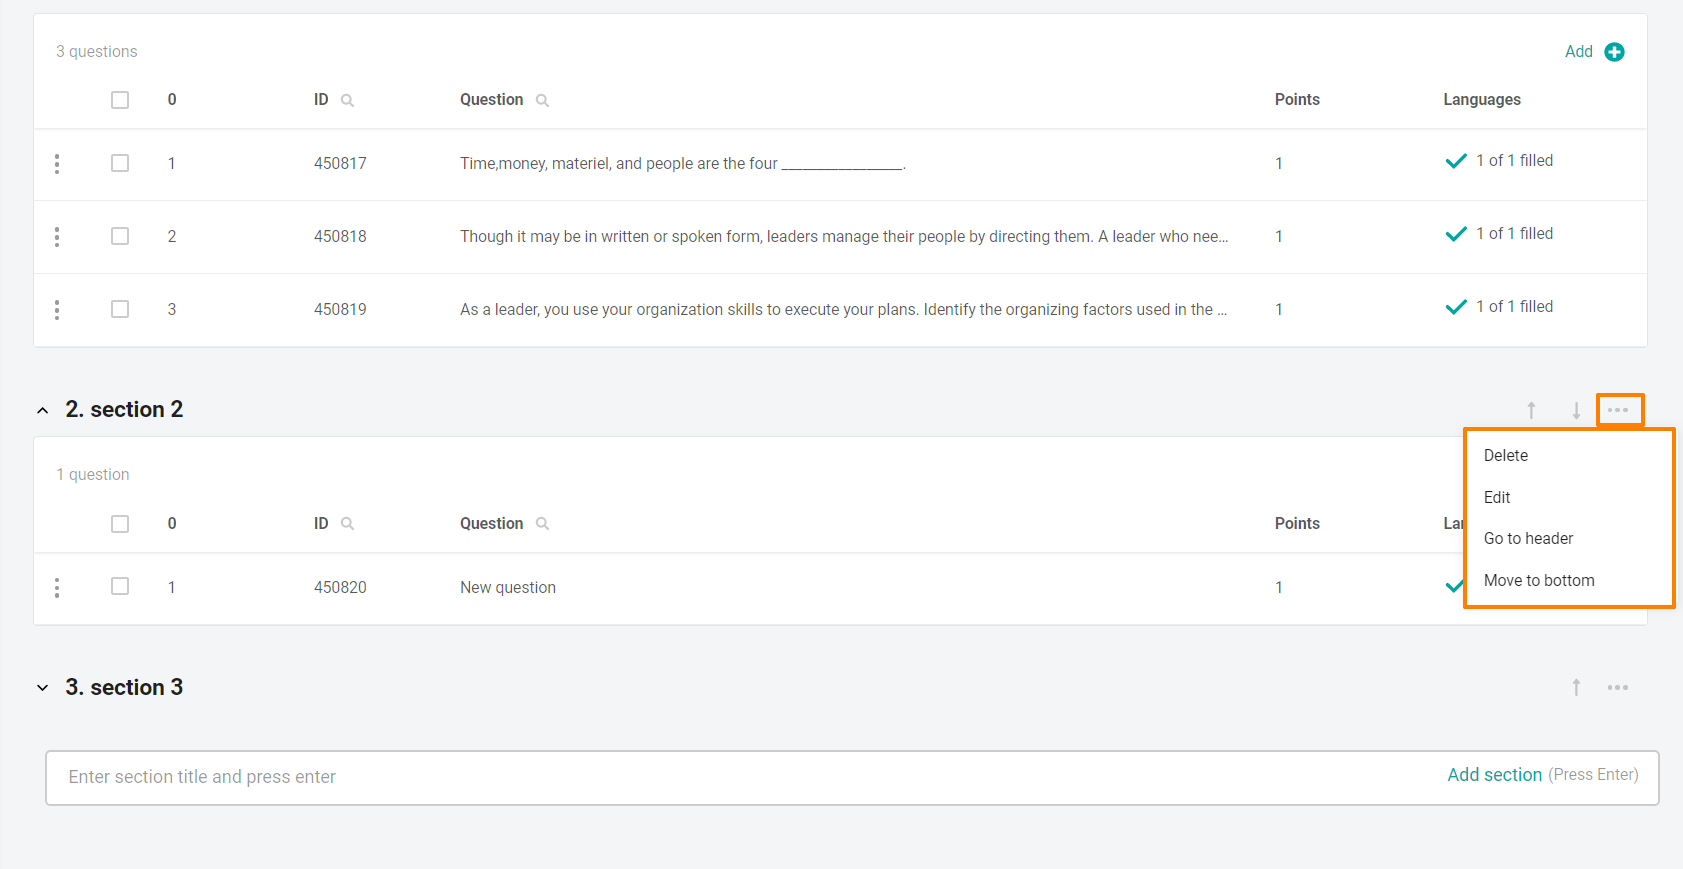
You can collapse sections by clicking on the arrow to the left of the name.
The function works if the "Display questions in random order" setting is not specified.
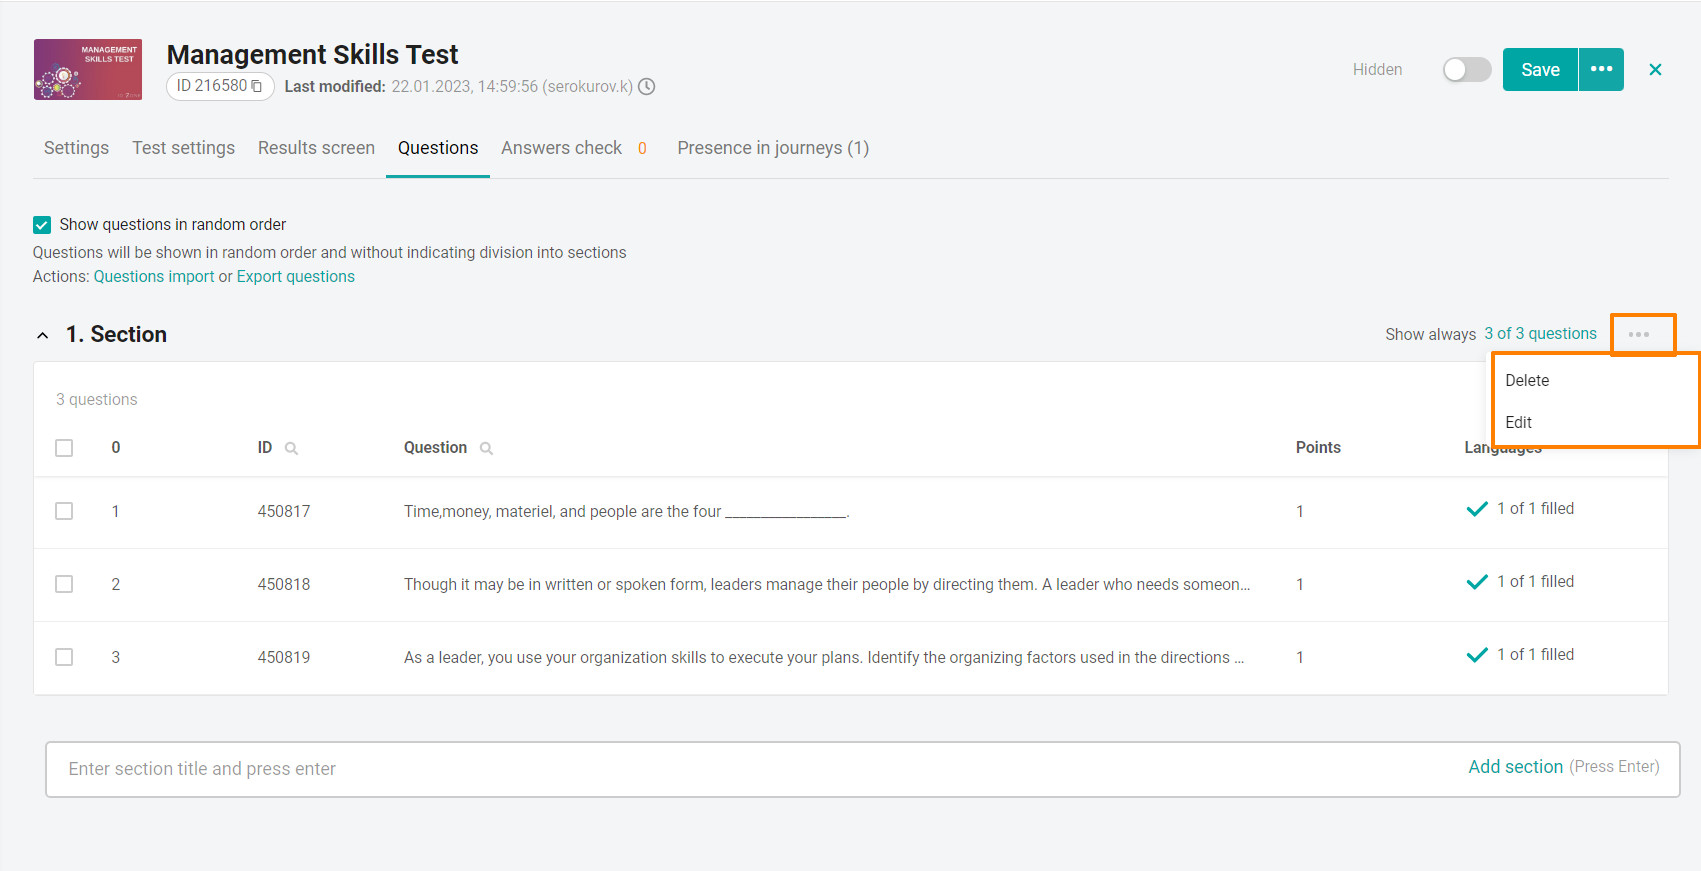
Sections can be moved by clicking on the arrows above/below or move to the very top / to the very bottom by selecting the appropriate buttons in the menu •••
Note: The training program has the "Active" status, the section movement buttons and the • • * button are not displayed.
In a program with the Display questions in random order setting enabled, the buttons for moving sections are not displayed.
Adding questions
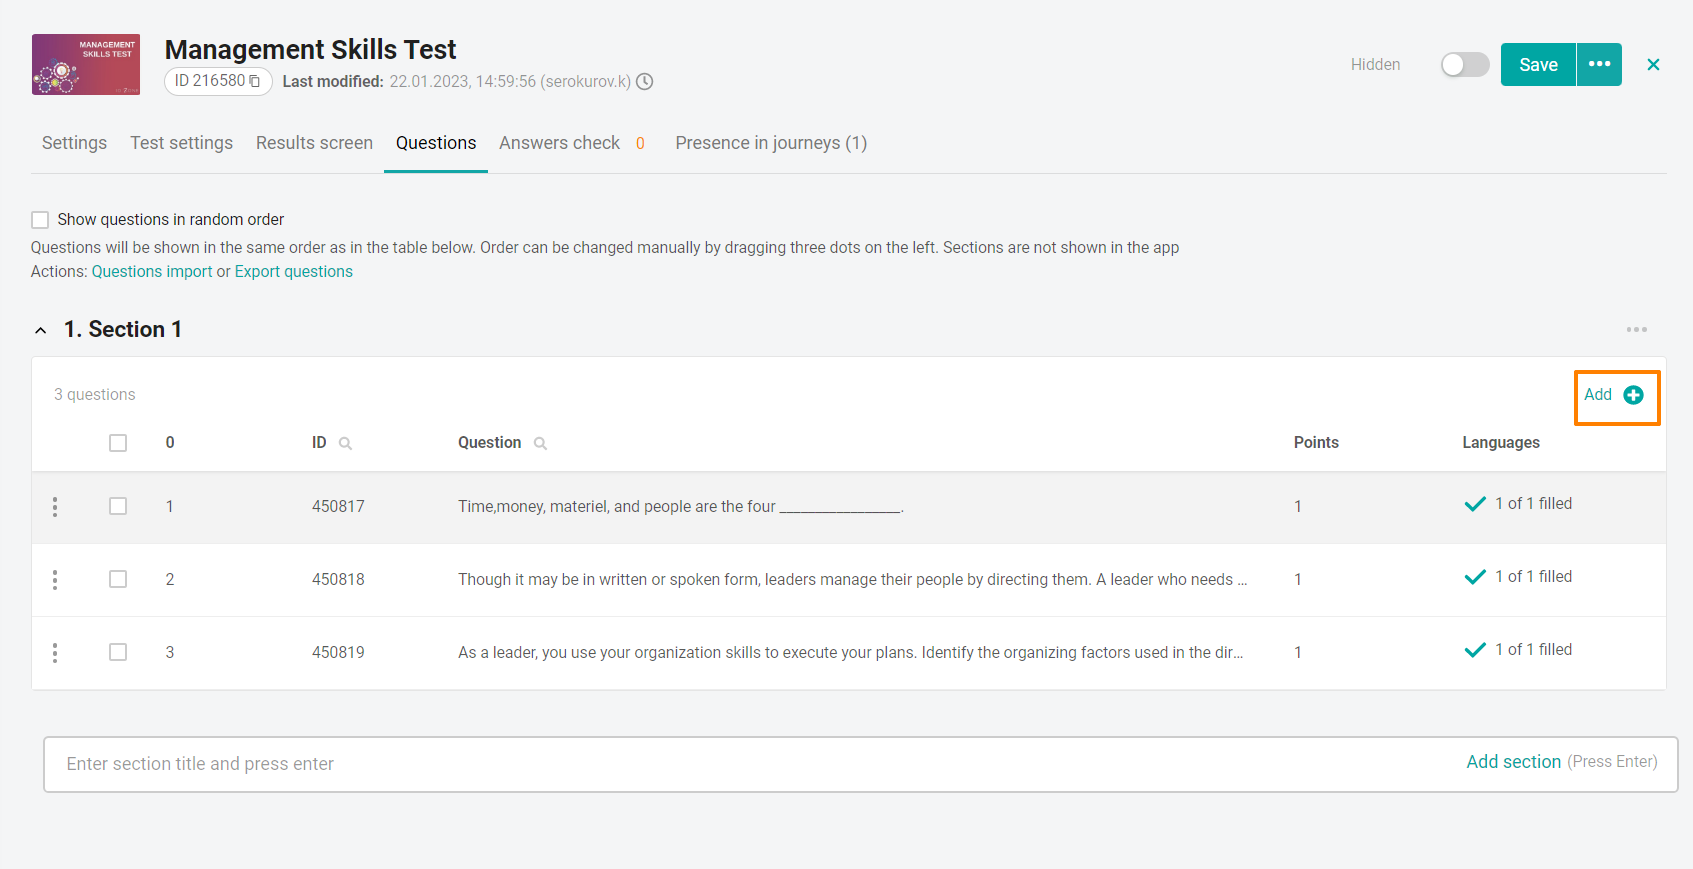
Click on the Add + button inside the section to which you want to add the question.
The Edit Question context menu will appear on the right. Select the Question Type. Depending on its type, a different set of fields is displayed in the question editing form.
There are three types of questions:
"Multiple choice" - a question with text answer options.
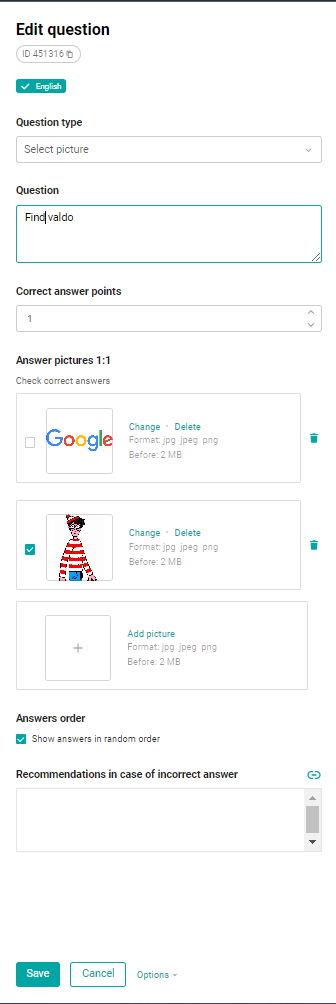
"Image Selection" - a question with images in the answer options.
"Open question" - a question with a detailed answer of the user.
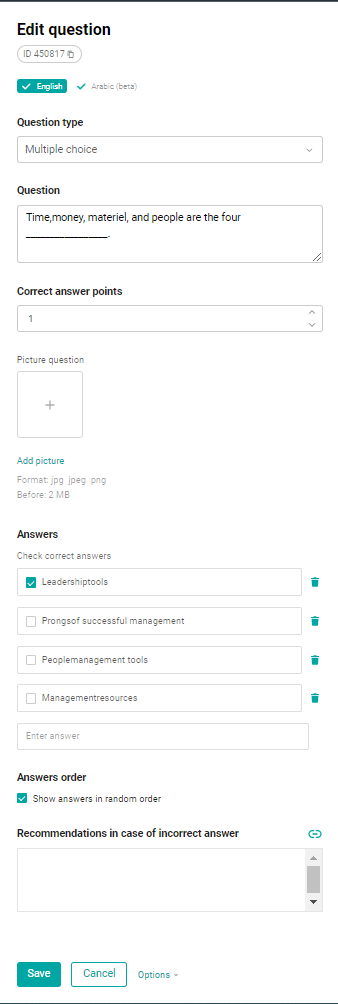
Enter a test question in the Question text field (max. 1000 characters).
Specify the Points for the correct answer - the number of points awarded for the correct answer to the question.
You can also add an image that will be displayed to the user in this question. You can view the original image by clicking on it.
add the required number of answer options in the Answers block (max. 1000 characters):
enter the answer in the field and click on the Add button that appears. The answer option will appear below all the others in the list of answers.
check the box next to the correct answers (there may be one or more correct answers).
if necessary, click the Delete Answer option button.
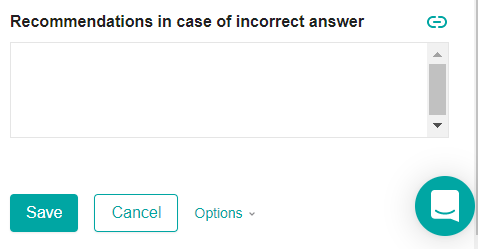
Enter the text of the recommendations that will be displayed to the user if the answer is incorrect (max. 1000 characters). Click on the Link button in the upper-right corner to insert a link to the document or section you need to study.
Note:The Recommendations field for an incorrect answer is displayed if the "Show recommendations after the test is completed"check box is set in the test settings.
click Save
Enter a test question in the Question text field (max. 1000 characters).
Specify the Points for the correct answer - the number of points awarded for the correct answer to the question.
Add pictures-answer options:
click on the add image area + and add an image from the computer's local storage. A field will appear below to add the following option. Add the required number of answer options.
check the box next to the correct answers (there may be one or more correct answers).
if necessary, click the Delete Answer option urn button.
Enter the text of the recommendations that will be displayed to the user if the answer is incorrect (max. 1000 characters). Click on the Link button in the upper-right corner to insert a link to the document or section you need to study.
Note: The Recommendations field for an incorrect answer is displayed if the "Show recommendations after the test is completed"check box is set in the test settings.
Click Save.
Errors: The system will not allow you to save the changes and will give an error if
the correct answer is not specified,
several identical answers are specified,
only one answer option has been created
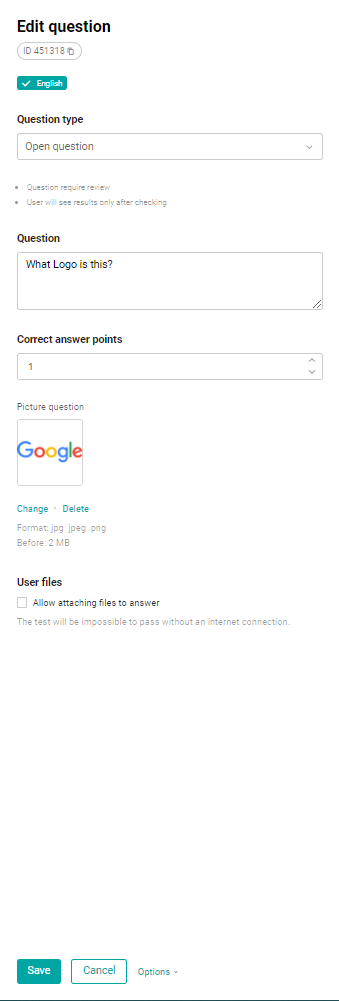
Enter a test question in the Question text field (max. 1000 characters).
Specify the Points for the correct answer - the maximum number of points awarded for the correct answer to an open question.
You can also add an image that will be displayed to the user in this question. You can view the original image by clicking on it.
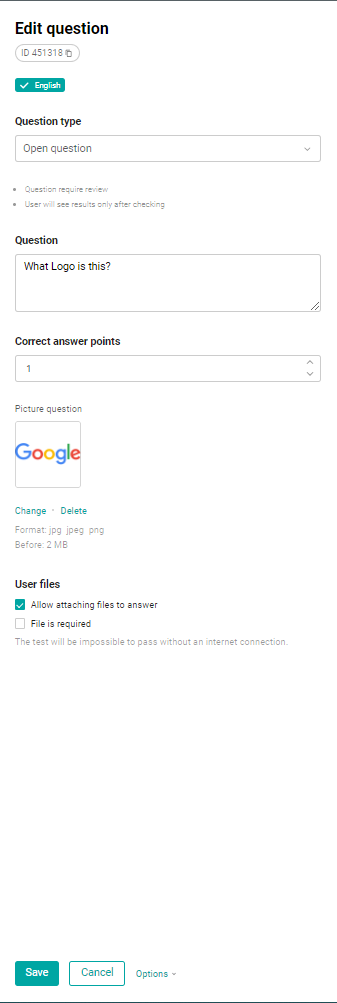
User Files - When the feature is enabled, users can attach files and images to their response. File limits are 100 MB and images are 16 MB.
You can also configure the mandatory attachment of the file (check box below). A maximum of 10 files can be added to the answer.
File types and formats are displayed :
Images: .jpg , .jpeg, .png, .bmp, .gif, .png, .tiff, .psd .ai, .eps, .indd.
Documents: pdf, .txt, .html, .csv, .doc, .docx, .docm, .xls, .xlsx, .xlsm, .pptx, .pps, .ppsx, .pptm, .ppsx, .ppsm, .slx, .sl dm, .odt, .ods, .odp, .odg, .new, .xml, .xps.
Videos : .mp4, .m4v, .webm, .flv, .ogg, .ogv, .gif, .avi, .mov, .wmv.
Audio: .mp3, .wav, .flac, .m4a, .m4b, .raw, .voc.Click Save.
Note. On the question editing form, when the function of attaching a file to the answer is enabled, there is a warning about the need to pass this test with an active Internet connection.
Note: When checking the answers, the administrator will be able to put from 0 points for an open question to the value in the Points for the correct answer field, both with the correct status and with the incorrect status.
If there are several attempts in a test with open questions, then with each new attempt, the progress of the program is "rolled back" when the test goes to the status "under review". The updated progress will appear after checking the test and will depend on the best result.
If there are already answers to open questions in the test, when trying to change the Points for the correct answer field, it is checked that the new value cannot be less than the one already marked in the answers.
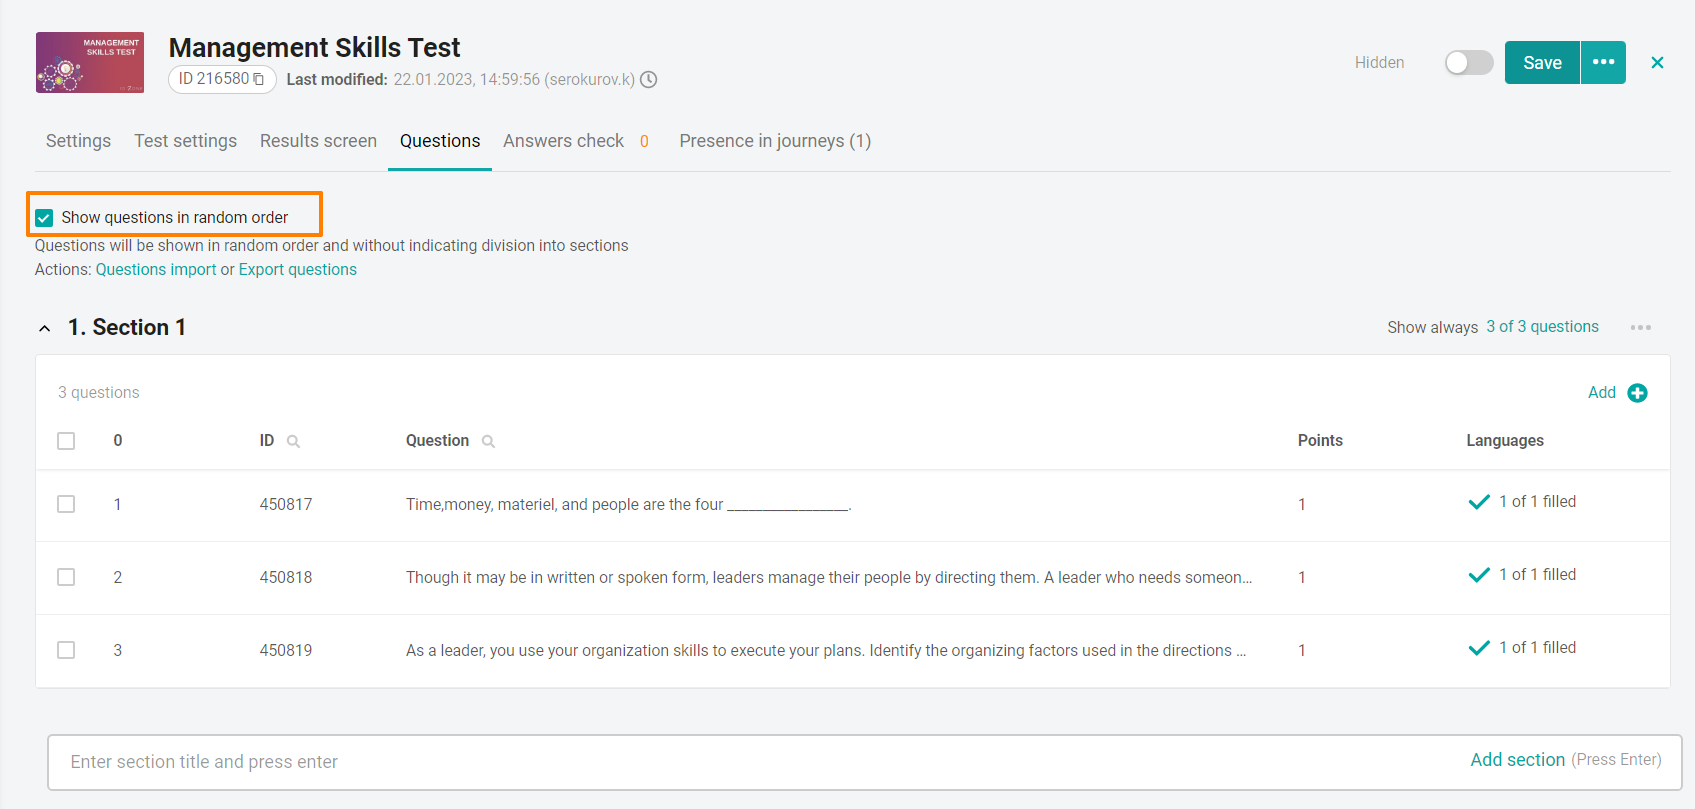
The order in which questions are displayed
The check mark Display questions in random order shows that each time you try to pass the test, the questions will be displayed randomly.
If the check mark is not set, the questions in the platform are displayed in the same order in which they were asked by the administrator.
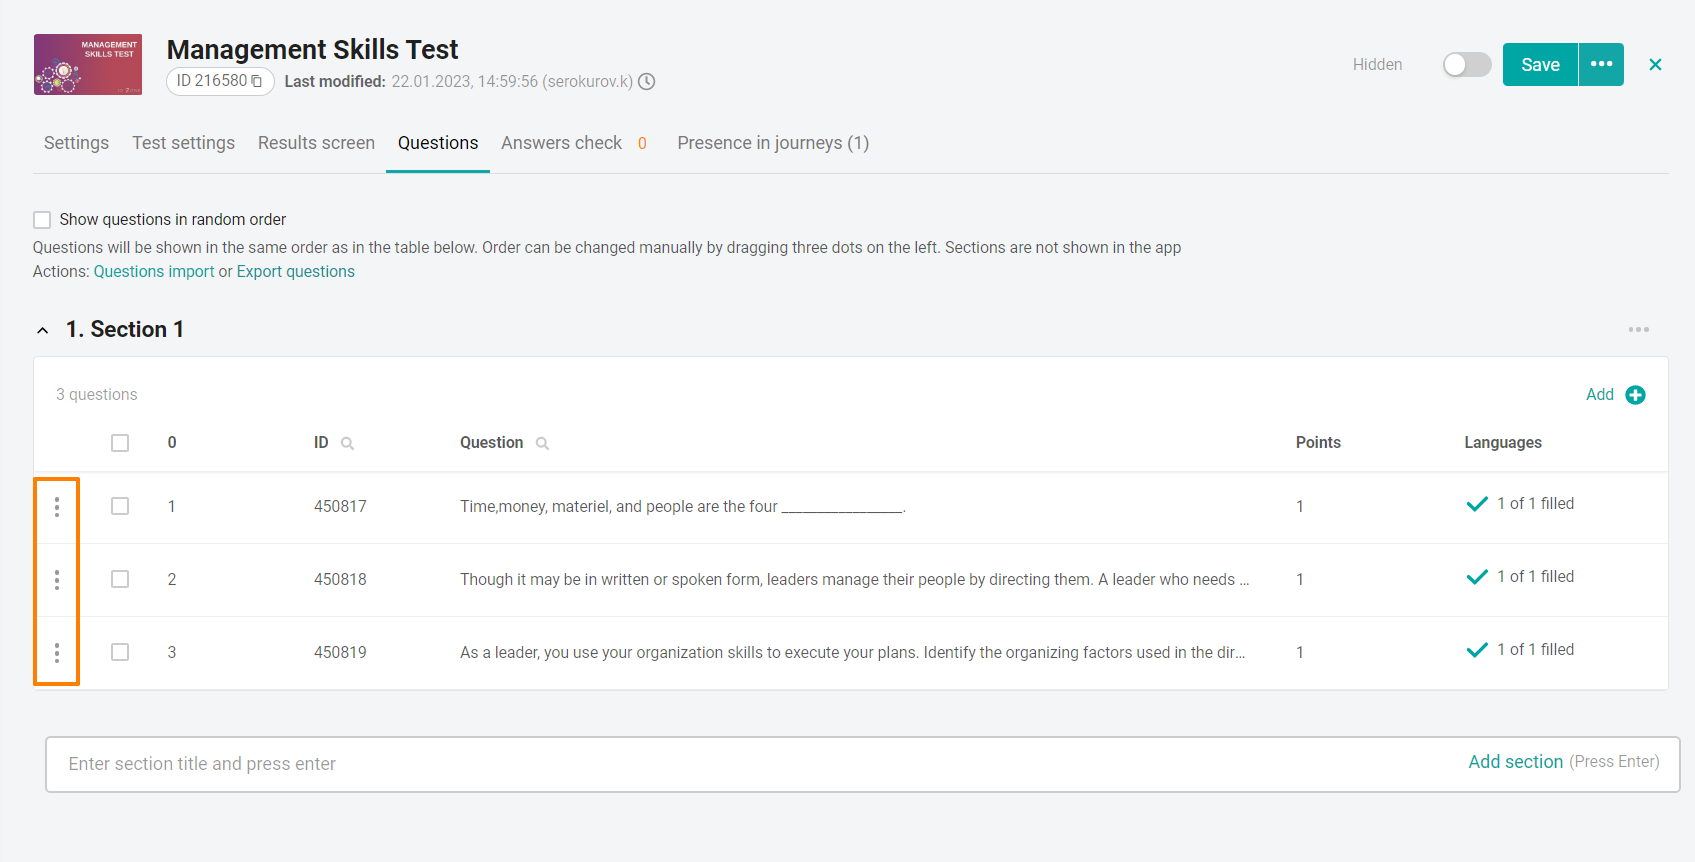
If the check mark is not set and the test is in the "Hidden" status, you can change the order of questions in the list using the drag&drop method. To do this, click and hold the mouse button on the question and drag it to the desired location.
If the test is in the "Active" status, the random display setting is inactive. There is no possibility to change the order of questions in the "Active" status. To edit, move the material to the "Hidden" status."
If the Show questions in random order check box is enabled, in the "Hidden" status, you can set the number of questions from each section that will be displayed in the test. To do this, click on the link "N from M questions" or on the edit section button in the menu •••.

Specify the number of questions for the test (by default, the total number of questions in the section is specified). You can change the values by clicking on the arrows, or enter a natural number no more than the total number of questions in the section. If you try to enter a larger number, an error will be displayed.
Click Save
If you try to configure the display of not all questions in the section that have a different number of points, a warning and a field for changing the number of points will appear in the window. Set this number, but these points will change for all questions in the section. This setting is necessary so that all users have the same total score for the test.
By default, the field is set to 0 points. Accordingly, if you do not change the number of points to more than zero, an error message will be displayed.
Note. There may be questions with different scores in one section, and they should all be displayed in the test.
When you add a new question to the sections, it will automatically fall into the displayed ones. For example, the counter "Always show 10 out of 11 questions" will change to "Always show 11 out of 12 questions"when adding a question.
Importing questions
You can add a large number of questions to the test at the same time using the import questions function. For detailed instructions on importing, see:
How to fill out the test import template from training programs correctly?
Massive change in the number of question points
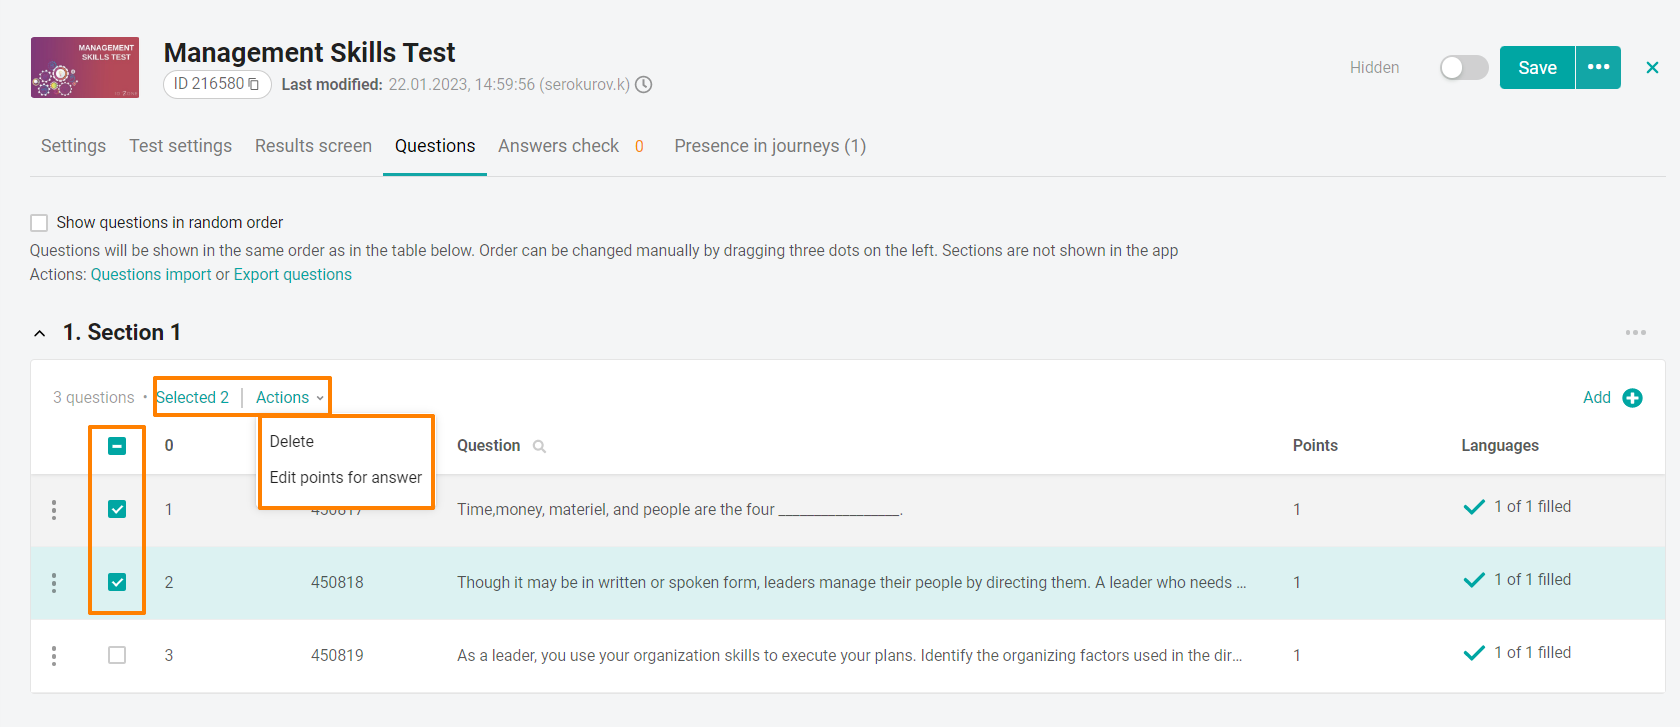
Check the box next to the questions in the section whose scores you want to change. In the Actions drop-down menu that appears, click the Change the number of points button.
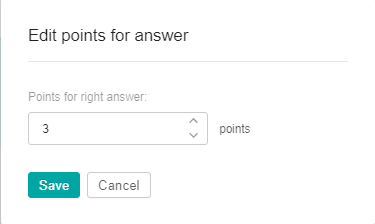
Set the required number of points for the correct answer and click Save.