The MESSAGES section is an administrator channel through which you can send notifications, news and any necessary information to a selected group of users or to a single user.
Note: The name of the section can be changed in the settings of the super admin panel.
Select the MESSAGES section.
To create a message, click on the Add + button.
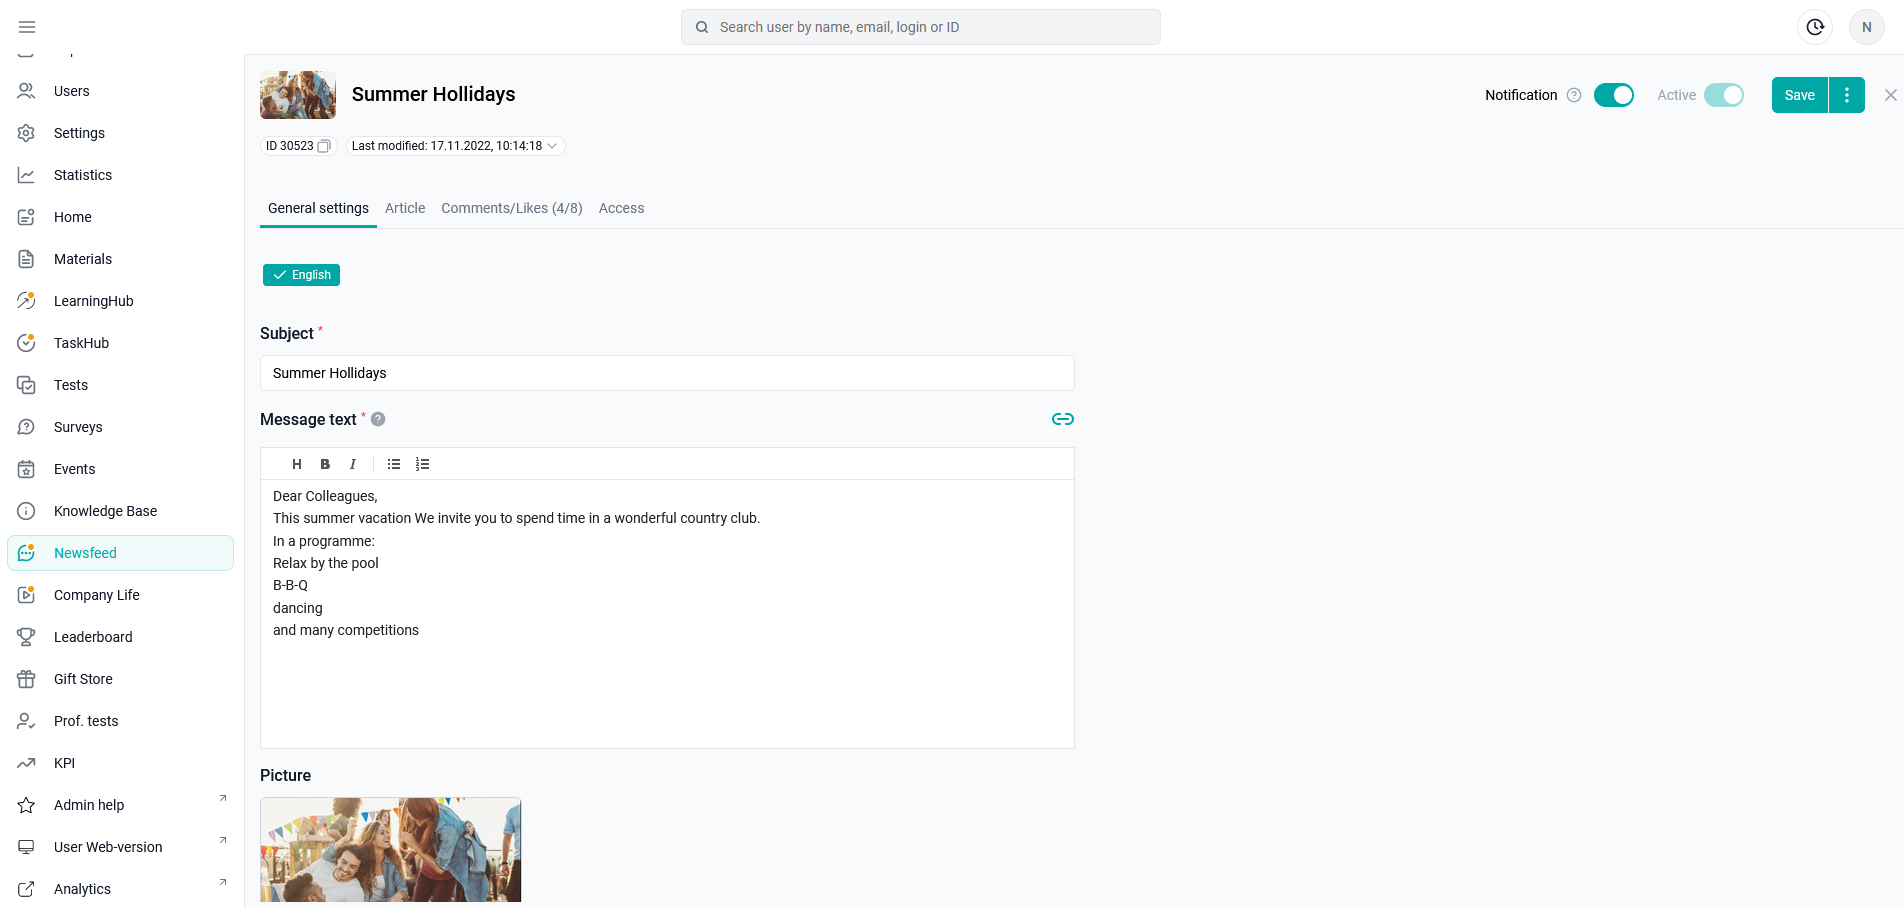
Fill in the subject (max.50 of any characters) and the message text (max. 21844) in the text fields. The ability to insert links is supported in the Message Text field.
You can also add an image that will be displayed to the user in the message.

By clicking on the button, a window opens:
Next, click on the arrow in the "Link type" field.
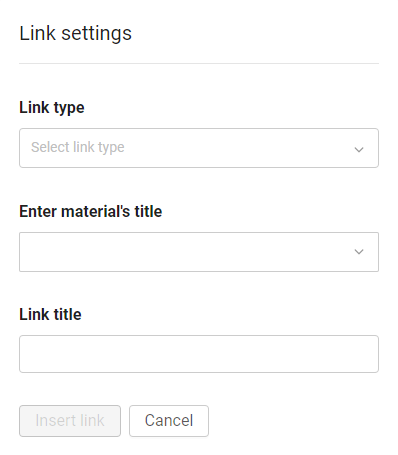
1. External - to any external source. For example, a link to a YouTube video.
In the link type, specify "External link".
"Insert an external link" - copy the link to the source in the address bar and paste it into our field.
Specify the "Link name". The text that will be clickable.
2.Internal - based on the material from the application. For example, for an introductory training program for beginners.
To do this, select the section in which the material for the link is located.
In the "Name of the material" field, we search and select it by name or id.
Specify the "Link name". The text that will be clickable.
Important: when you link to external or internal materials, you need to take into account that users have the same access in the material in which they posted the link and in the material to which the link leads.
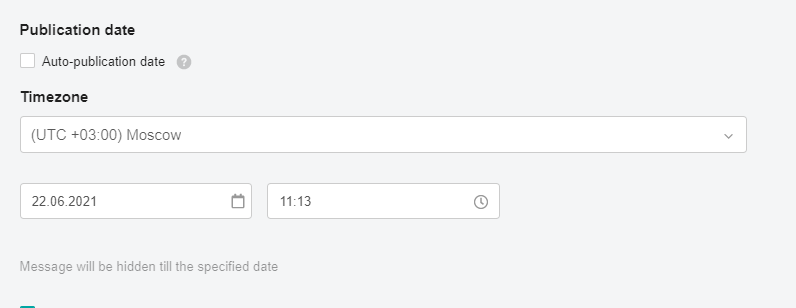
In the Publication Date block, the "Automatic publication date" checkbox is set by default - the message will be published immediately after the "Active" status is set.
For a delayed publication date, select the time zone, date, and time. This setting will allow you to transfer the message to the "Active" status on the specified date and time.
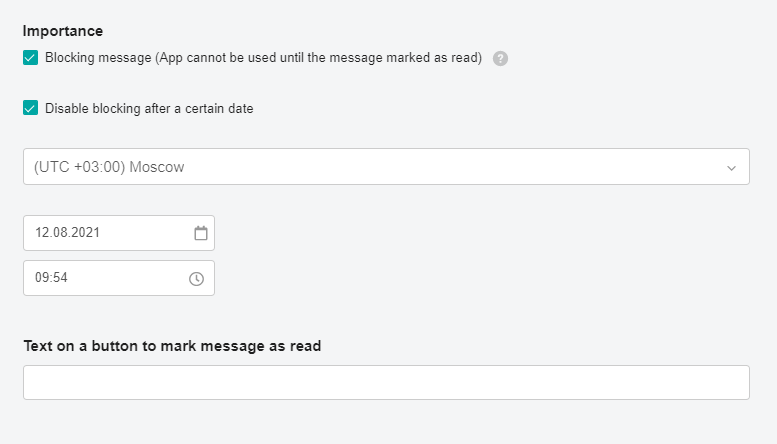
If necessary, configure the mandatory reading.
When you check the box, the message for the user becomes blocking, that is, he can not continue working with the application without reading the message. The message will appear in a pop-up window for users immediately after launching the application or completing the study of the material. To close the window, the user must confirm the reading by clicking on the button or clicking on the link in the message text.
Note: By blocking messages, you can upload statistics in which the employee's FI and the date + time of viewing the message will be.
Article: Statistics on blocking messages.
the check mark "Remove the lock after a certain date" (set by default) - the value is substituted in the date parameters-the date and time of setting the mandatory reading check mark + 1 week Moscow time.
The date and time fields are mandatory for filling in when the "Remove blocking after a certain date" checkbox is installed.
Upon the occurrence of the specified date and time, the "Mandatory reading" checkbox is automatically removed from the message.
the field "Text on the button to mark the reading of the message" (a mandatory field, if not filled in, the default value is displayed).
In the header of the form, the "Hidden" /"Active" toggle switch shows the availability of the message in the platform - whether the message is displayed to users or not.
Note: The status toggle is activated after filling in all the message settings. If several languages are enabled in the company, then you need to fill in all localizations. Switching the available content languages is located at the top of the form.
Also note that you can link to any specific message (news) from this section - in any other section (training program, widgets on the main page, etc.). The link function is located under the sign:

For example, we added a material link in the materials section or in the knowledge base to a message for beginners.
In the widget on the main page called "Onboarding" we have placed our material with a link to the welcome message for beginners from the "Messages" section, which was published 2 months ago.
A beginner will not need to search in his feed for all messages, but just click on the main link and he will open a welcome message.
For more information about the article, see the Messages section.
After filling in the main settings, click Save changes, and proceed to the next stage of configuring user access to the message.
Note: You do not need to fill in COMMENTS and LIKES when creating a message. This tab will display the comments and likes of users left by them in the platform. As well as comments from administrators. If comments have been left on the message or a like has been placed, the value - total number of comments / total number of likes is displayed next to the tab name in parentheses. If there are comments in the table that have not been viewed by at least one administrator, then a label is displayed on the tab.