It is difficult to imagine the modern world without the possibility of holding online events.
In the "Events" section, you can display the schedule of working meetings, mark them with the online/offline label to explain the format of the event.
If the event is planned in online mode, you can add a link to it in the created card and assign the availability of its display to new users!
We need this section so that employees are always aware of upcoming events and can participate in them.
Select the EVENTS section.
Note: The name of the section can be changed in the super admin settings. panels. To make changes, write to technical support.
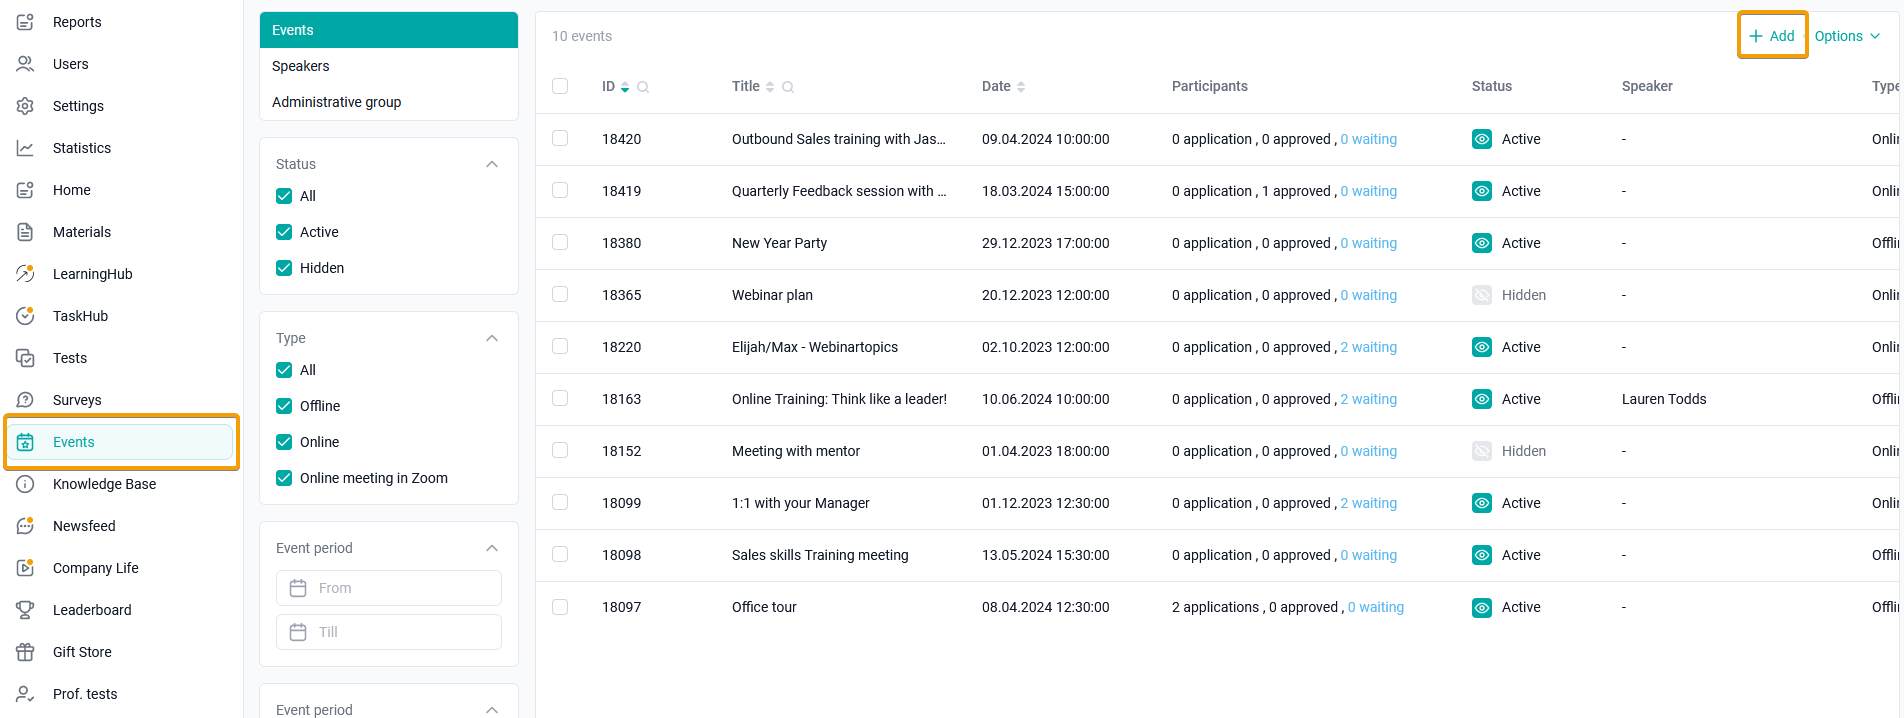
To create an event, click on the Add + button.
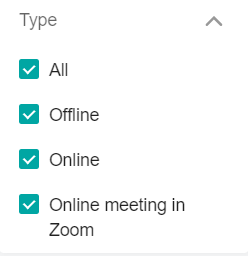
Select the type of event:
"Online". In it, we have a link to the call and inform you of the time and date of the event (of the program that you use for meetings).
For example, Teams.
"Offline" In it we inform the address, dates and time of our event. For example, this is a planned corporate event in the office.
"Online conference in Zoom" (displayed when the setting is enabled in the super admin). We are planning a Zoom event in it, it is advisable to have a paid Zoom administrator account. We also specify dates and times. Users do not need to install the Zoom app to join the promo ring of our app.
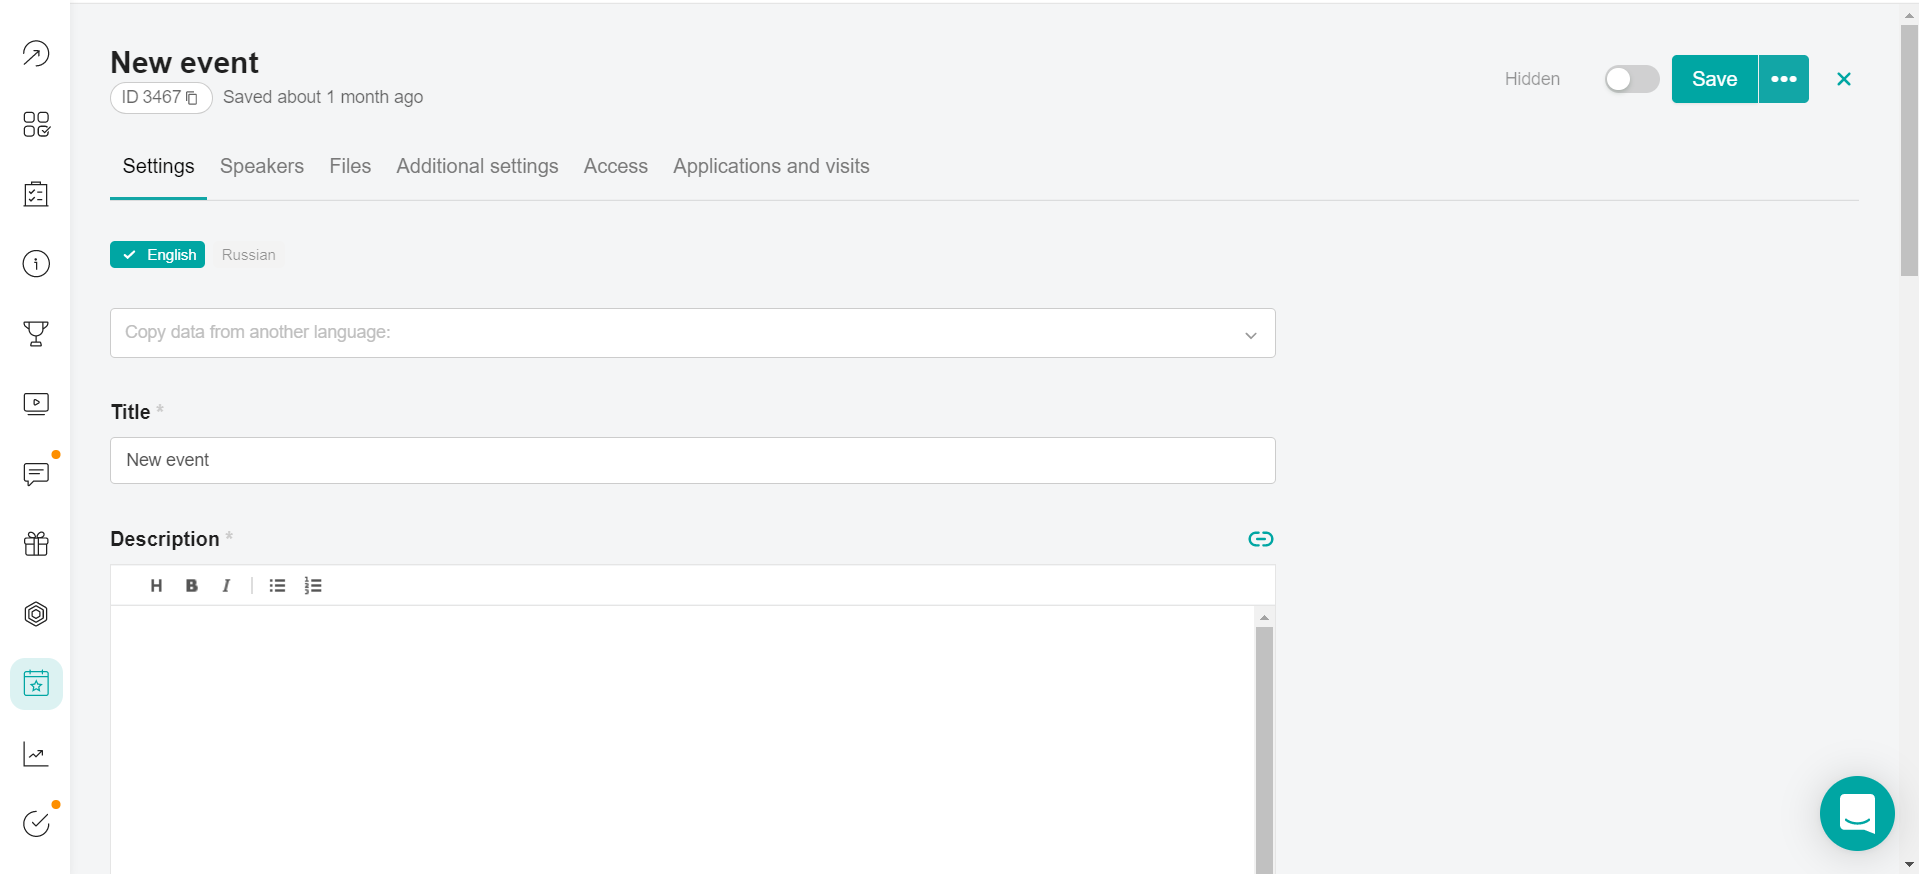
In the event editing form, fill in the steps:
add FILES
configure user ACCESS to the event
add participants in the APPLICATIONS AND VISITS tab.
Note: For events of the "Online Conference in Zoom" type, an additional CONFERENCE RECORDS tab is displayed, and it is not filled in at all when creating an event. A list of all the videos that were automatically created for this event will be displayed here.