Before creating a survey, you need to create levels for grouping surveys in the platform.
Select the Survey section, and go to the categories menu.
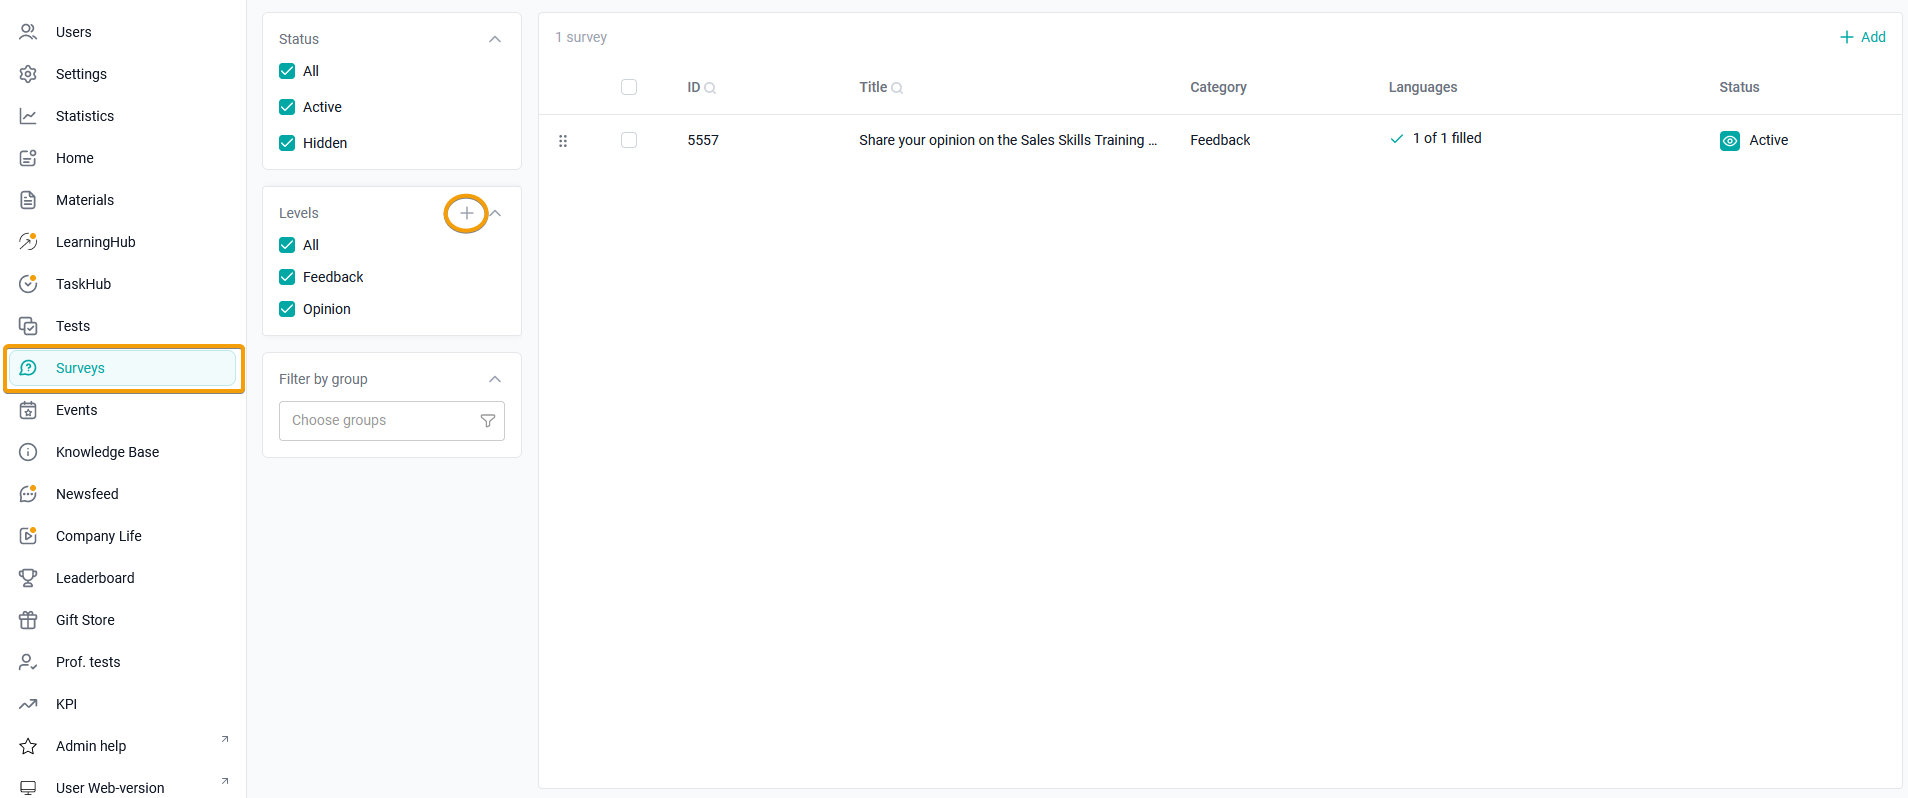
Click on the +Add Level button.
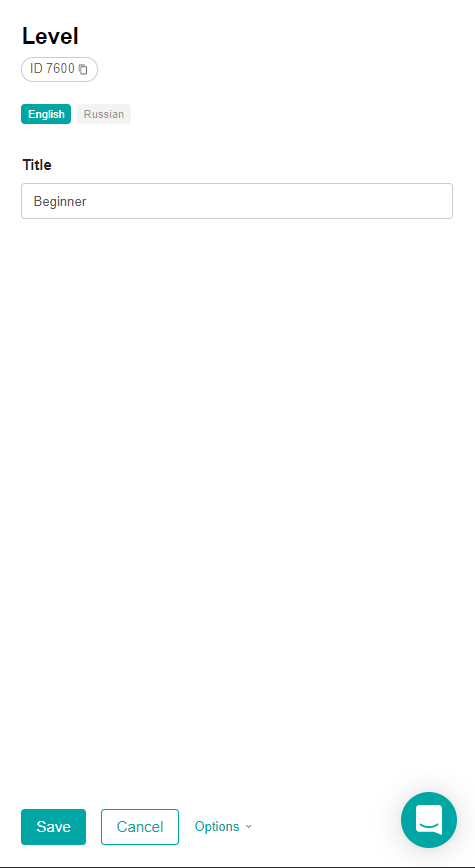
In the context menu, enter the level name in the text field, for example, "Beginner" and click Save.

To change the name of a level or delete it, hover the cursor over the level and select the edit button. In the context menu, change the Level name and save the changes by clicking the Save button. To delete a level, click Delete and select Done in the confirmation window.
Note: You cannot delete a level that is used in at least one survey.
Example of creating a survey
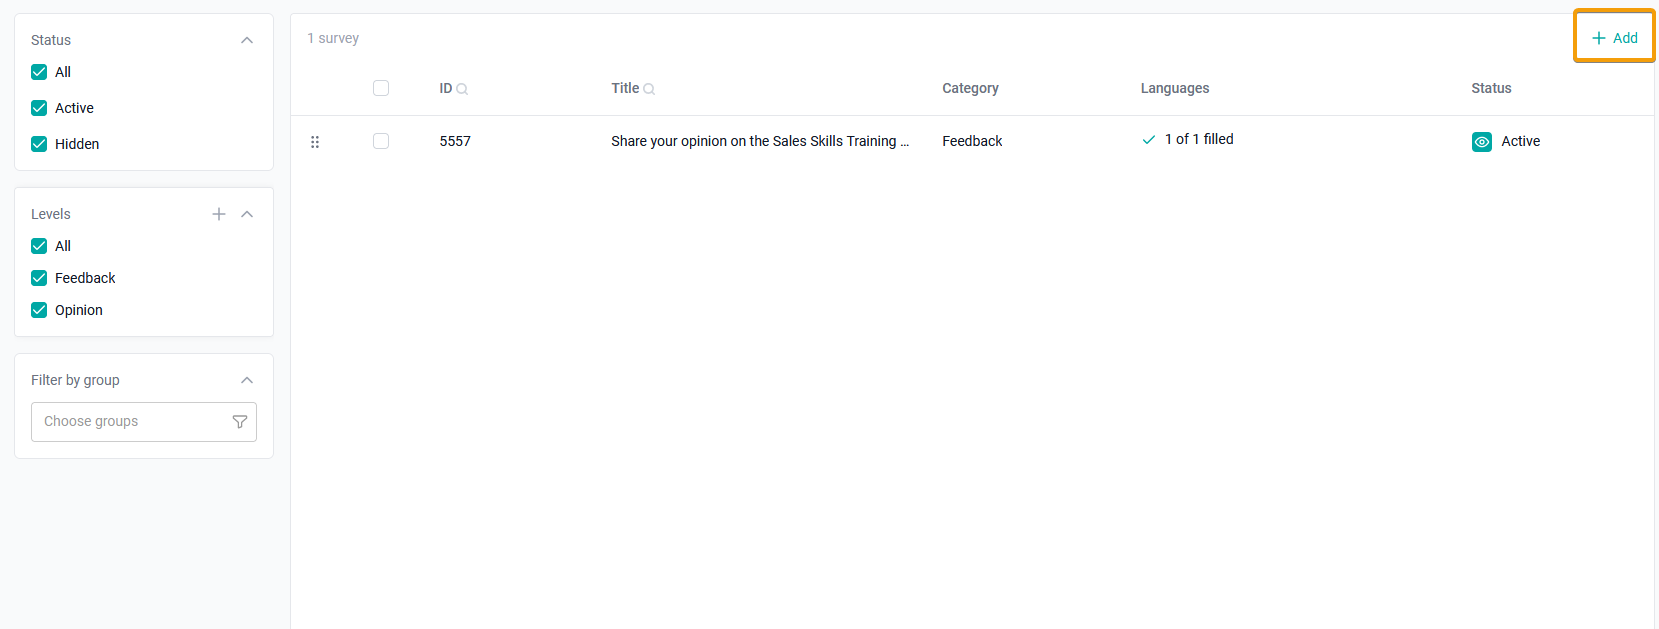
To create a survey, click on the +Add button.
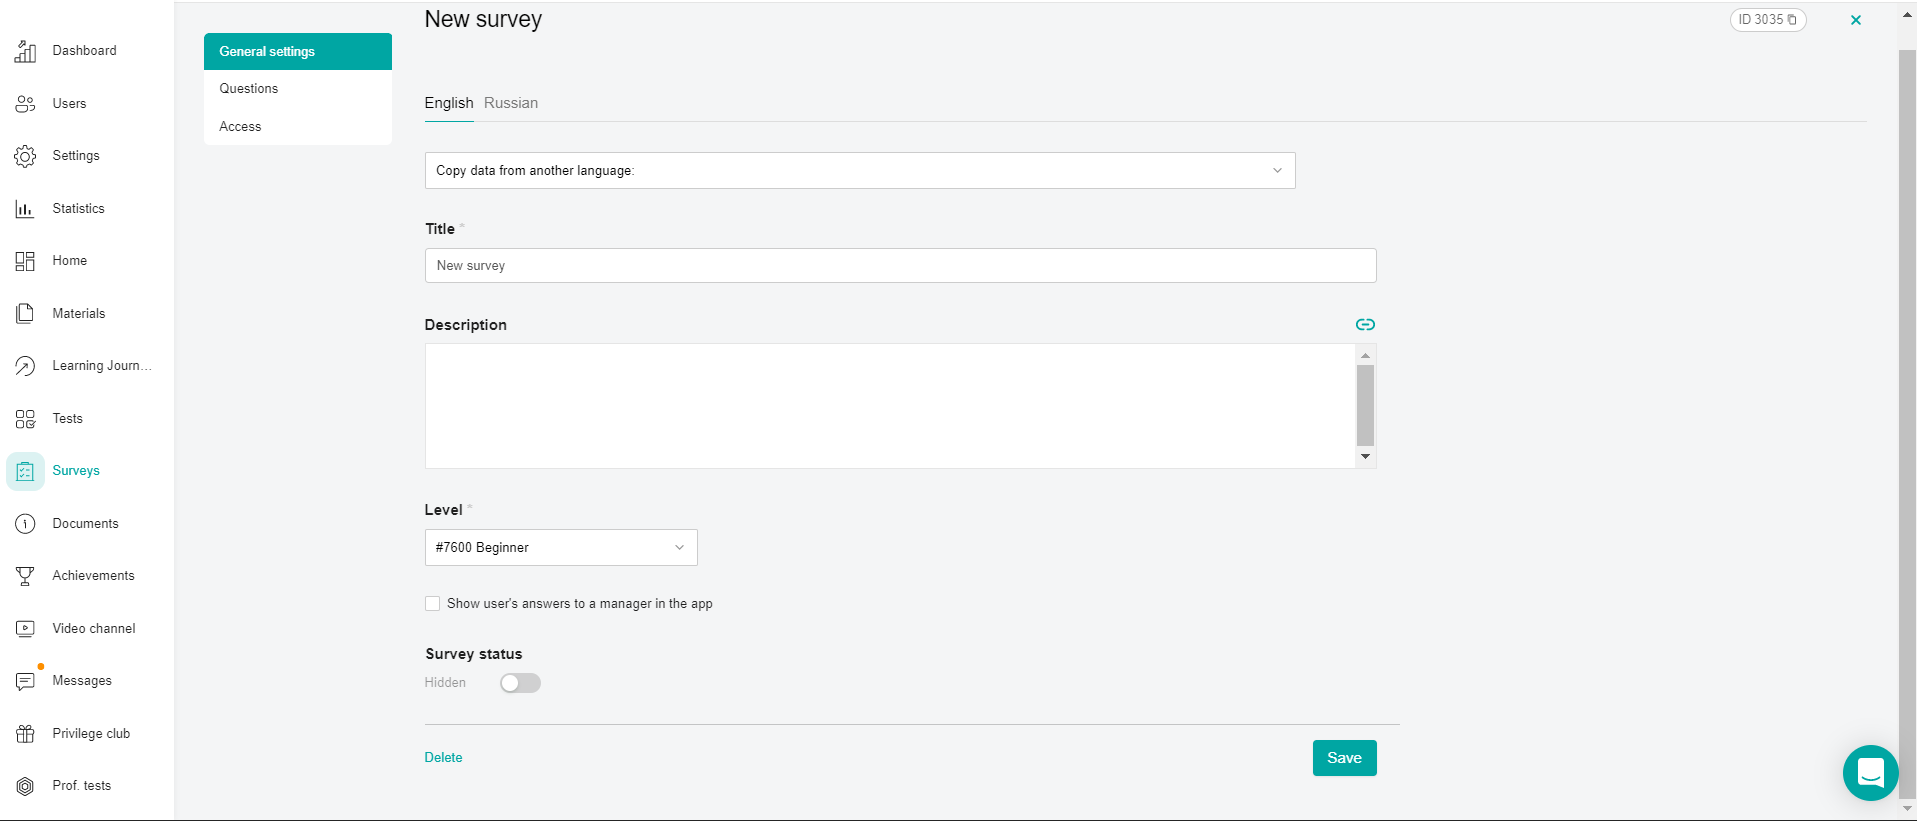
add survey QUESTIONS. The order of adding questions is similar to creating questions in the survey. Note: There are two types of questions supported in surveys: "Multiple choice" and "Picture Selection".
configure user ACCESS to the survey.