Access settings allow you to make the material available to a group of users, through group settings, or assign access individually.
You can assign access to the following entities to users:
Personal data questionnaire,
Note: For one entity, the access settings tab is located in the additional menu, for others - in the upper part of the settings form.
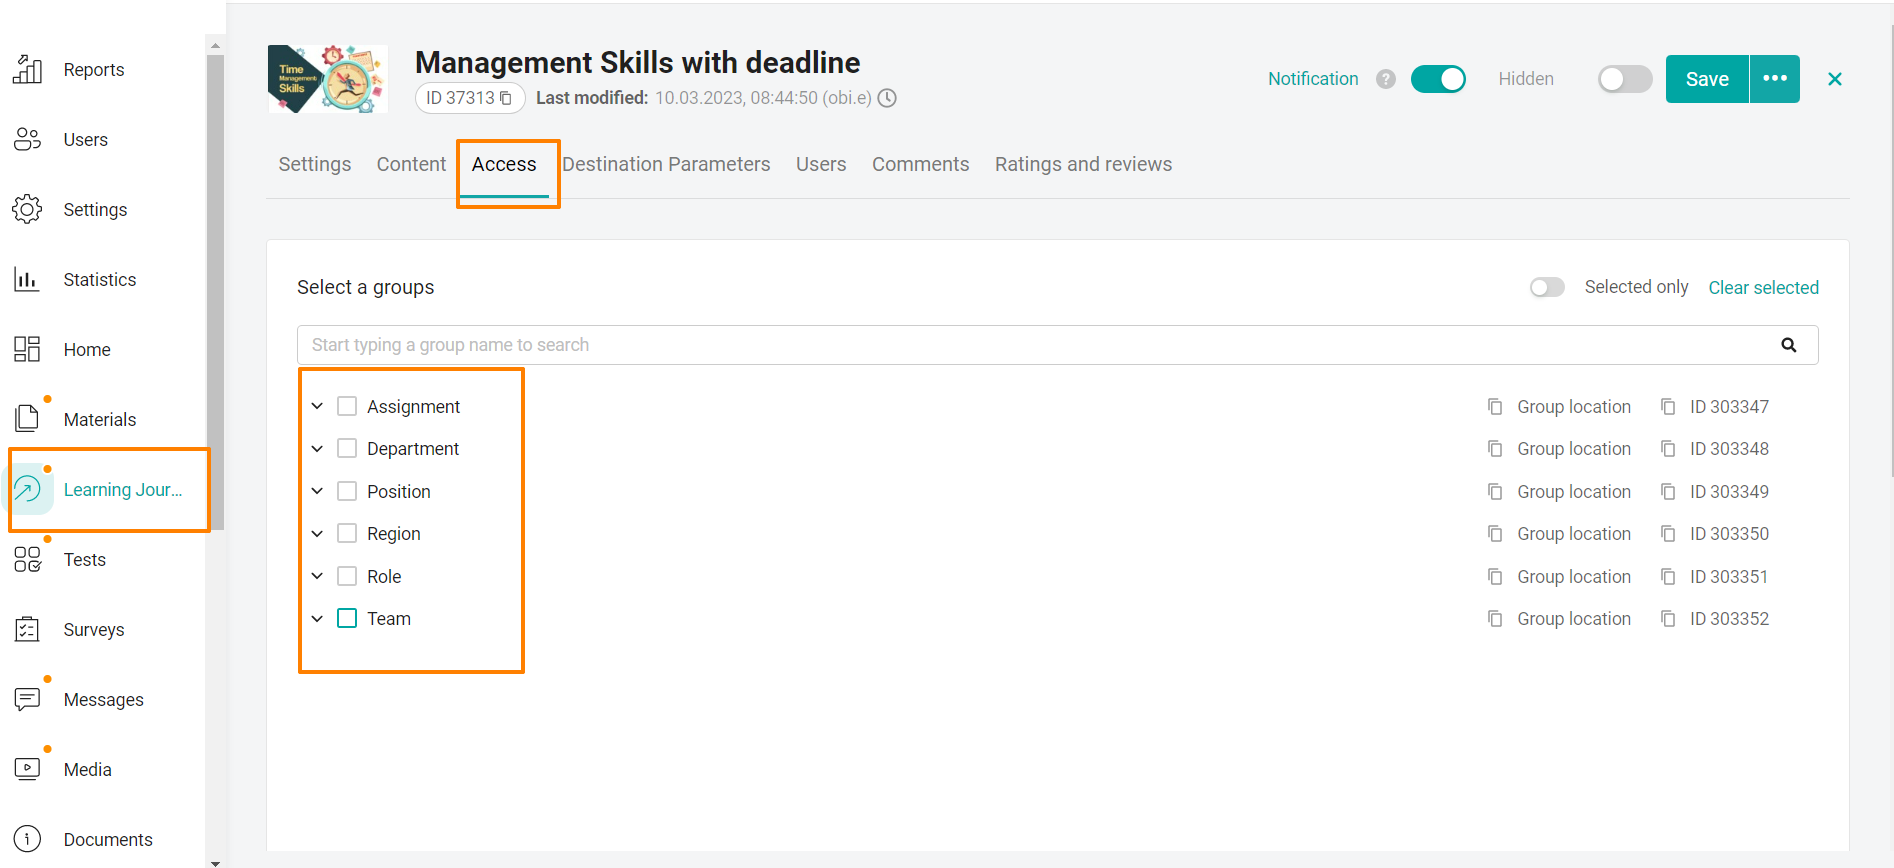
Empty checkboxes in front of all root groups indicate that this program is not accessible by group access to anyone. The example in the screenshot above.
If at least 1 checkmark is put down (it does not matter on the entire root or on a subgroup in it), then the root ones, opposite which the checkboxes are empty, are automatically considered to be exposed by the system.
Example #1. Access is open to all positions, all organizations, all categories, etc. I.e. all groups.
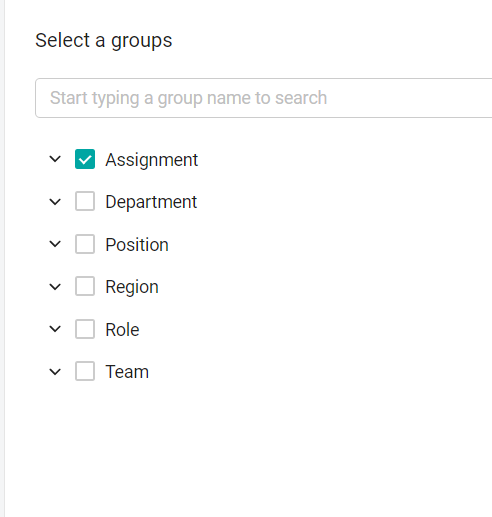
Example #2. Access is open to 1 position from the general list of positions.
All selected groups in the root are displayed with a check mark next to the root, as in example 1.
If not all groups are selected in the root group, there is a dash in front of it, as in example 2.
In the 2nd example, access is open only for one position and all organizations, all ranks, all regions, etc.

That is, in the Select groups area, expand the branches of group types by clicking on them, and select the values of the required groups.
If the groups completely match the access (and the active status of the material), users will be able to see the content in their application.
When selecting groups, you can use the search. To search for the desired group, enter the search query in the search bar and press enter on the keyboard.
It is possible to view the selected groups using the radio button at the top of the Selected Only table.
The Clear Selection button resets only the selected items and shows all groups again.
Assigning individual access
Individual access is configured in the Assign Individual Access block.
Enter the employee's name, email, username or ID in the search bar and select it in the search results.
This user is granted access to the material. The user will appear in the table below.
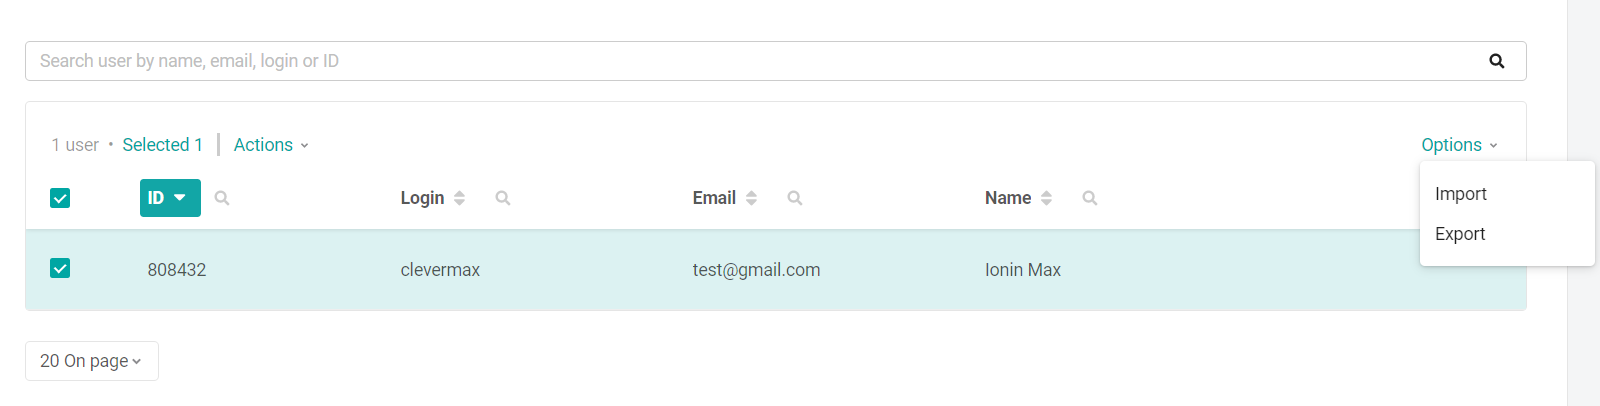
To add individual access to a large number of users at the same time, use the import function.
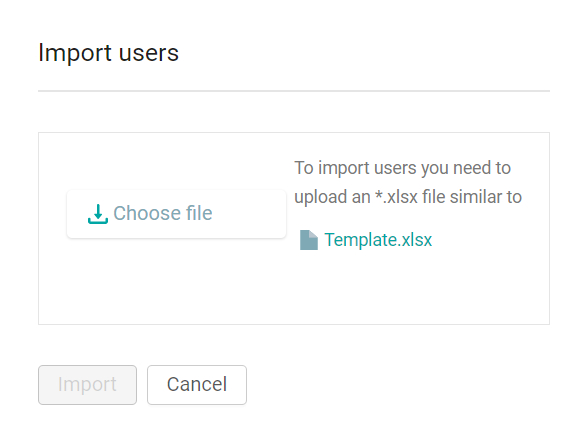
Click "Options", select "Import" and download the template in the window that opens. It is necessary to specify the logins of employees who need to be granted individual access.
After filling in the file, upload it by clicking "Select file" - "Import".
You can also export data on users who have already been granted individual access by clicking "Options" - "Export" above the table with users.
To delete individual access, select users by ticks in the table, click Delete in the Actions menu above the table with users, and in the confirmation window, select Done.
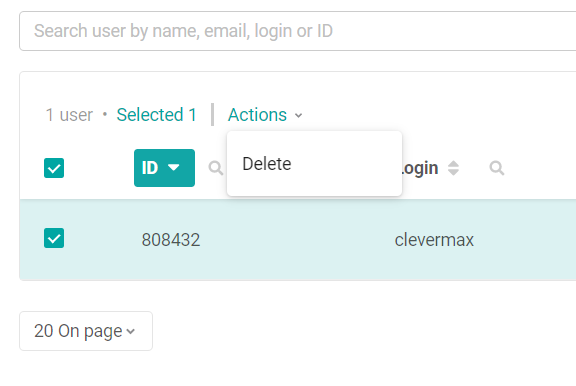
Note: When users are removed from the table with individual access, access to materials is removed. The user accounts themselves are not deleted.
Mass assignment of content
Also, the system has the ability to assign content massively. I.e. simultaneously to many materials.
This method is suitable when several materials need to be assigned the same access.
This feature is presented in all sections with content.
Let's look at his work in the section "Training programs". In other sections, it works by analogy.
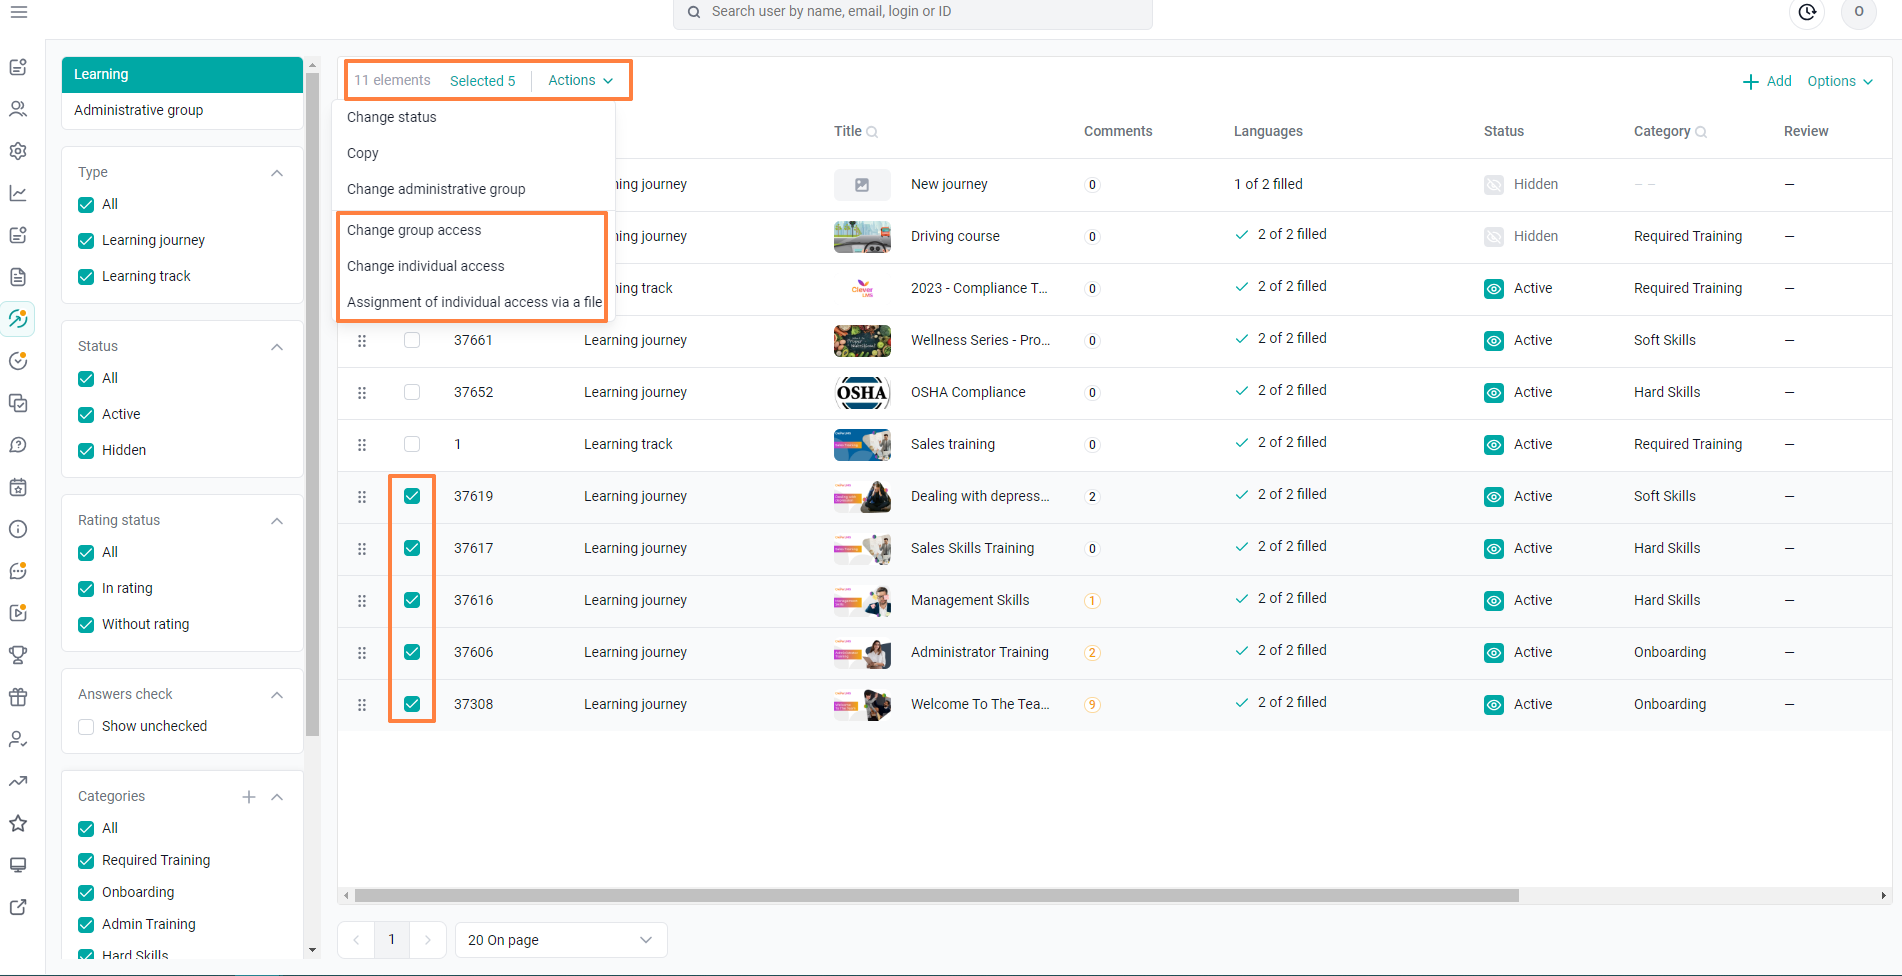
In the training programs section, we have highlighted all the necessary programs with checkboxes.
We clicked the action and then we can change access by groups or individually.