Select a user account by clicking on a cell in the table with users.
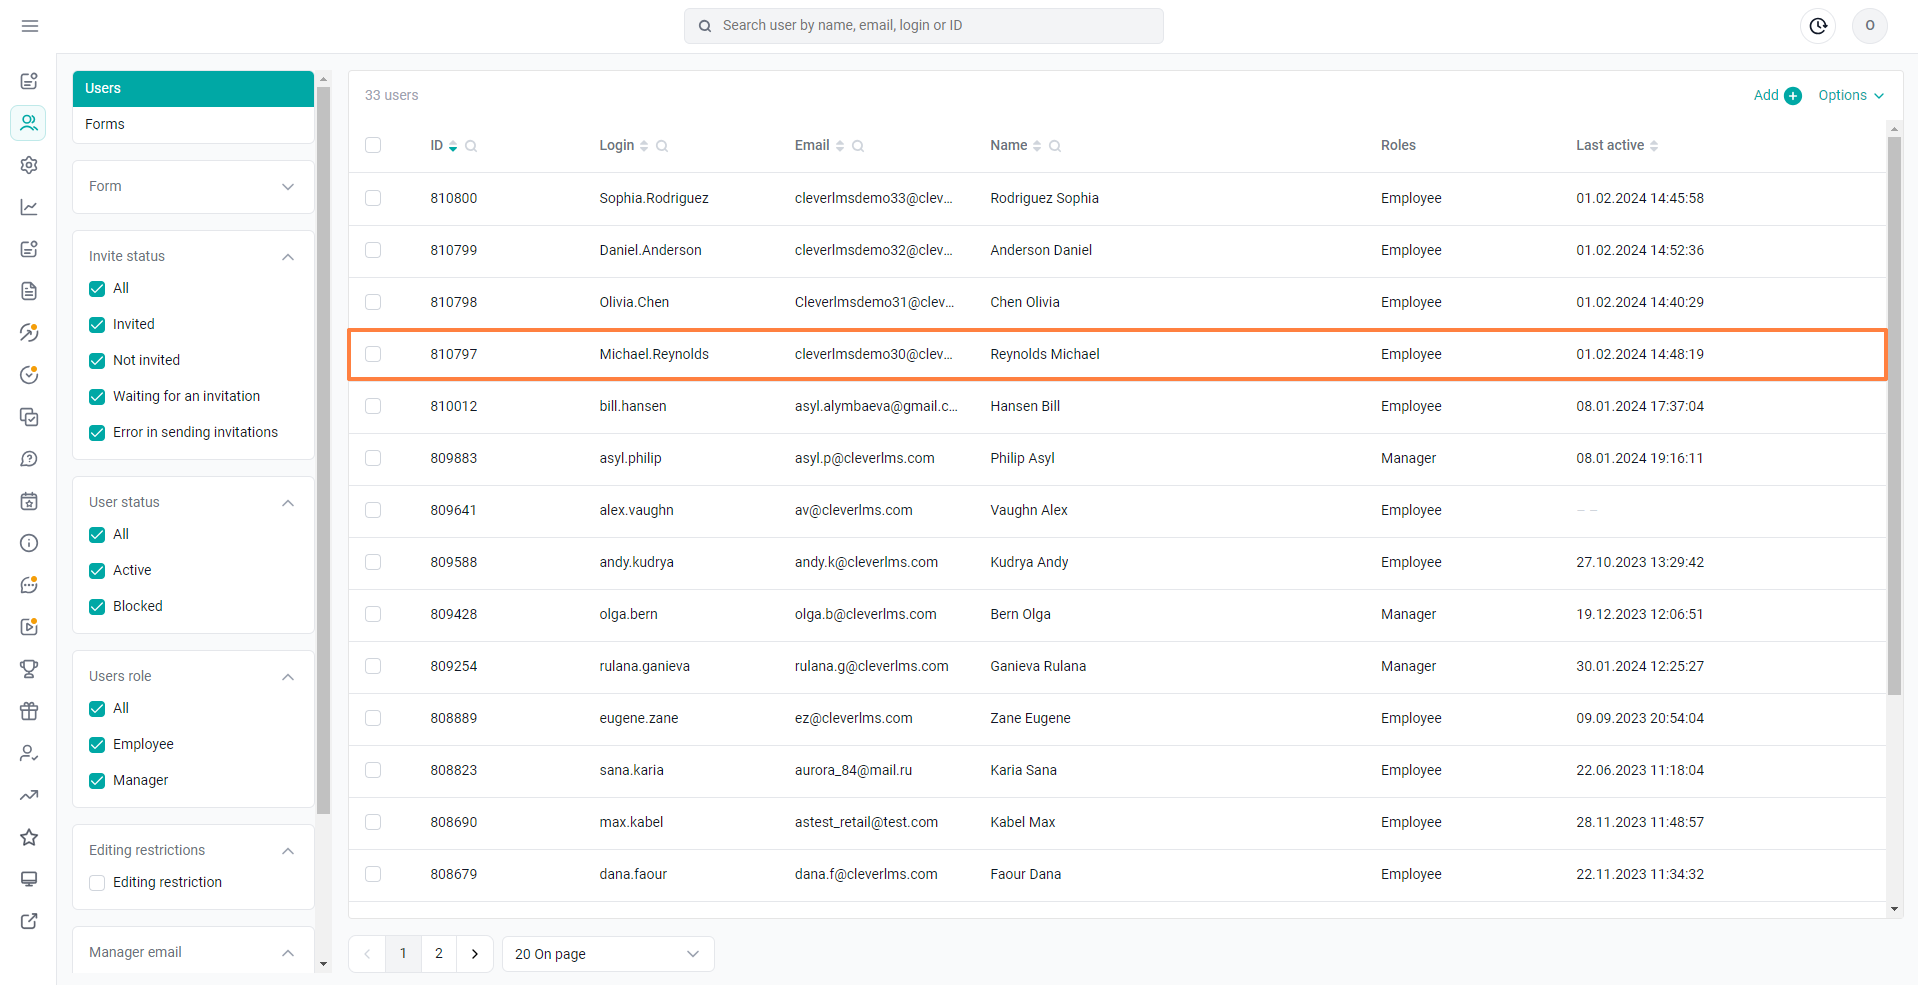
A user card opens with previously saved data. The Password field is displayed empty and the existing password is not available for viewing by the administrator.
You can change/add/delete the necessary data. For the format of filling in the fields of the user card, see the article Creating a user.
Note: If the super administrator has configured a ban on editing the user to ordinary administrators, the fields of the main settings in the user card will be displayed inactive. At the same time, the icon "editing is prohibited" will be displayed in the header of the card.
When editing, at the bottom of the card, in addition to the Save button, 2 buttons appear:Log in as a user allows the administrator to log in under the user account,
Options menu with buttons:
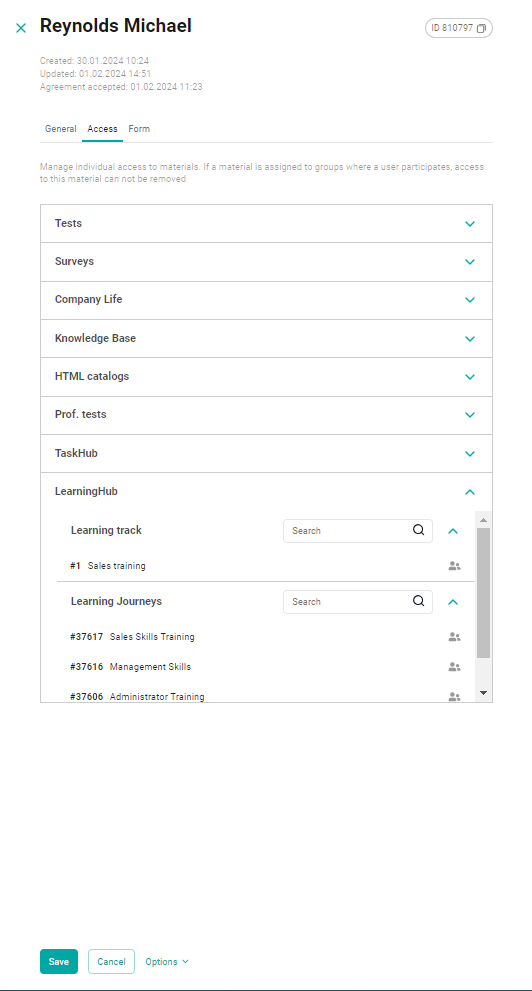
You can configure individual user access to the materials.
Select the Access tab at the top of the card.
The following types of materials are available for assignment here:
Documents (html directories / regular),
Click on the cell with the desired type of material. This opens a list of materials available to the user, which displays the id and name of the material. To add access to the material, enter its name in the Search field and click on the Individual Access + button, which is displayed when you hover the cursor over the material, the material will be added to the table.
Note:
Materials that have the "Hidden" status are displayed with the "crossed out eye" icon.
The materials assigned to group access are indicated with the "two individuals" icon.
The materials assigned to individual access are indicated with the "individual with a tick" icon. When you hover over a line with such material, the Close Access button is displayed.
You can remove the material from access by clicking on the Close Access button.
Click Save to save the changes.
Note: When you click on the ' ✕ ' in the upper-right corner of the form, the user's editing is canceled and all the entered data is lost.
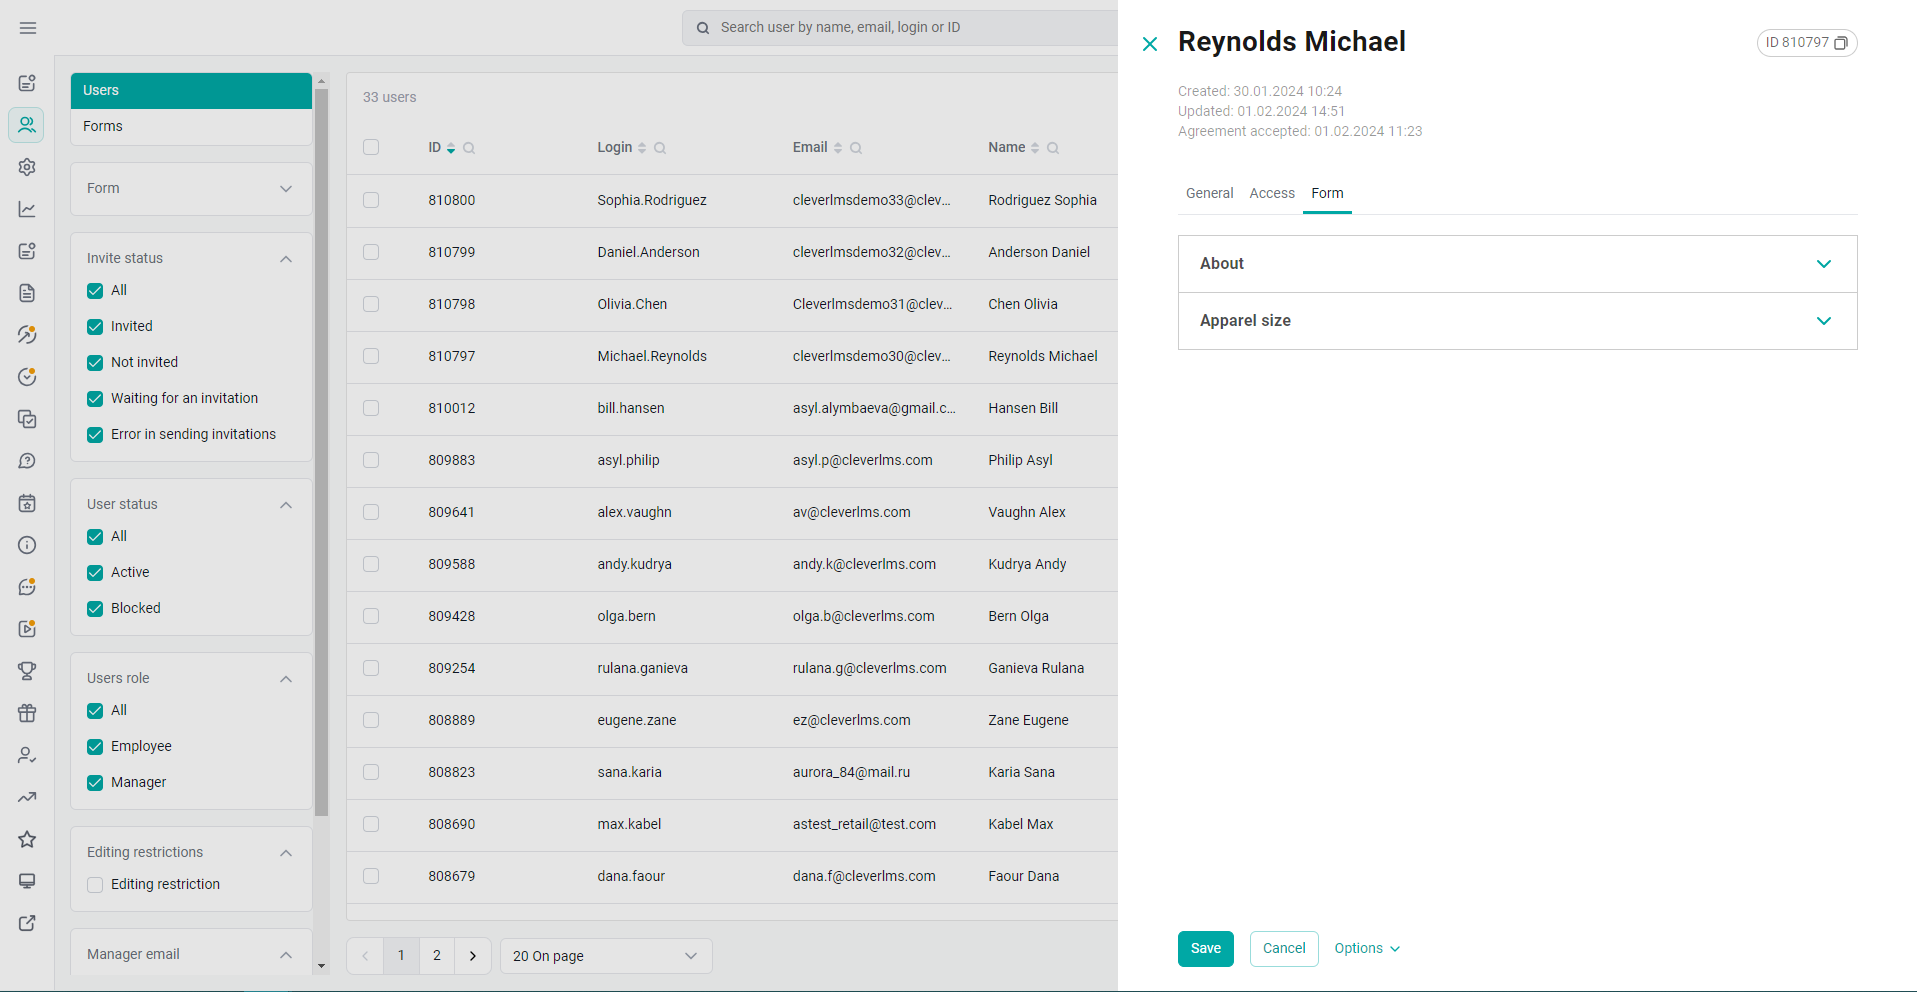
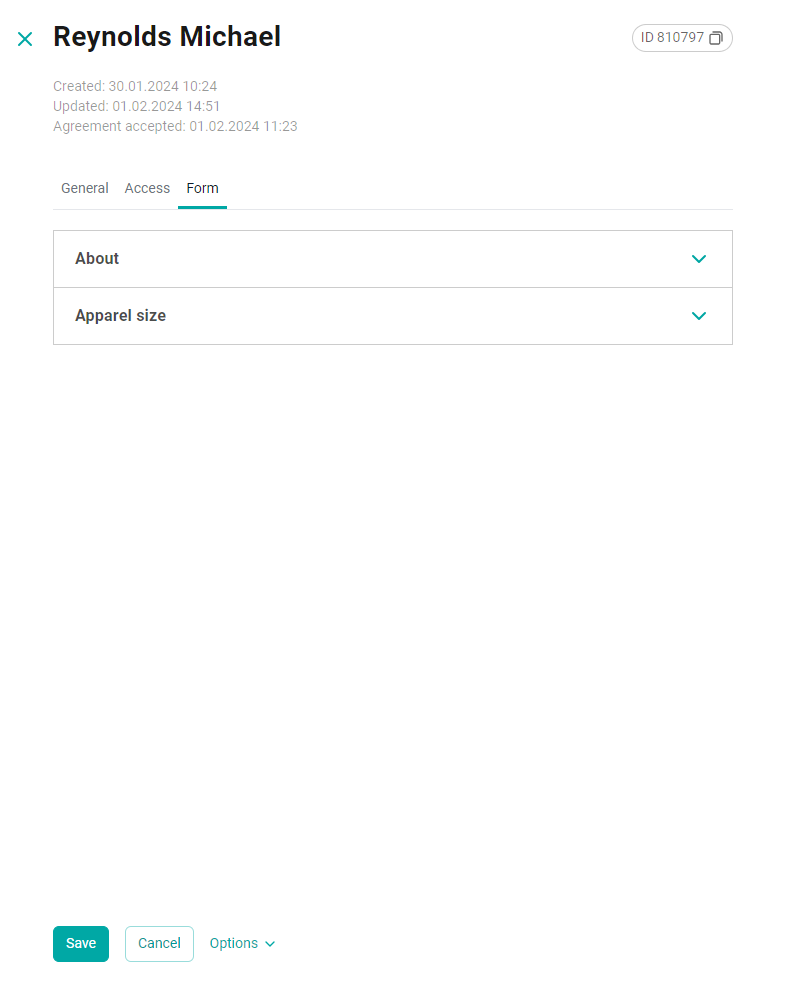
The Questionnaire tab is displayed when the questionnaire module is enabled. If the company does not have one questionnaire question, the questionnaire is displayed empty.
The questionnaire displays a list of survey questions with an indication of the section, the type of question and the answers to them.
If the user entered the questionnaire value specified in the correspondence table during registration, then the corresponding groups will be assigned to him. If the user entered a non-existent value, he will get into the base-demo groups.
You can enter the questionnaire value specified in the matching table in the response field. The user's groups will be changed according to the values entered. When saving changes, these groups will be assigned to the user.
If the Personal Data module is enabled in the company, the Personal Data tab is displayed in the user's card with information about the status and availability of personal information collection.
Availability of the questionnaire with possible values: "The questionnaire is available", "The questionnaire is not available".
Status with possible values: "Filled in", "Verification", "Confirmed", "Not confirmed", "Blocked", the date of the status change and the comment field for the administrator.
In the Comment field, you can enter a new comment or change the current one.