Adding new users to the system is necessary to ensure that the company's employees have access to training and examination materials.
Go to the USERS section.
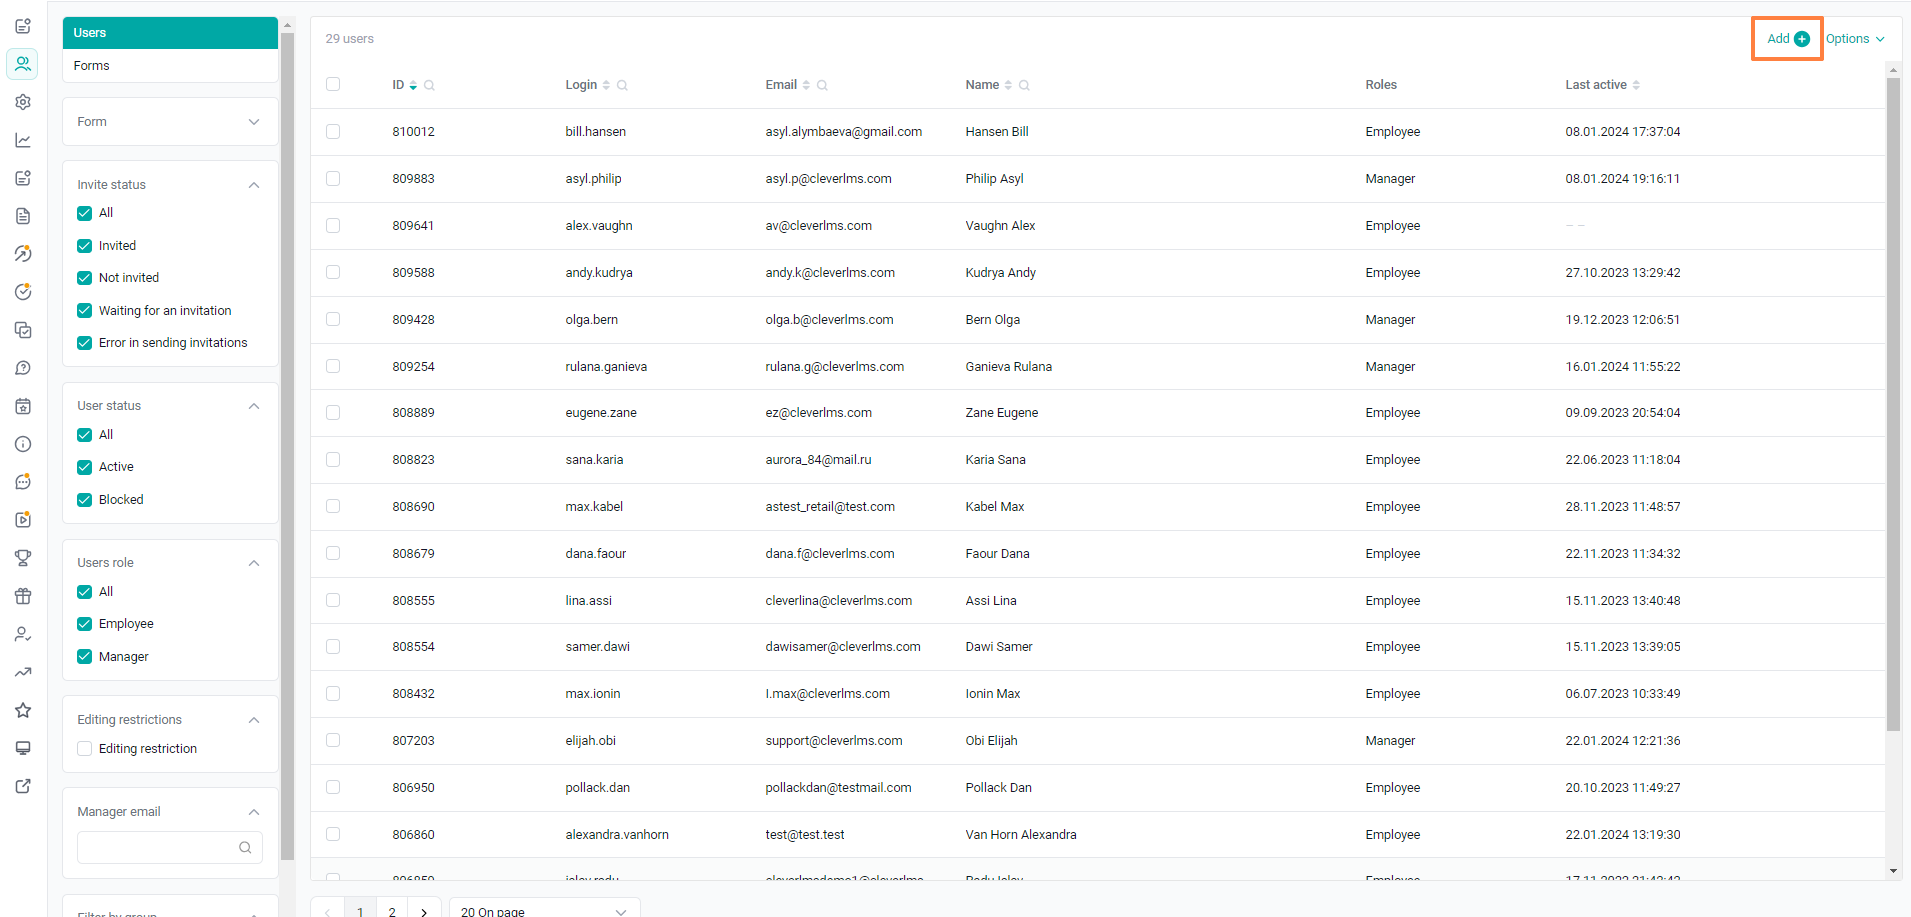
To create a user, click on the Add + button.
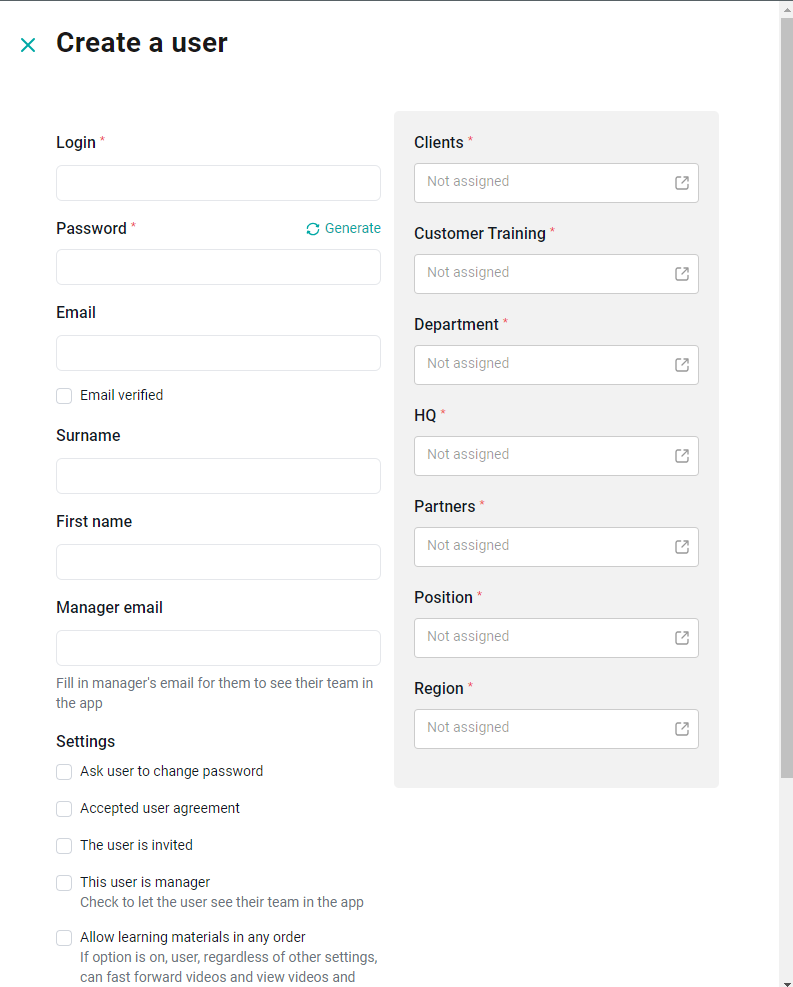
Fill in the user's username.
Set a Password, or generate a unique password for the user by clicking the Generate button - the password characters will be displayed in the field.
Enter the user's phone number and Email,
the checkboxes- Phone confirmed / Email confirmed allow the user to skip the verification step of the phone / mail number when logging in to the application.
Fill in the fields Last Name and First Name of the user.
Specify the Email Address of the manager so that he can see the employees of his team inside the application.
Note: If the Phone Number, Email, Last Name and First Name are not filled in, the user will be able to enter them in the application when logging in.
Data requirements (format and length)
Login: can contain letters of the Latin alphabet, numbers, slash/, backslash\, underscore _, period . , dash-and the dog @ (1-50 characters).
Password: Depends on the password policy settings. One one digit and at least one Latin letter are the default settings. It can contain any special characters. It cannot contain spaces. (8-100 characters).
Phone: numbers only (10-16 characters).
Email and Email of the manager: have the format A@B.C, where A is the local part of the address, B and C are the domain part of the address (up to 100 characters).
First and Last Name: it can contain letters of the Russian and Latin alphabet, numbers, a space and other special characters (slash/, backslash\, single quotation mark ', dash -). (1-50 characters).
Required fields are displayed with the symbol *
Settings
If the checkboxes are set:Ask the user to change the password - the user, after logging in to the application, will need to change the password.
The license invitation is accepted - the user, after entering the username and password, immediately logs in to the application, skipping the step of accepting the license agreement.
User invited - the status of sending an invitation to the user to use the platform.
The user is a manager - the user can see the employees of his team inside the application.
Receive email notifications about the actions of subordinates - the user will receive reports and certificates when passing materials by subordinates (the setting is displayed if the User is a manager check box is selected.
Allow the user to study materials in any order- allows the user to view and rewind videos in any sequence, take tests in courses, training programs and in the "Tests and Surveys" section, regardless of his role and other settings.
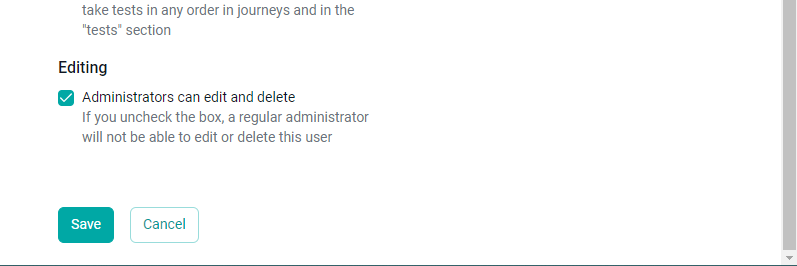
"Administrators can edit and delete" (displayed only for super administrators, set by default) - if you uncheck the box, an ordinary administrator will not be able to change the data or delete this user.
Note: The form contains the "question" icons. When you hover over them, hints are displayed.
In the Group Assignments pane, select the groups that the user belongs to.
Note: We recommend setting the group parameters immediately and then using them when creating each new user. To do this, you need to first analyze the organizational structure of your company.
Click Save to save the changes. The newly created user will appear on the first page in the list of users.
Errors: The system will not allow you to save the changes and will issue an error ifrequired field is not filled in,
the entered username/password is already occupied,
the entered data does not meet the requirements,
the group is not selected.